Just an ongoing project from here in South Africa that has taken waaaaaaaaaay to long to get to this point.
Had a few previous trunk builds consisting of mainly Boston amps and subs, but finally got a decent amp, so a plan was concocted to do a decent install once more.
Not anywhere near complete with the install yet, so please bear with me on this one.
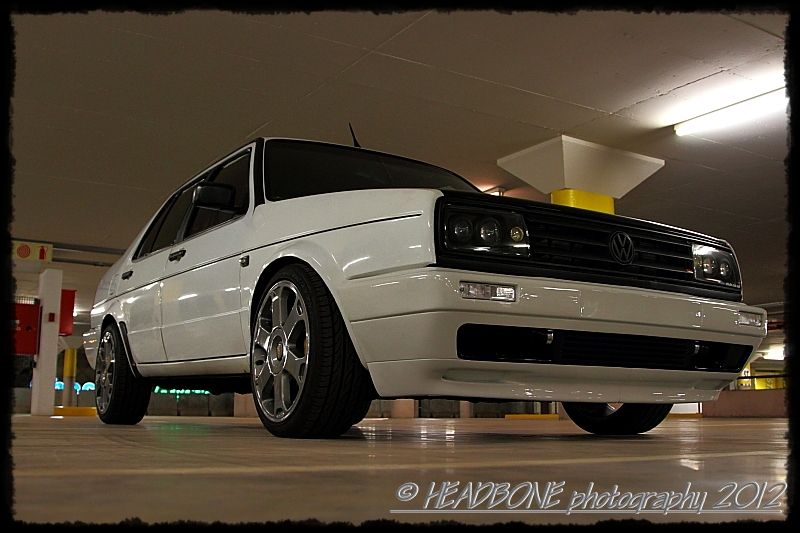
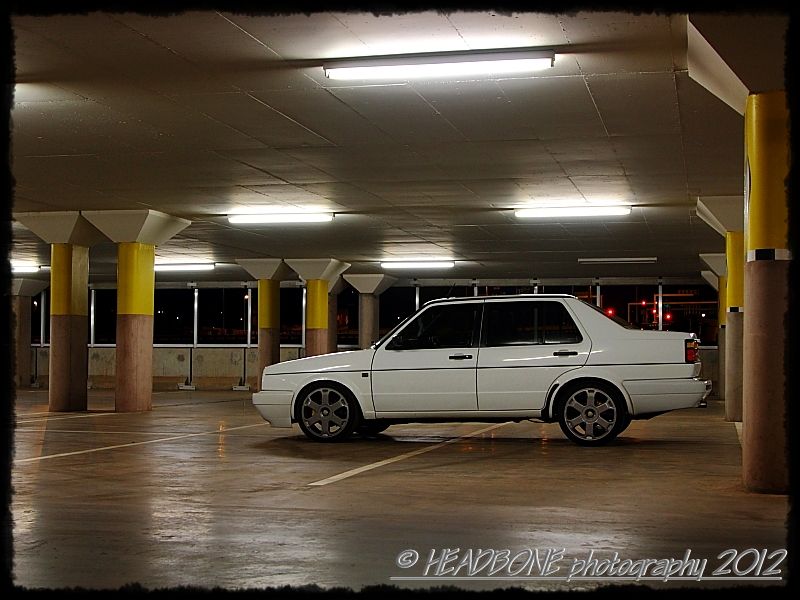
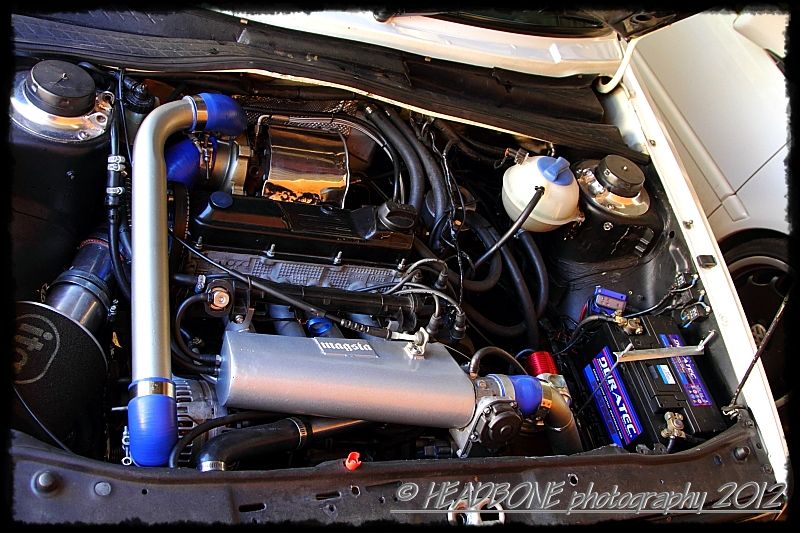
Car is a 1989 Mk2 Jetta with a 2.0 8 valve turbo motor, making +-260Hp @ 14,5PSI boost, running a Garrett GT2871R turbo, custom short runner inlet manifold complete with internal trumpets, Perfect power XMS4 management, Bosch 440cc Greentop injectors, CDA code 5 spd cable shift geabox, KONI suspension, Audi 8L S3 wheels, Wilwood front calipers, etc.
Headunit - JCV KW-AVX800 in custom centre console (will get changed to a Kenwood DNX9980HD before the end of the year)
Wiring - Kicker PKD1 0 Gauge amp kit.
Interconnects - Kicker K-series.
Front splits - Boston Acoustics RC620 (custom door pods) and tweeters mounted in the OEM Mk2 spots on top of the dash, angled towards the windscreen).
Rear co-axials - ancient Boston RX67's that still do the job perfectly fine.
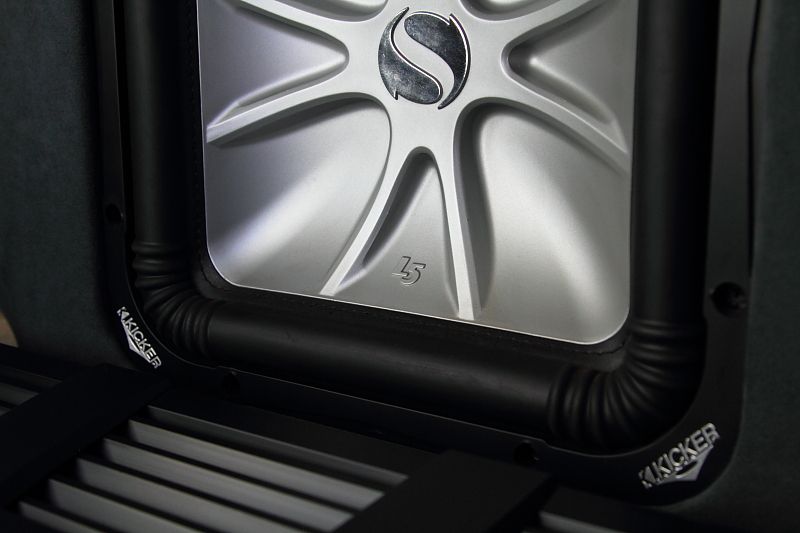
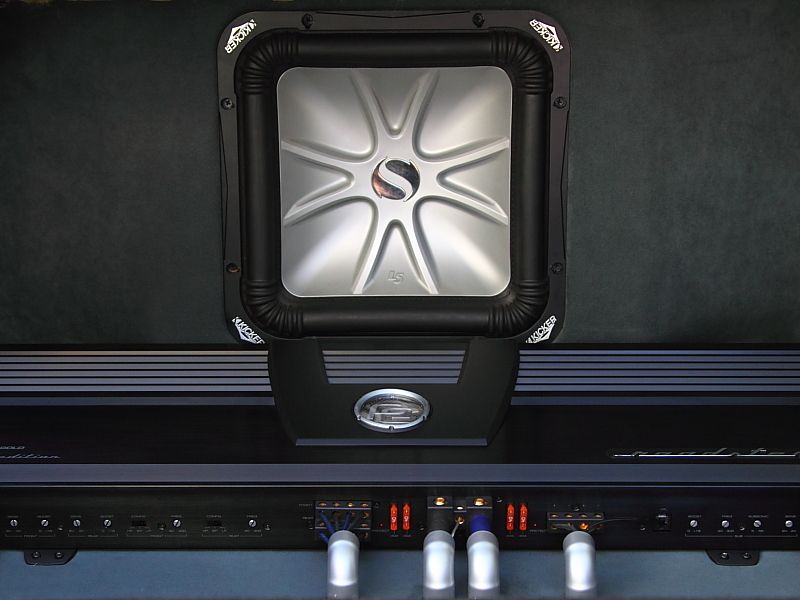
Sub - Kicker L5 12 inch (dual 4 Ohm wired for 2 ohm).
Enclosure - custom made fiberglass and MDF, 34.05 liters, sealed.
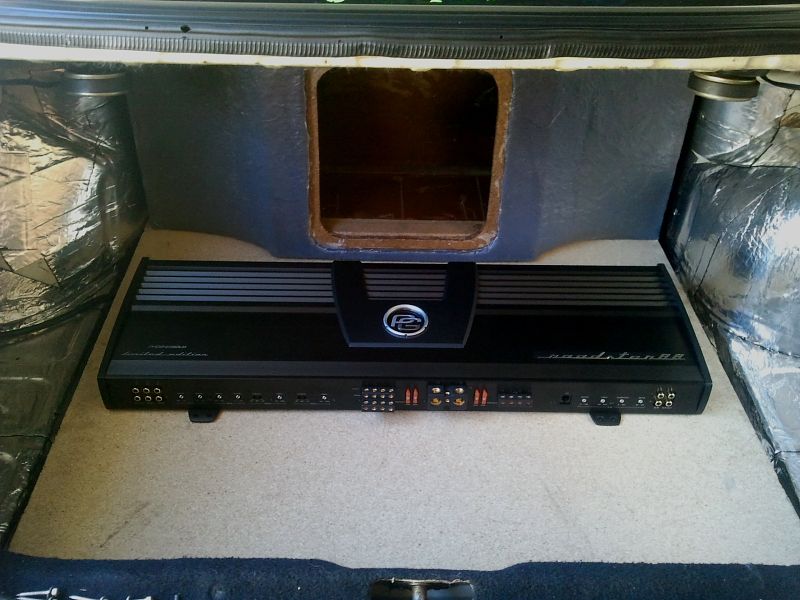
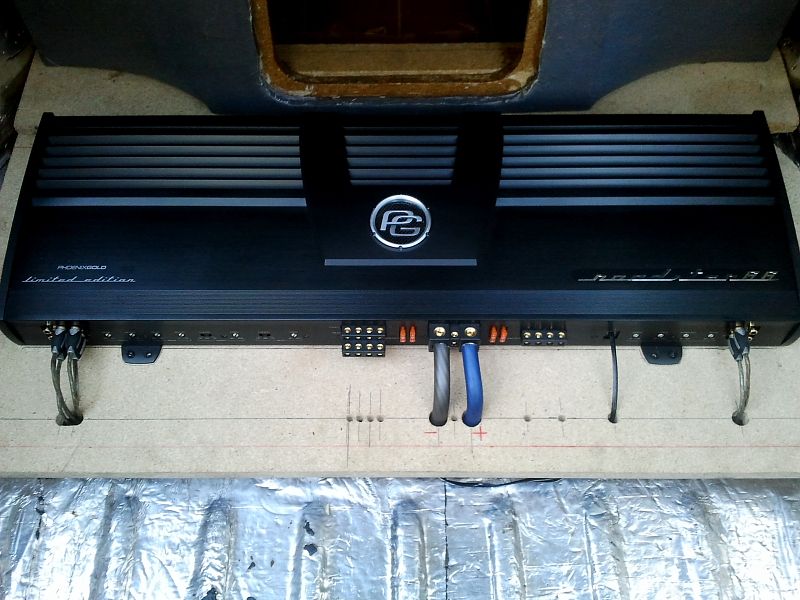
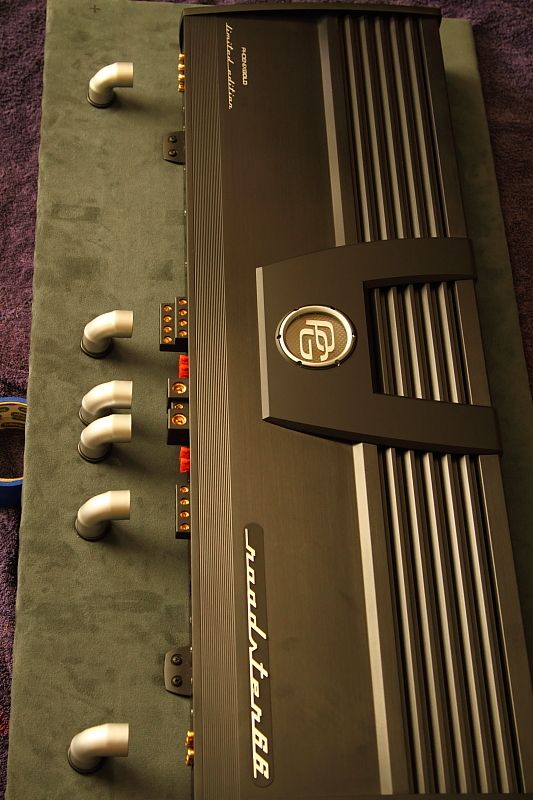
And the new baby in the mix and the power behind the build, a stunningly beautiful Roadster 66 I bought months ago from Shaheen.
Please excuse the cellphone pics mixed in with the decent pics
I also did this trunk build on a bit of a serious budget due to an unfortunate cash outlay at my dentist that literally soaked up most of my spare money.
The car in question:

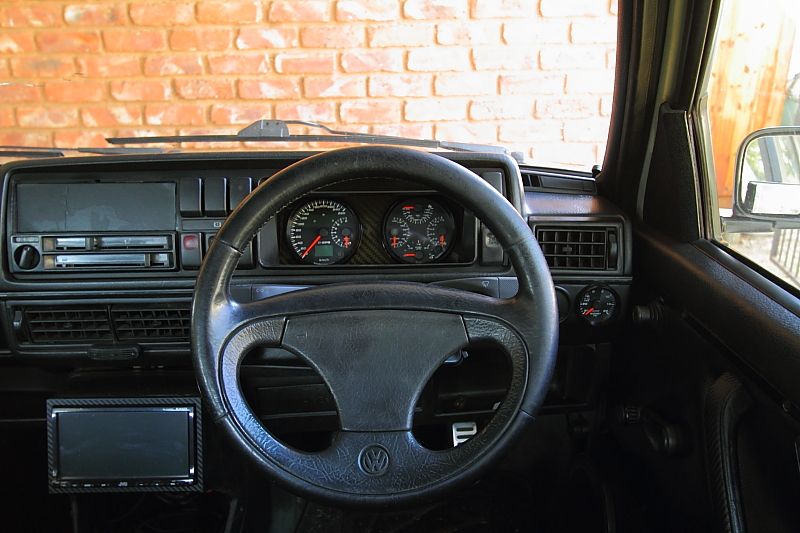
What I get to look at on a daily basis:
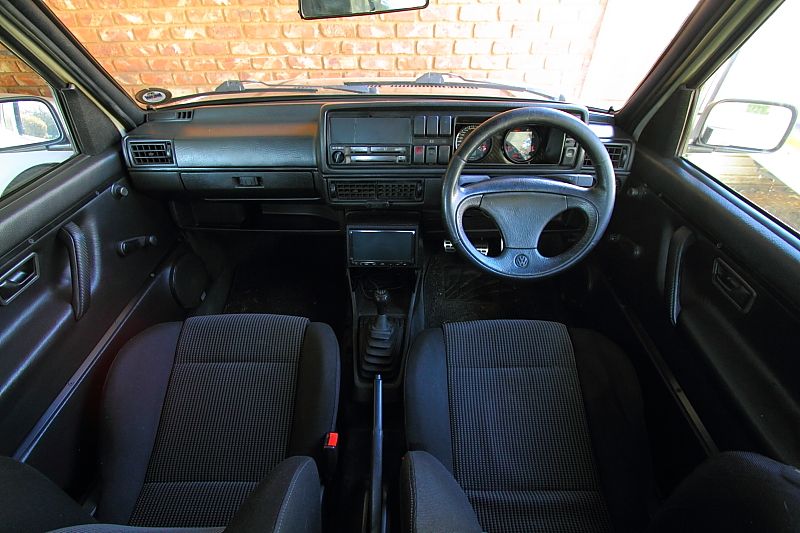
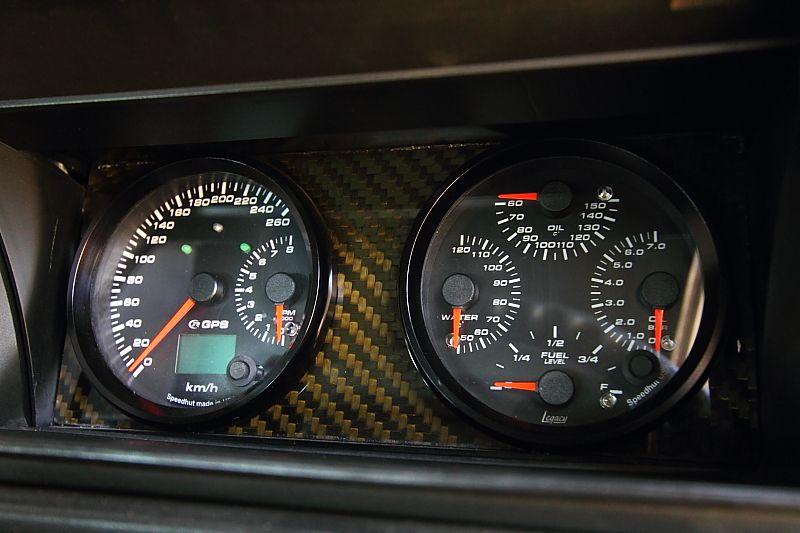
Gauges are from Speedhut mounted in the OEM spot, in a waterjet cut genuine Carbon Fiber mounting:
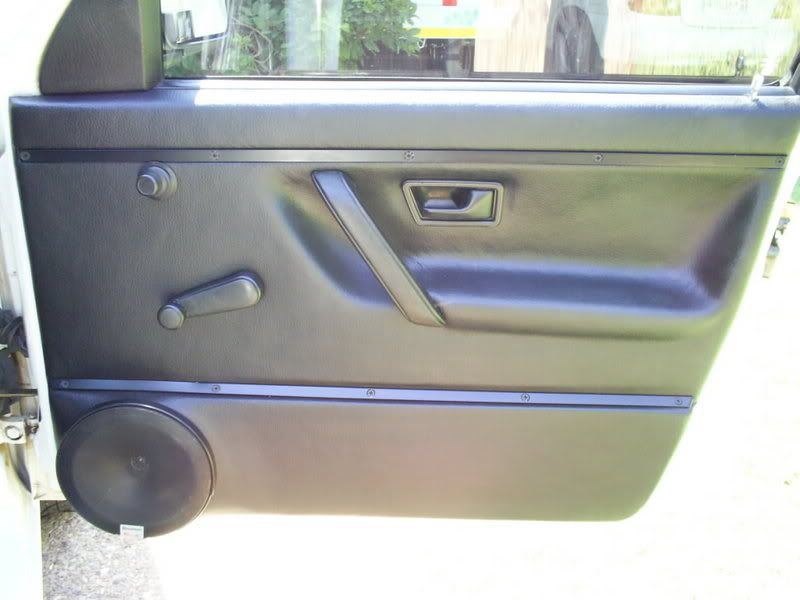
Front door:
The business end:
On to why I joined this forum, the audio side of things
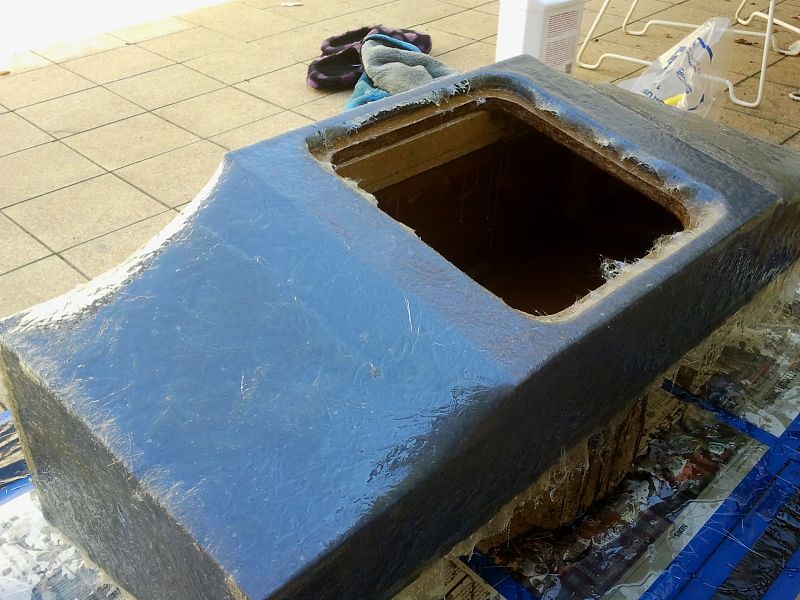
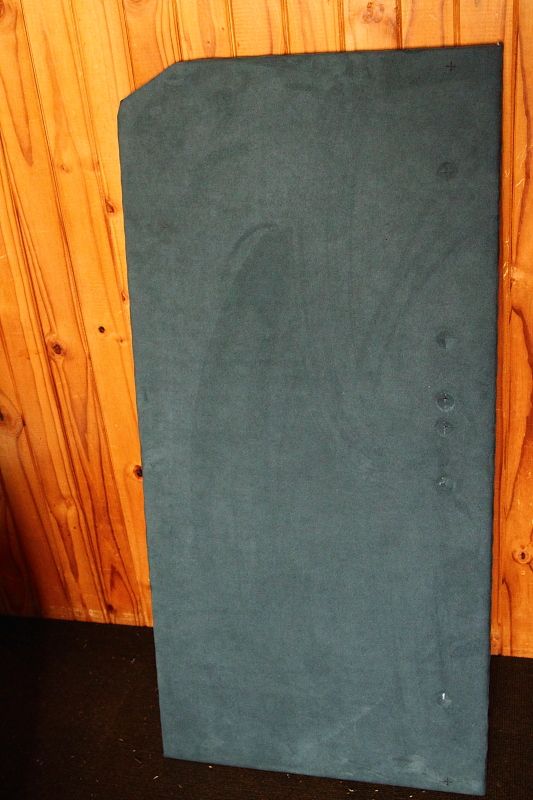
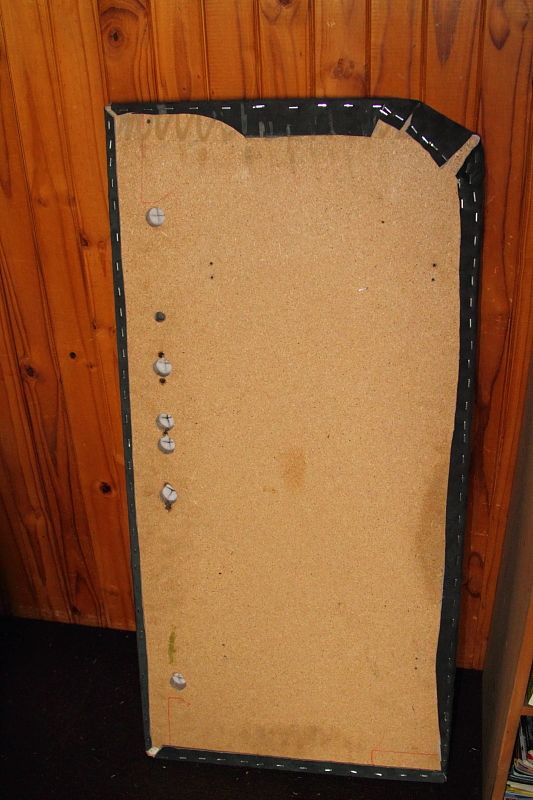
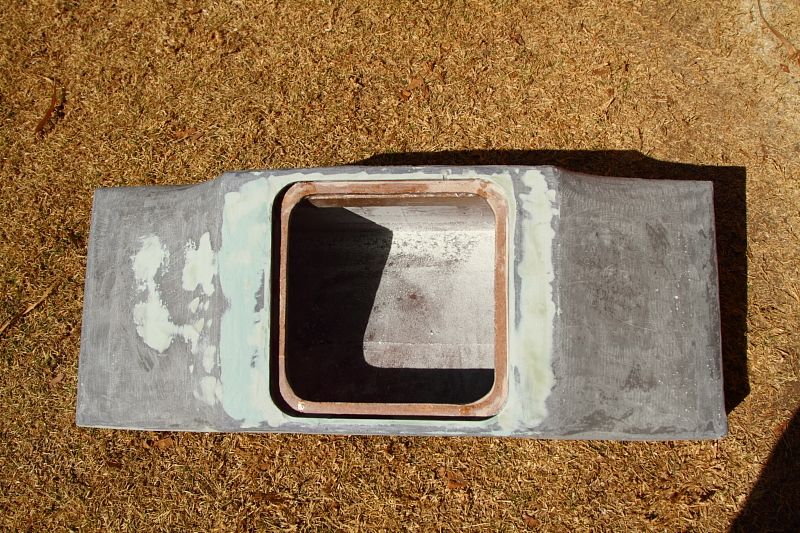
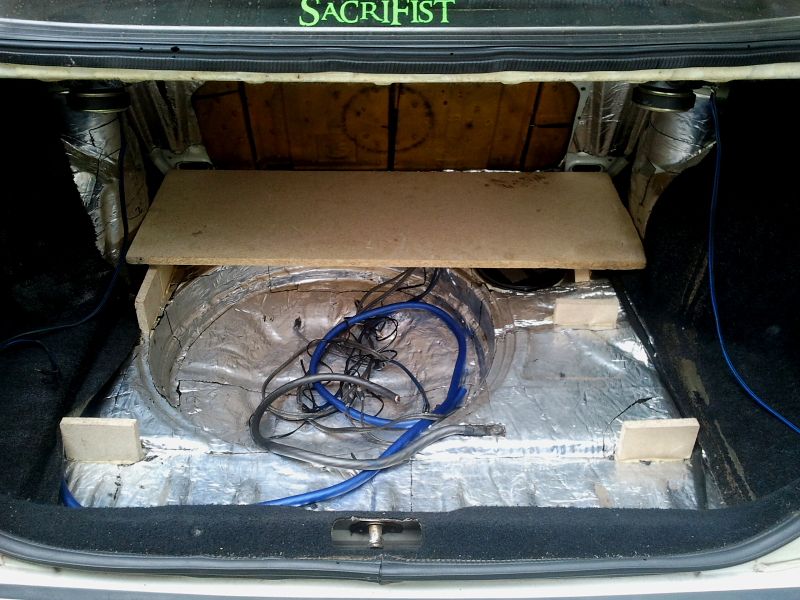
What the old enclosure looked like after the L5 and the amp was removed (old amp was a Kicker ZX700.5 mounted to the left of the sub):
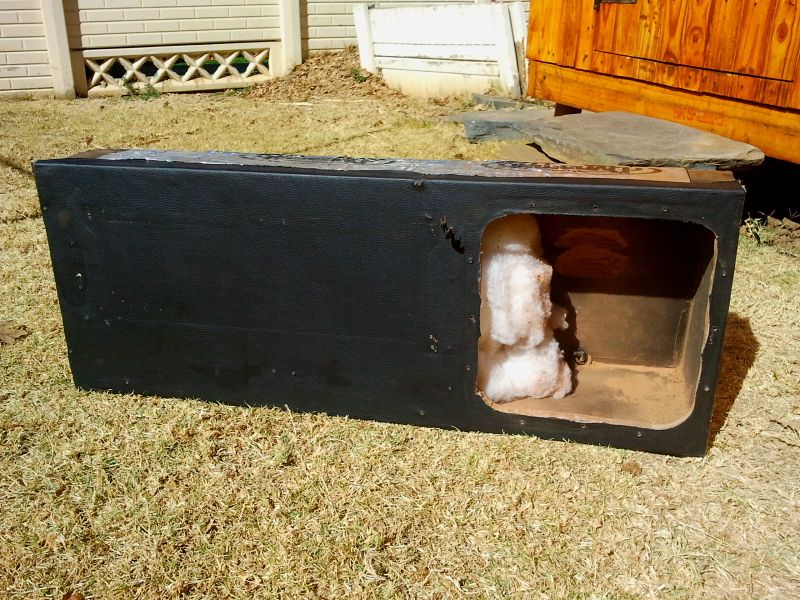
Enclosure was 28 liters in size and after my glass work, it grew to 34 liters.
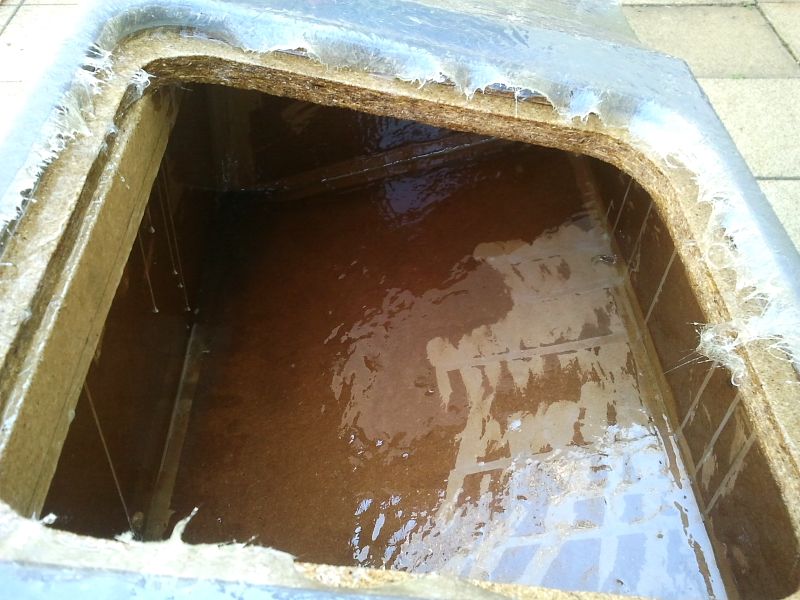
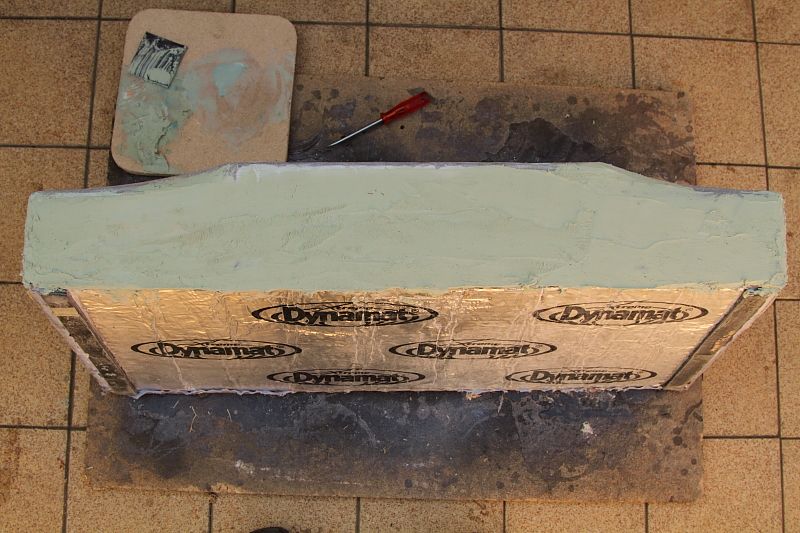
Progress of the enclosure glassing:
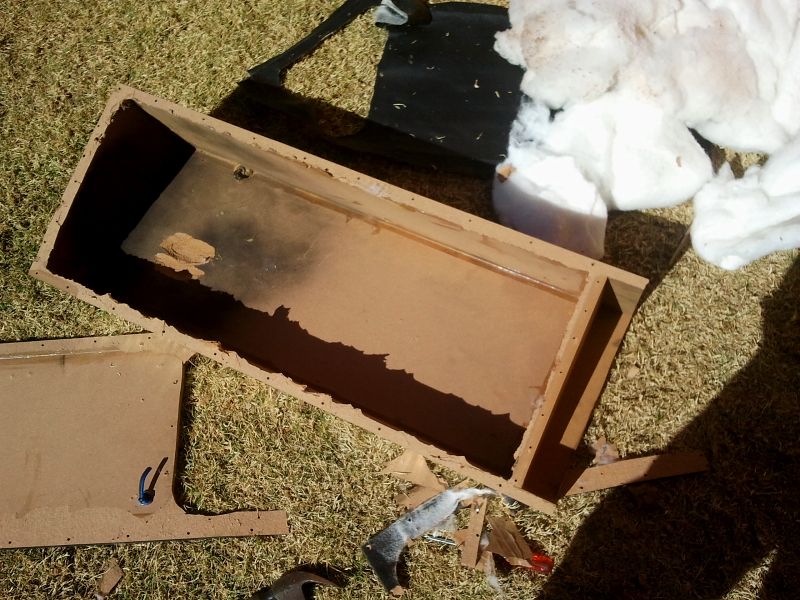
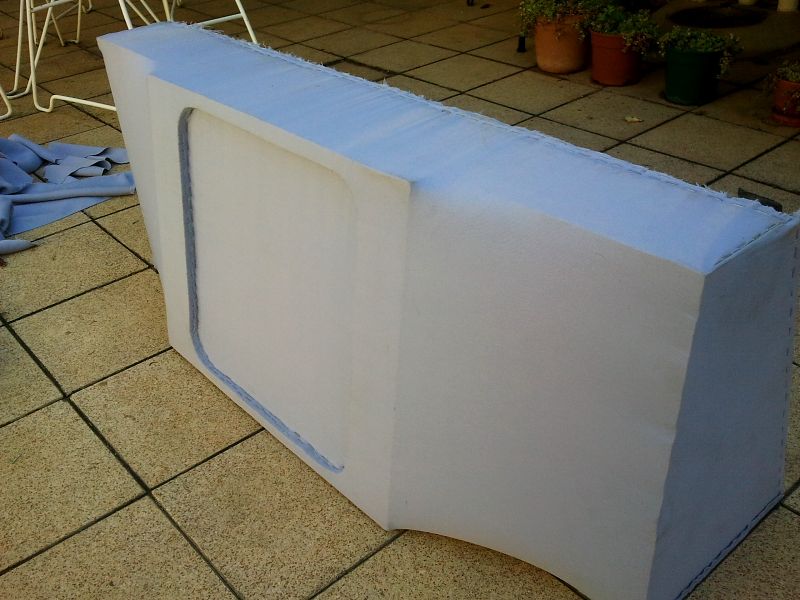
Did a total of 6 layers of glass on top of the fabric, and the whole interior of the enclosure was resinned:
The idea:
And the original wiring idea:
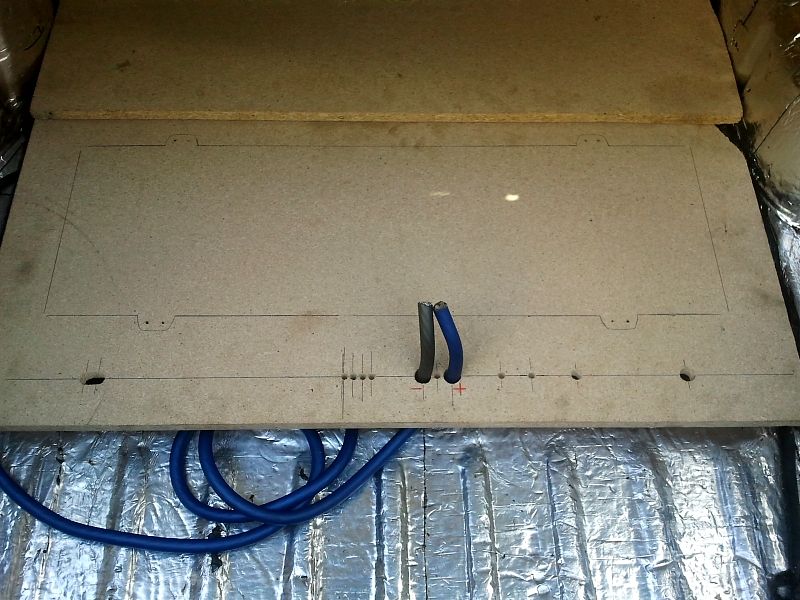
Amp "rack" -
I am going to use a few of these to keep it simple and neat (had them lying around, so why not use them
And the 0 Gauge wire fits through with no issue as do the RCA connectors:
Some marking was done:
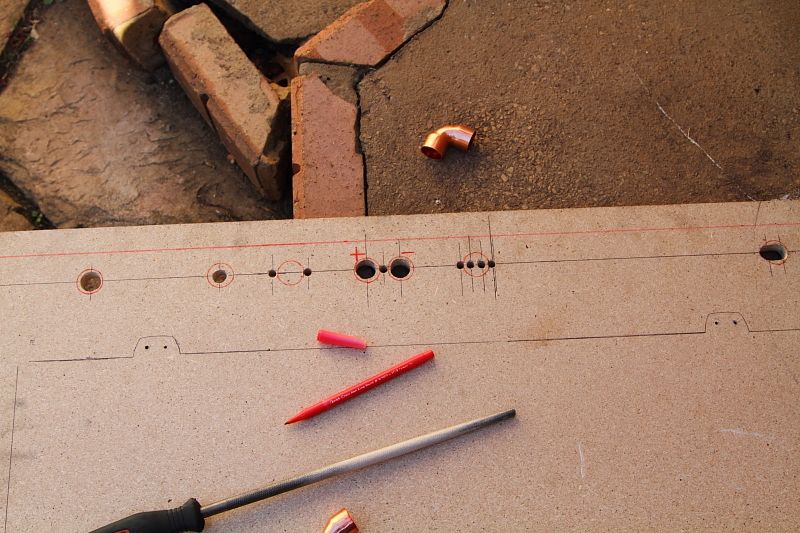
Then some careful filing action happened to make the bends a tight fit into the holes:
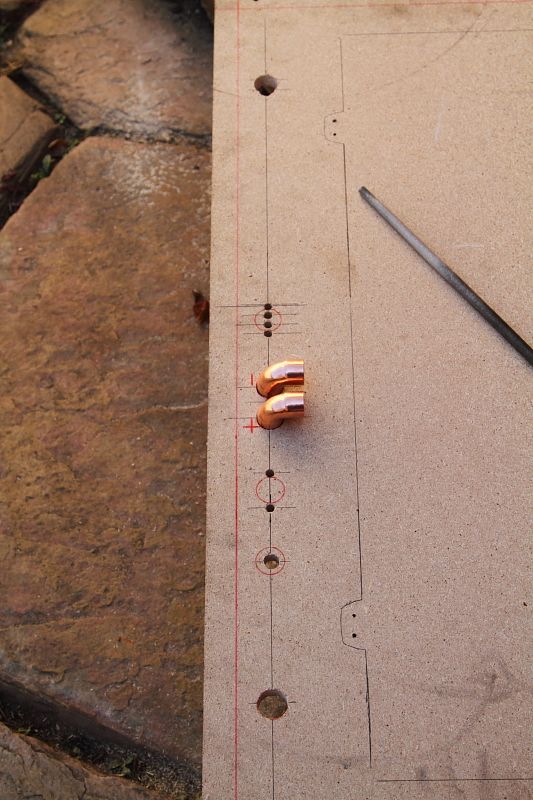
Power and ground bends:
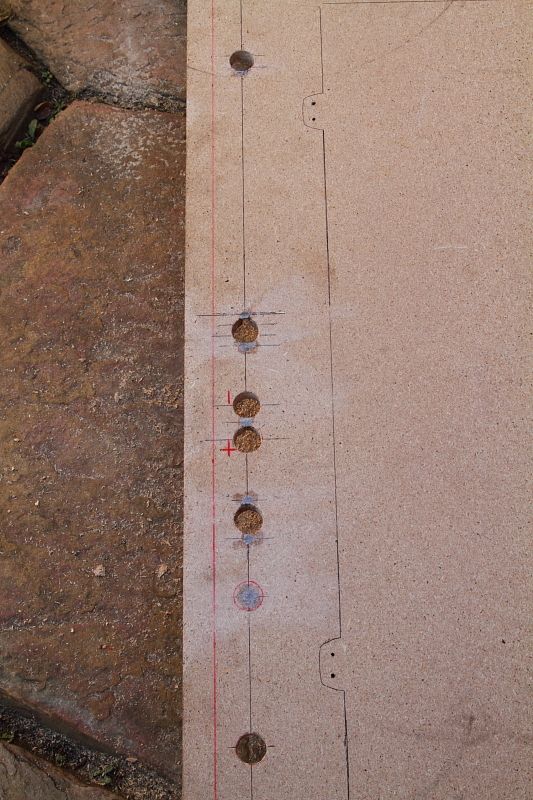
Filled some holes with Q Bond (did not have any wood filler handy and was not going to buy just for this), then filed and sanded the bits smooth:
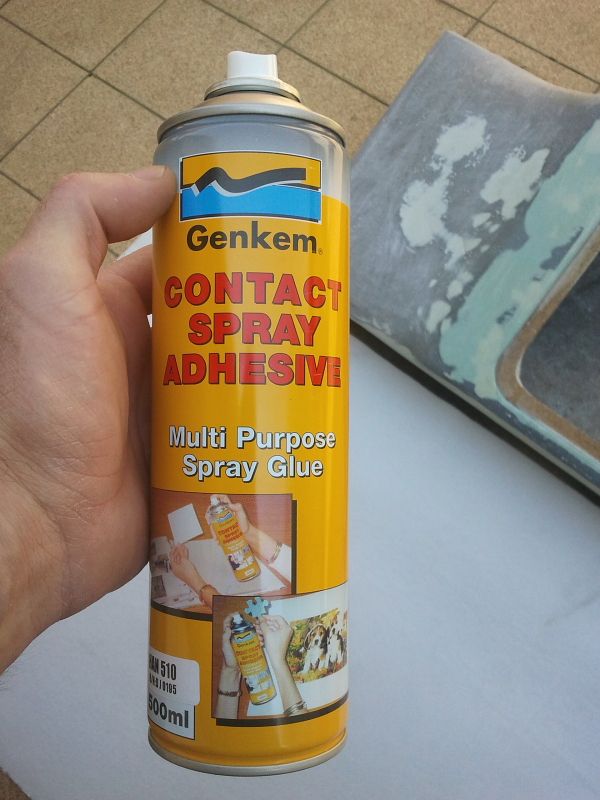
And covered the amp rack with Alcantara (contact adhesive and staples were used):
Back side:
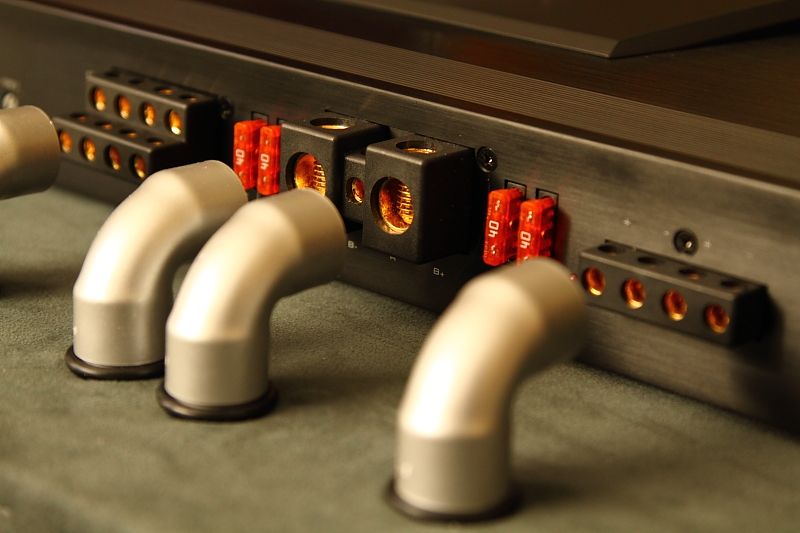
Sadly, the bends would not line up with the connectors (they sit a bit on the low side when pushed into the holes) and not the look I am after:
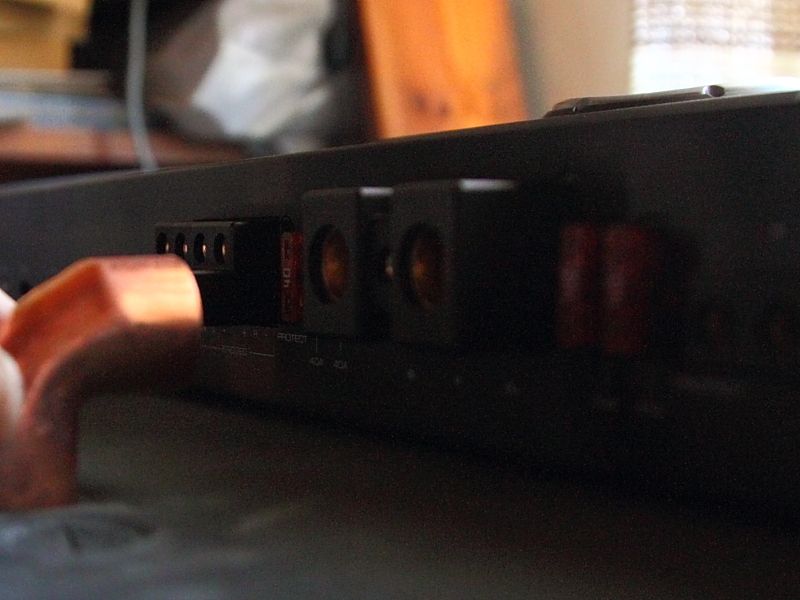
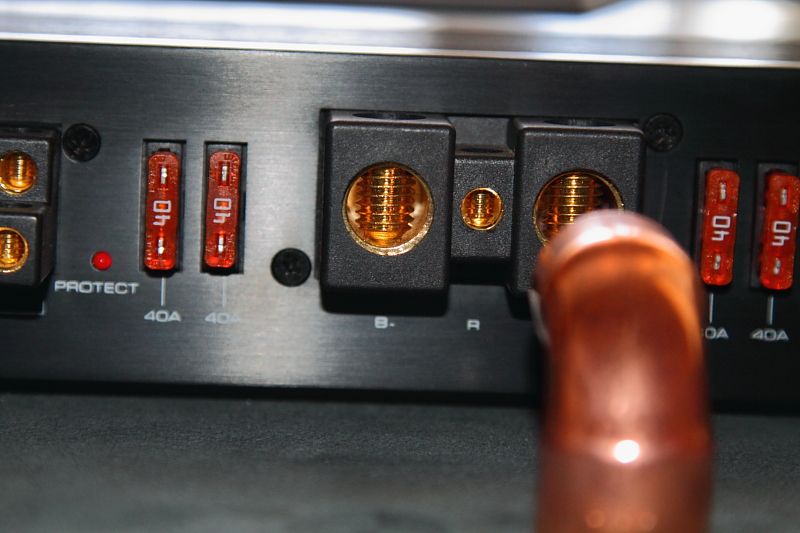
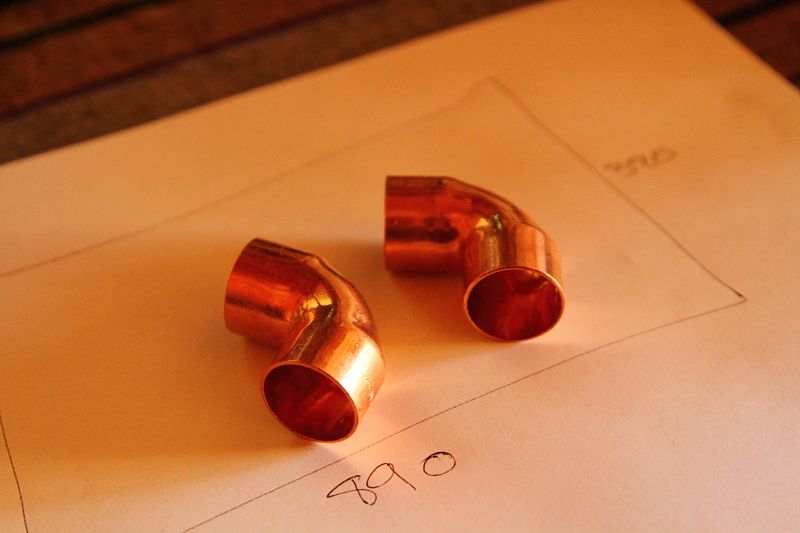
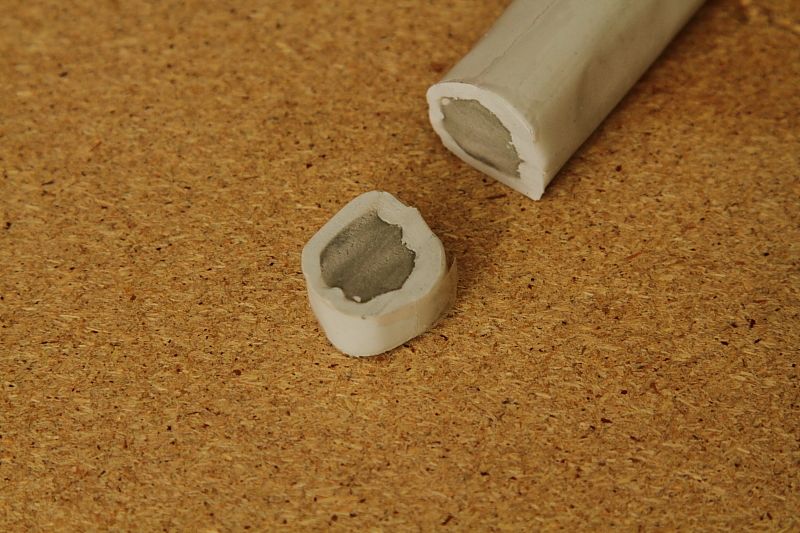
But out came a length of copper pipe and a pipe cutter and some shorter bits of pipe were cut:
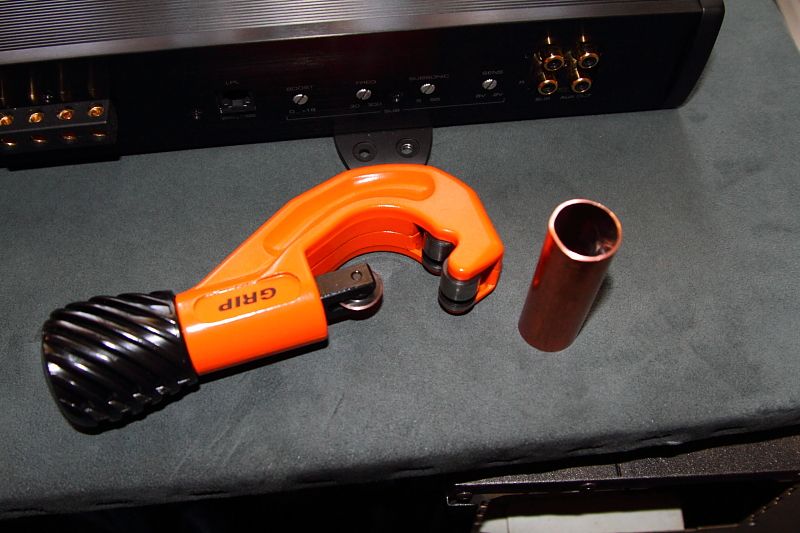
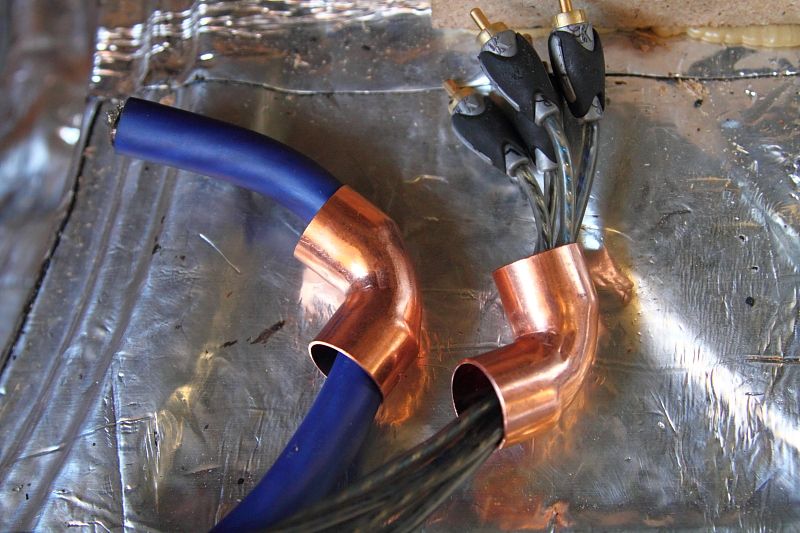
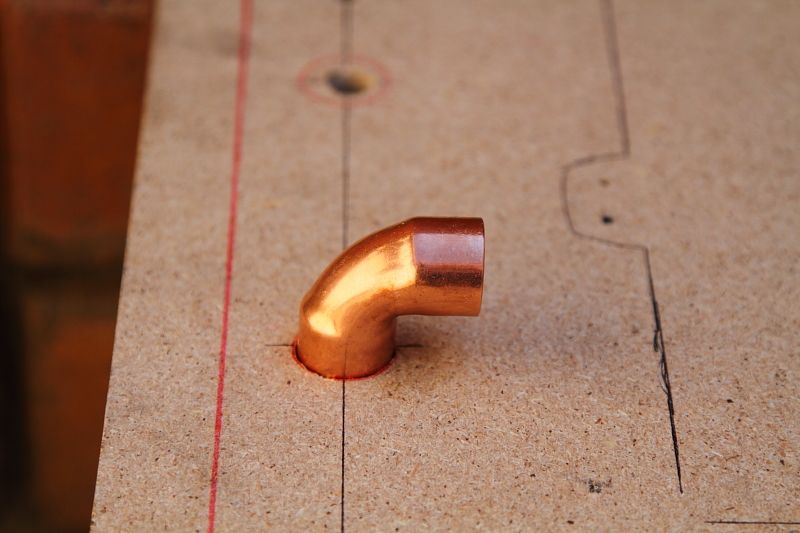
Pipe pushed into the hole:
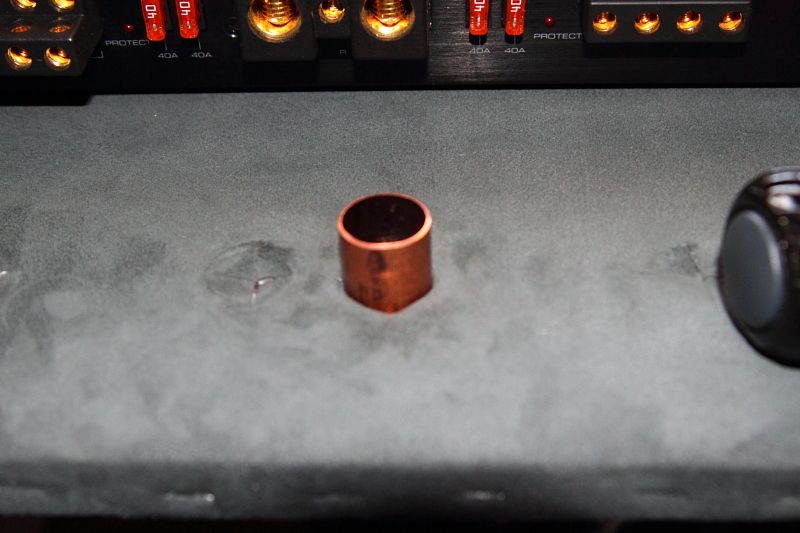
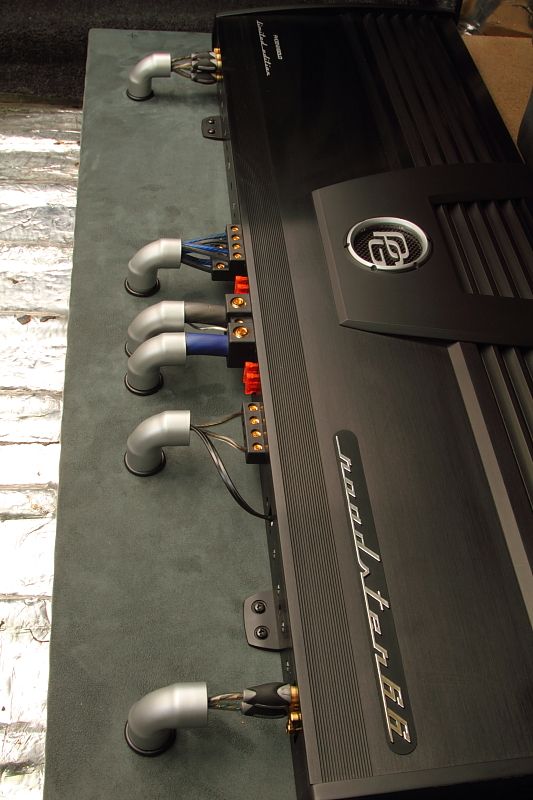
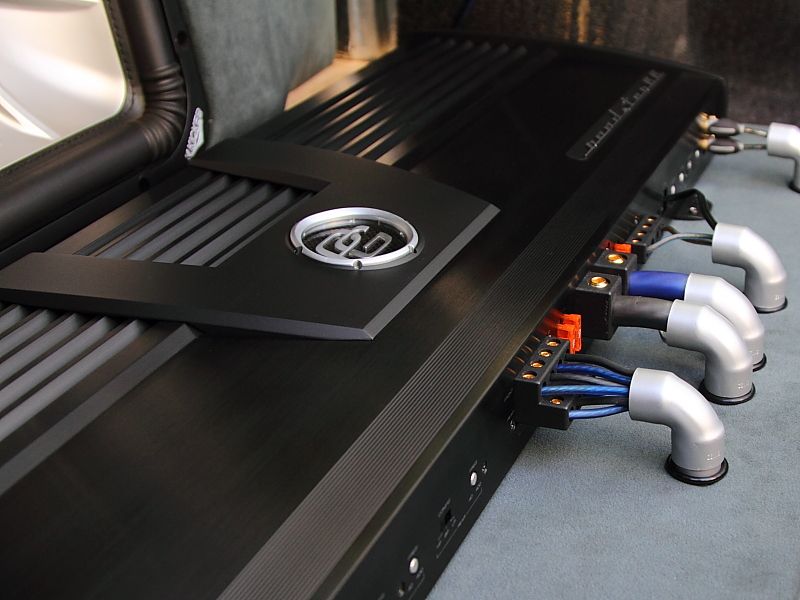
And now the bends line up nicely:
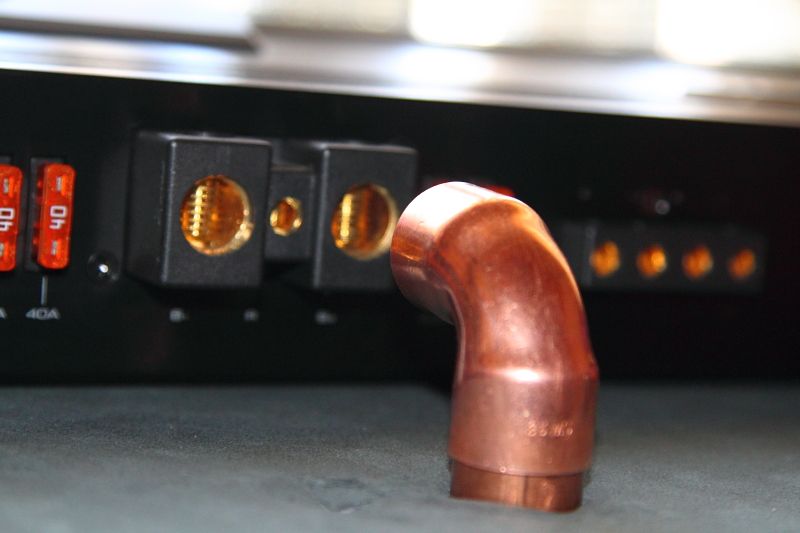
Going to look sweet:
I had the pipe, pipe cutter and bends lying around after I did a plumbing job on the house, so they are getting put to a good use for the install.
I will glue the pipes into the holes after carefully lining them up and making sure they sit 100% right. Then the bends will get glued on, also making sure they are straight. But that will happen after the pipes and bends are sprayed silver.
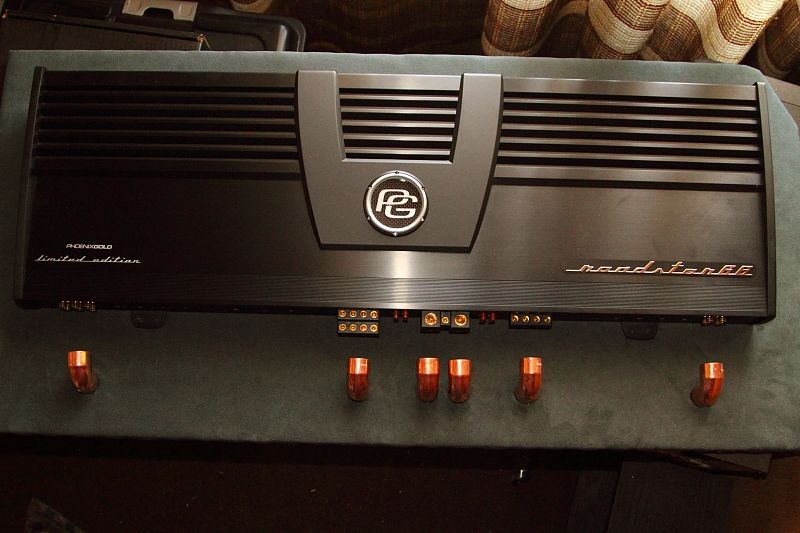
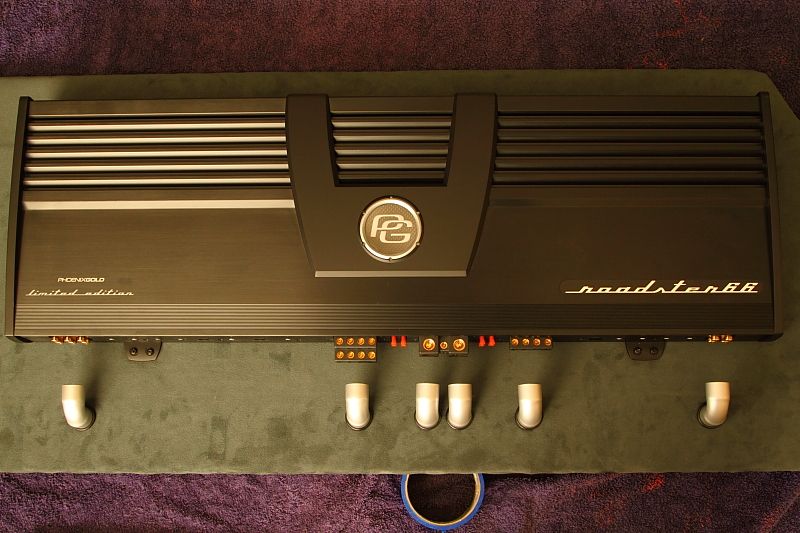
After waiting a bit for the bends to dry in the sun (sprayed them silver to match with the silver on the amp), I popped them into place to do some measuring and scheming.
Used a length of the copper pipe underneath the bends and the height is perfect to line up with the amp connectors:
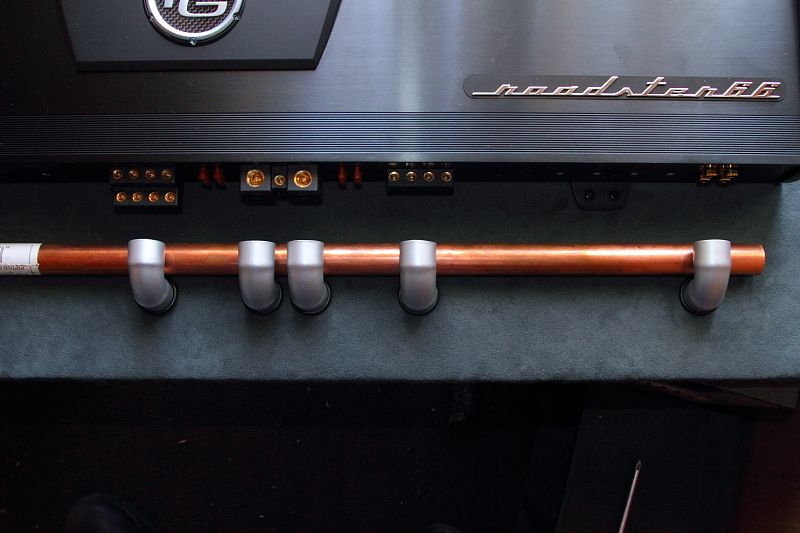
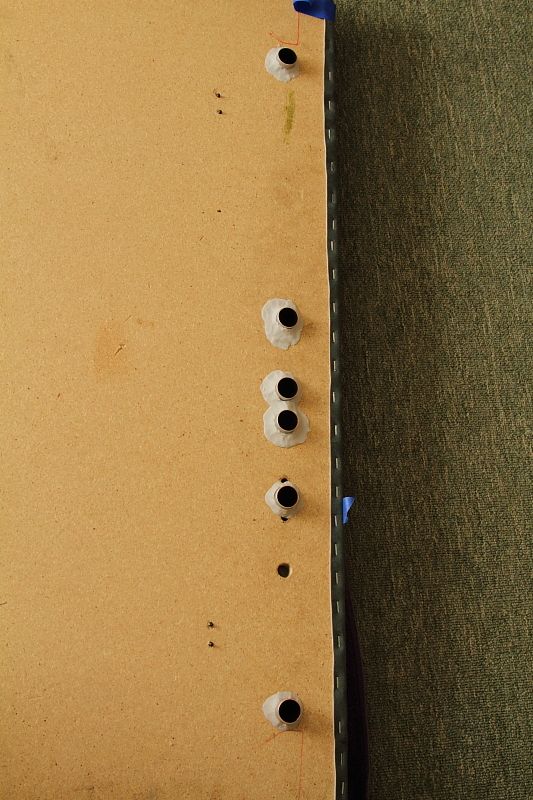
Decided to fit O-rings on the pipes to give a bit of contrast and to hide the holes a bit. Doesn't look too bad methinks.
Taped the pipe in place with blue painter's tape:
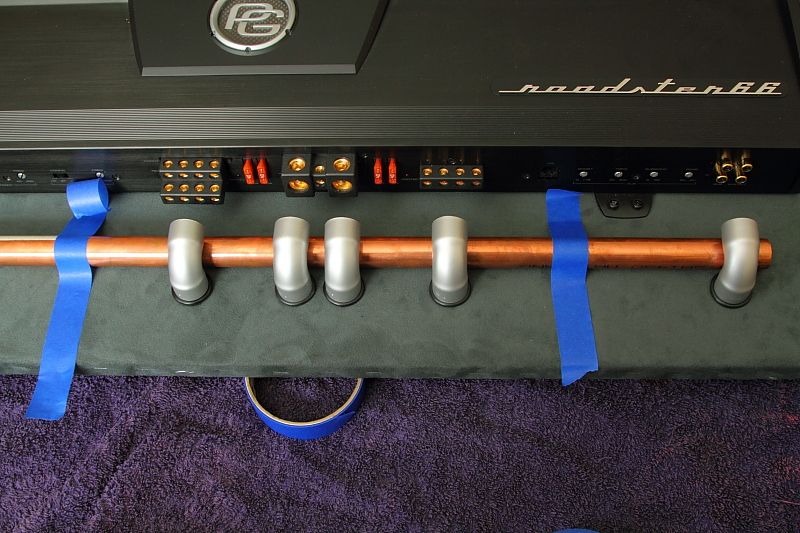
Height is spot on:
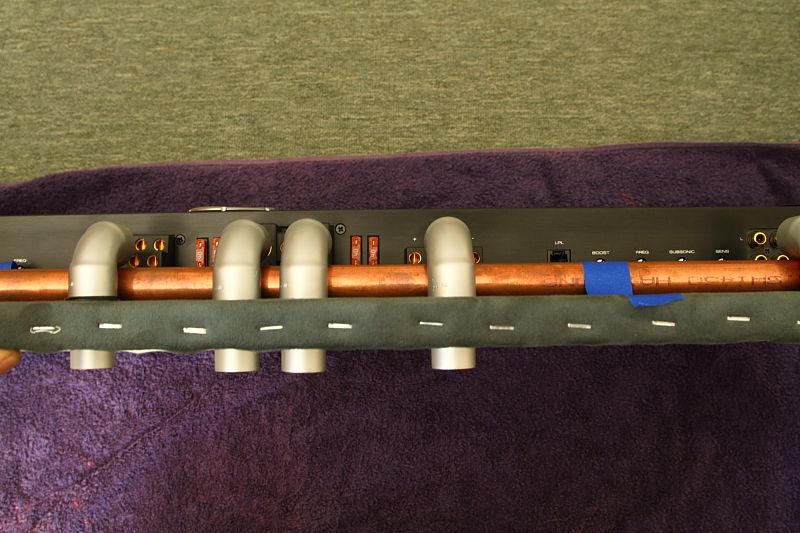
Flipped the rack over and then hauled out the glue stuff:
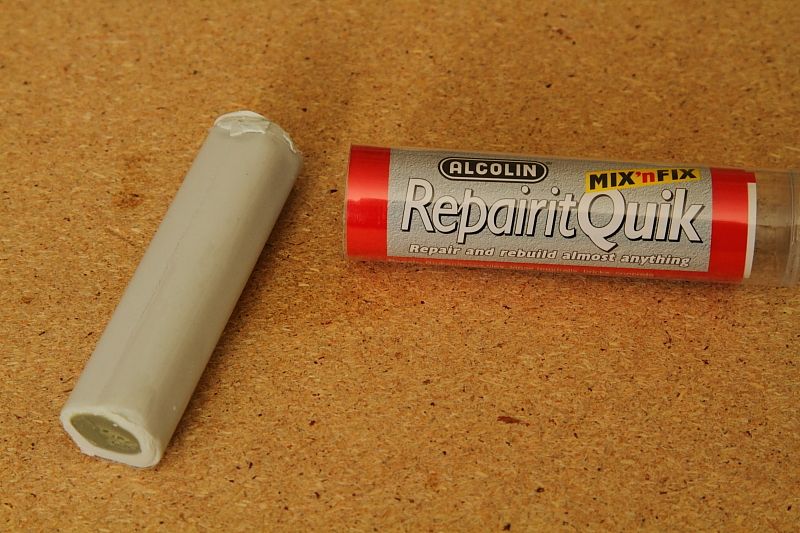
This stuff sets in 3 minutes and is hardened fully in 1 hours, so no time to play around then
Cut about 5-6mm wide pieces and done one pipe at a time:
Kneaded and rolled it to get the 2 parts to mix, then carefully glued the pipes to the back of the rack (squeezed some of the glue into the gaps as well) while checking that the bends were still sitting 100%:
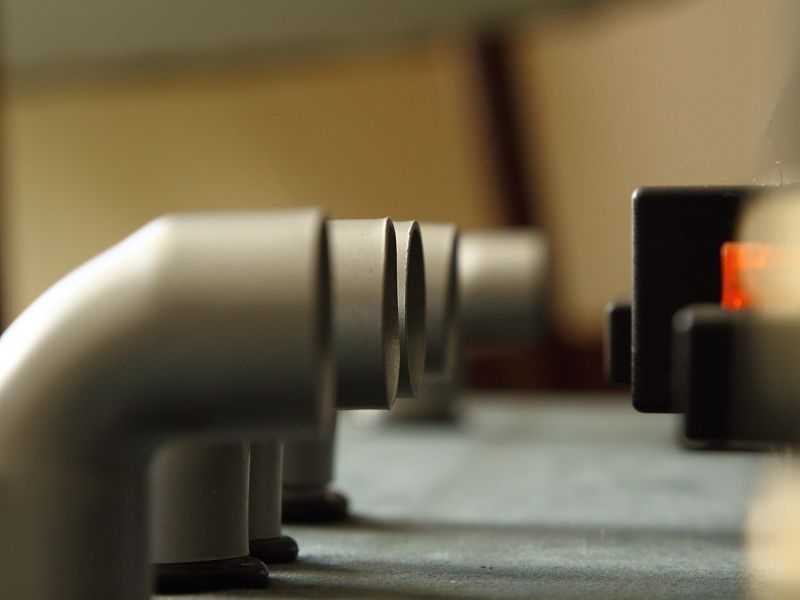
And after about 10-15 minutes I flipped the rack over again to be greeted by this sight:
Some other pics:
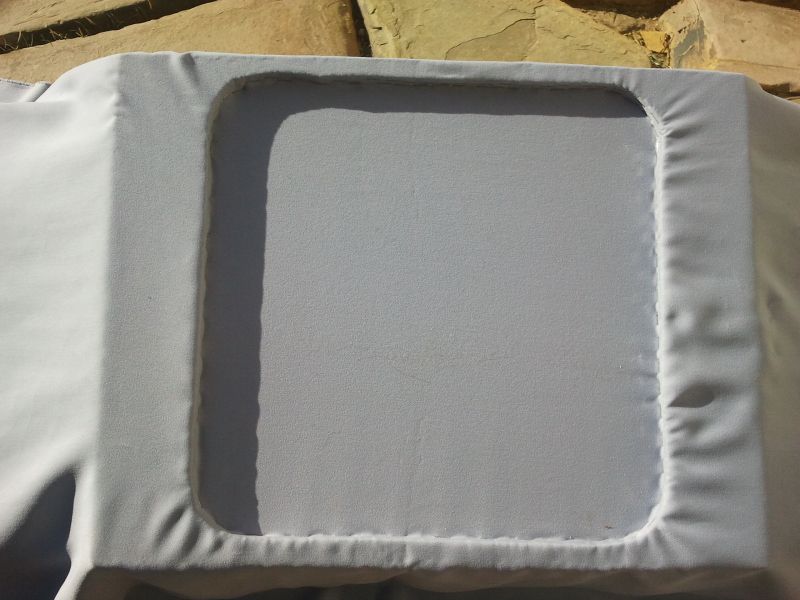
Masked the sub off using blue tape (did about 5 or 6 layers on the outer edge for some "thickness"):
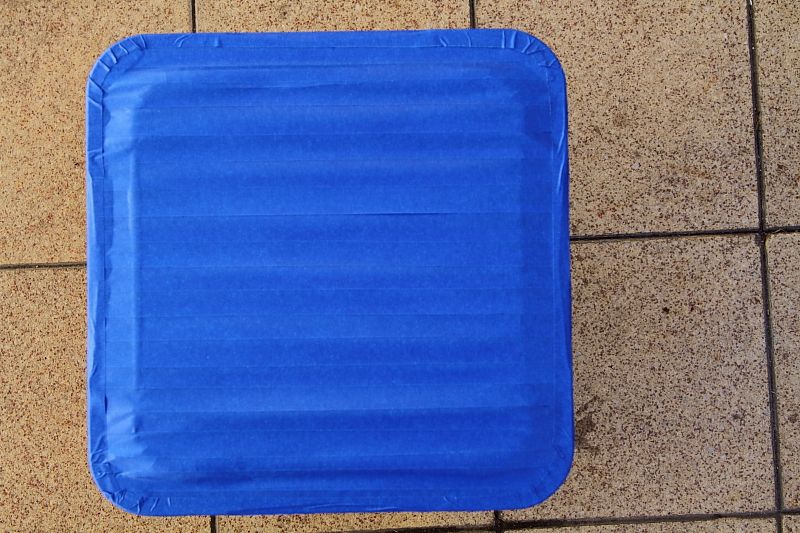

Popped it into place:

Did some filler work making sure to squeeze filler into the gap between sub and enclosure:
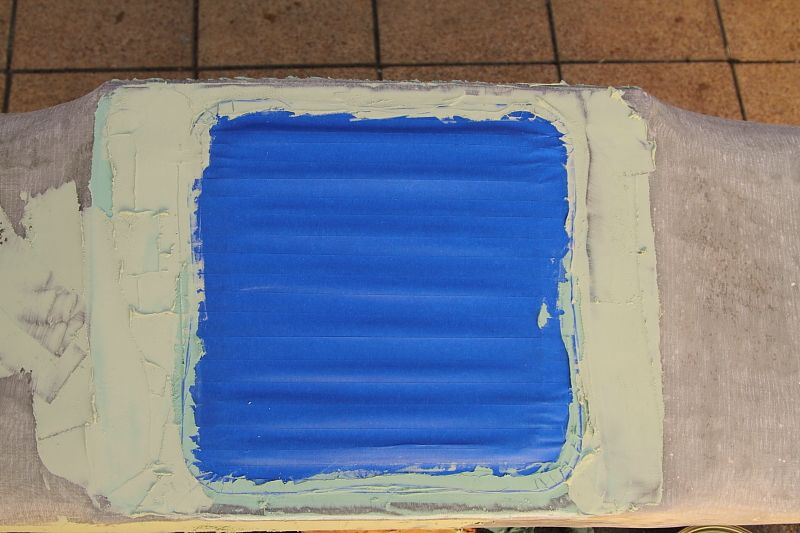
Popped the sub out again after about 20 minutes using a flat screwdriver (damaged the filler a bit, but that will get fixxored later):
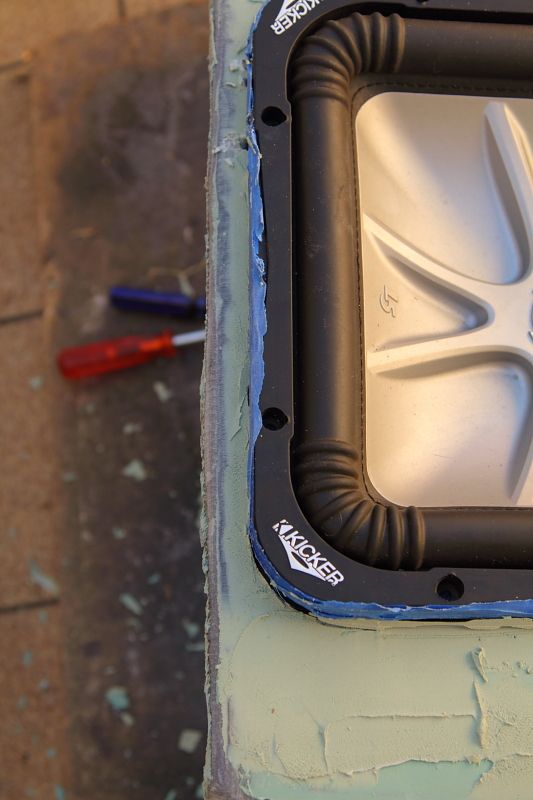

Now this leaves a neat edge so that the gap between sub surround and enclosure is neat and even (I will add some more filler to get a neat "complete" edge all the way to the bottom):
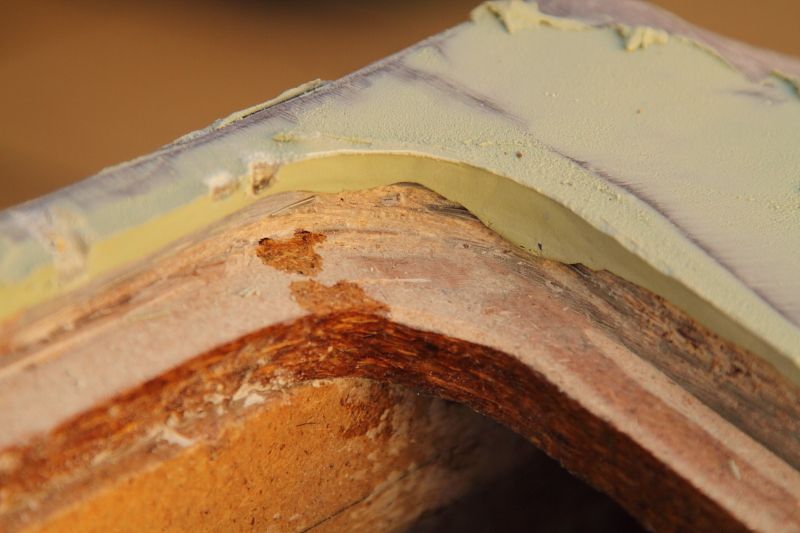
Next it was sanded and cleaned again:
Top, one side and one curved bit done:
No pics of the filler and smoothing, but it was the usual crap task of applying filler, waiting a bit, then sanding.
Did a few spots and cleaned the enclosure again, inside and out.
Excuse the cellphone pics in the first few.
Carefully measured out how much Alcantara I would need and sliced a bit off:
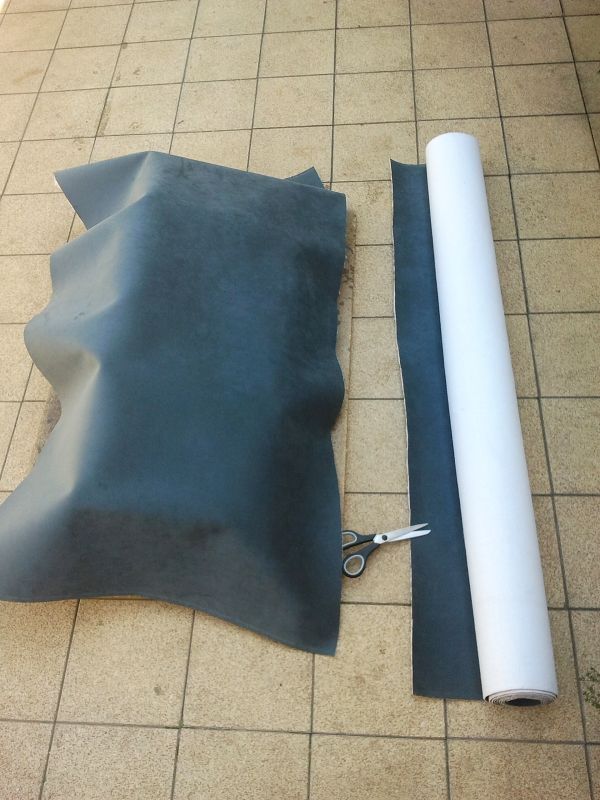
Had this, to make the covering process easier, and it works perfectly:
Not worried about how the top and bottom looks anyways.
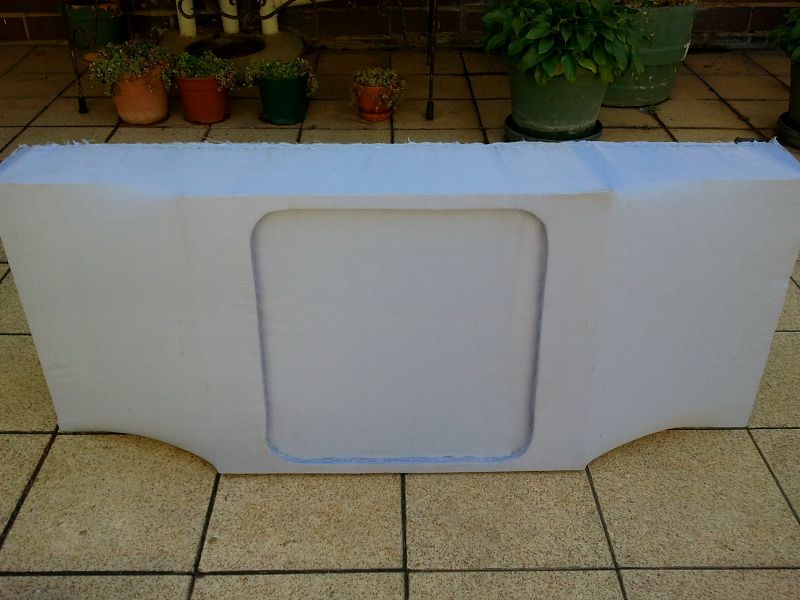
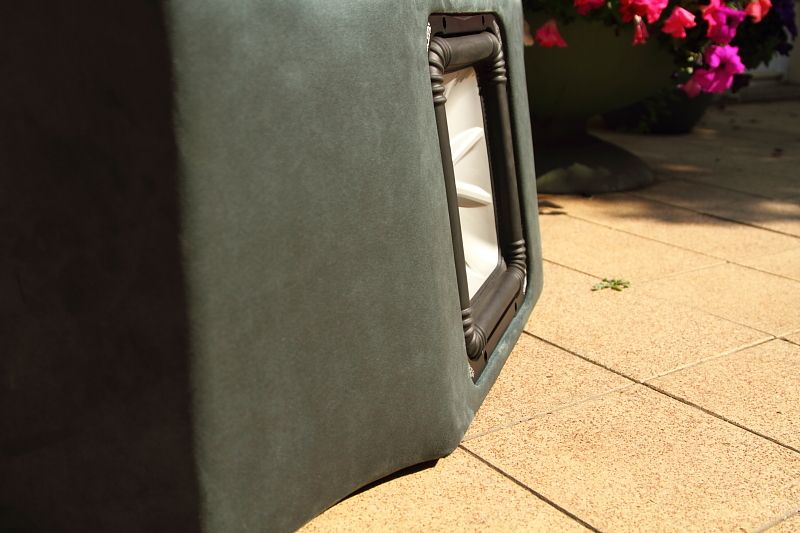
Struggled a bit to squeeze the sub into the hole as the Alcantara is a bit thick, but got it done after running new wiring out a hole at the back of the enclosure sealed off with No More Nails.
Better pics:

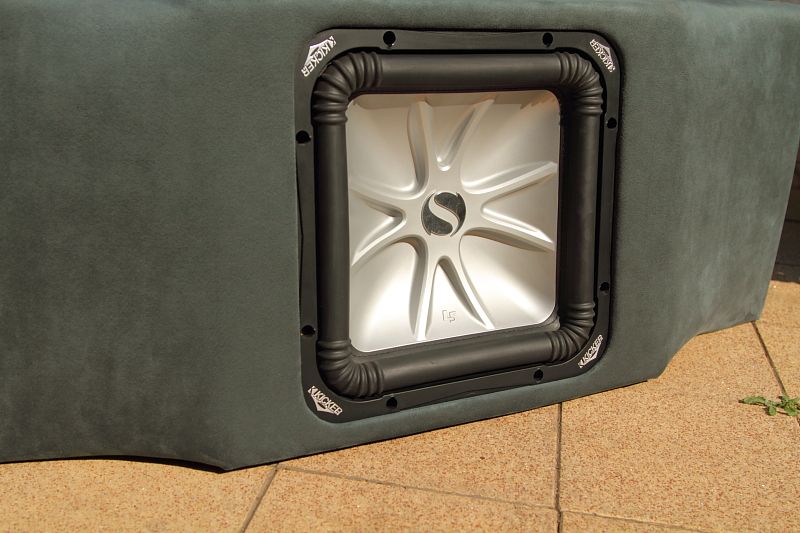
Now I can start designing the custom grille that will cover the sub.
Some crappy cellphone pics first -
Cleaned the boot, vacuumed it, and got ready:
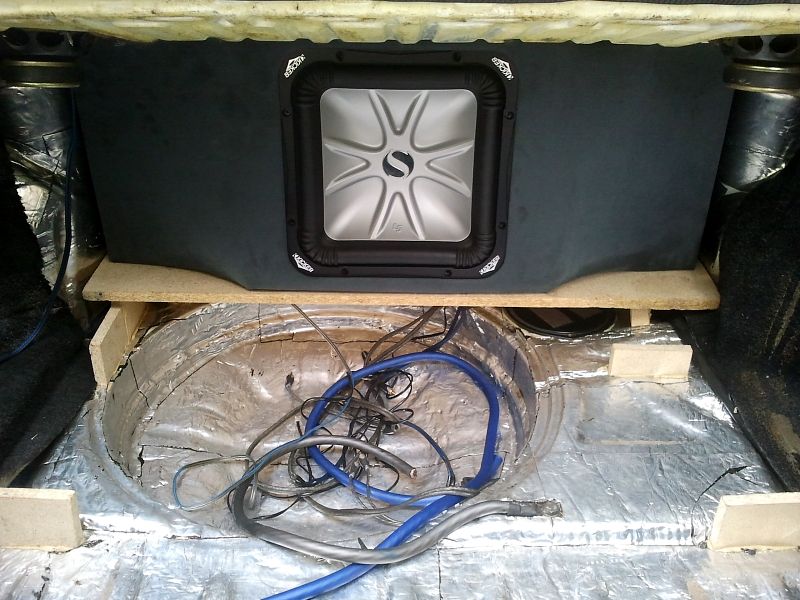
Enclosure in place:
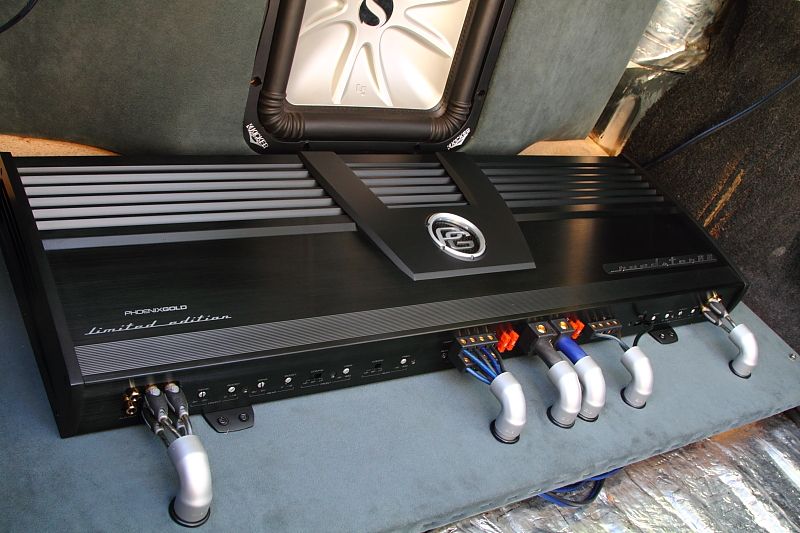
Amp rack in place:
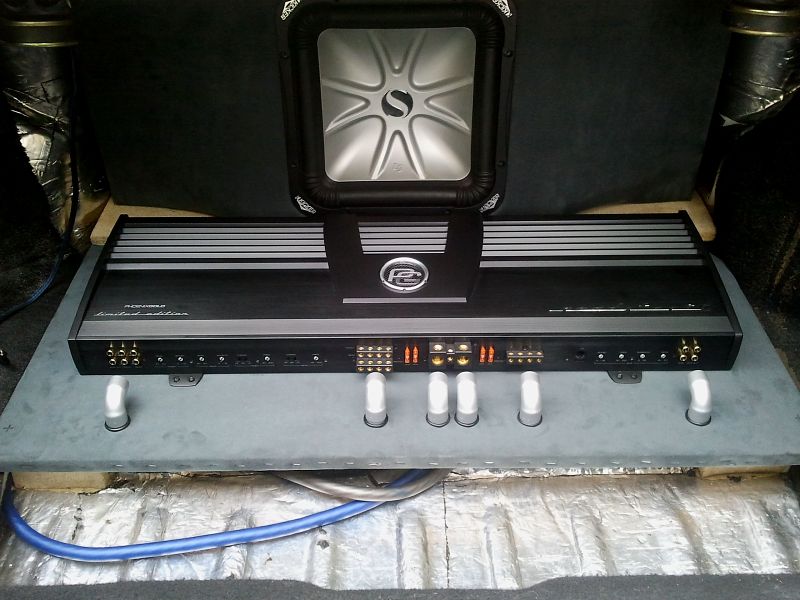
Decent pics -
Did some wiring:

Another angle:
I ran the LPL wire with the sub wires, and the amp turn-on wire is with the main ground wire.
Checking the voltage with the car idling, and it is all good to go:
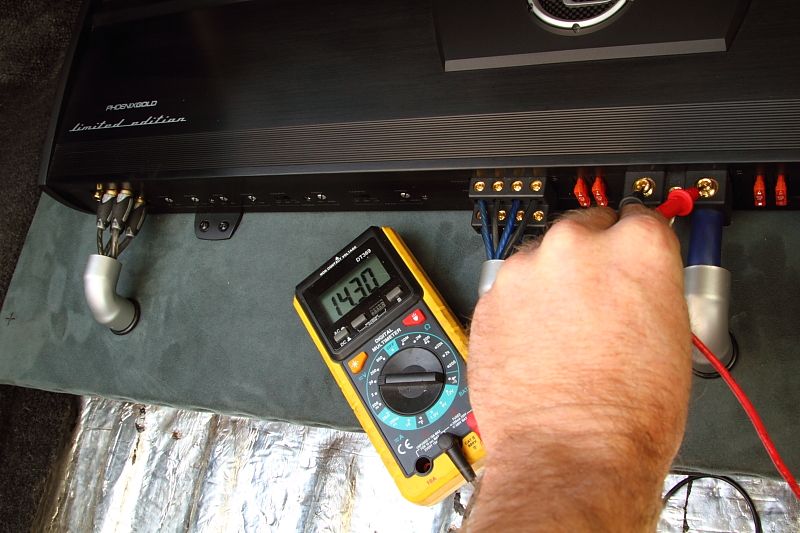
And for the first time ever, the Roadster has been given the joy of current in a car:

I am happier than a very happy thing
This amp gives such clean sound and has loads of oomph on the 4 channel and the sub channel, that I am sure there will be no problem at all with it. I listened to a few Rammstein tracks (Leichtzeit, Herzeleid, Rammlied, Du Riechst So Gut and Eifersucht), to get a mild setup going on the amp settings, then brought out the big guns. Slayer's Silent Scream, Kreator's Violent Revolution, then some Pantera (Cowboys from Hell, Walk, Mouth for War, A New Level and Five minutes alone) was used to fine tune a bit.
And to say I am impressed, over the moon, and whatever else is one damn huge understatement!!!!!!!!!!!!
This amp ROCKS!!!!!!!!!! And the new slightly larger sealed enclosure works waaaaaaaay better as well. No issues at all.
Now to get cracking on finishing the side panels and the cover part for the amp.
Like I said, it was done with limited resources and I used quite a few bits I had at my place.
And that's it for now. Will update as I go along, but it will be about a week before I do any other work on the install.