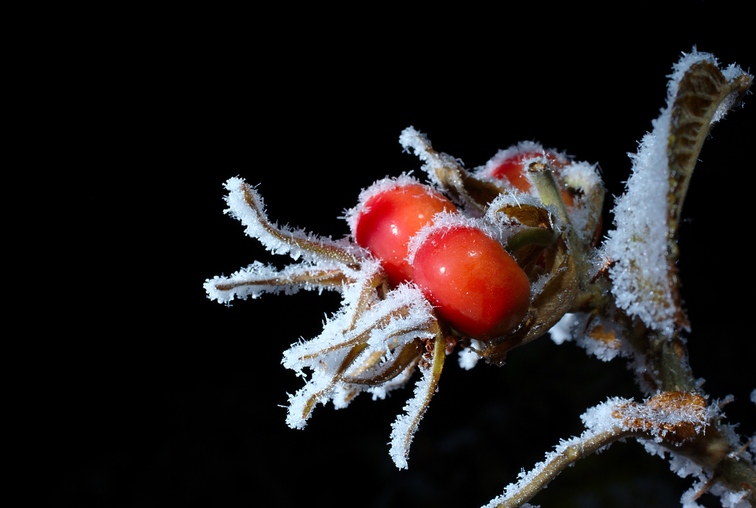
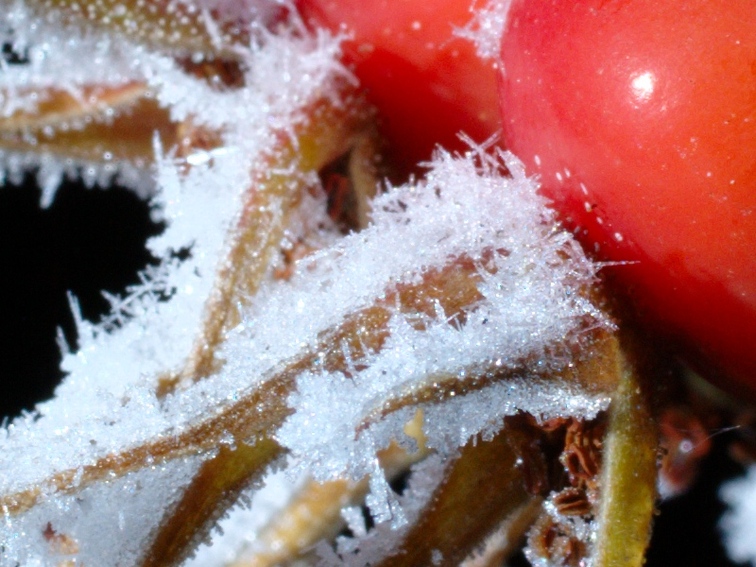
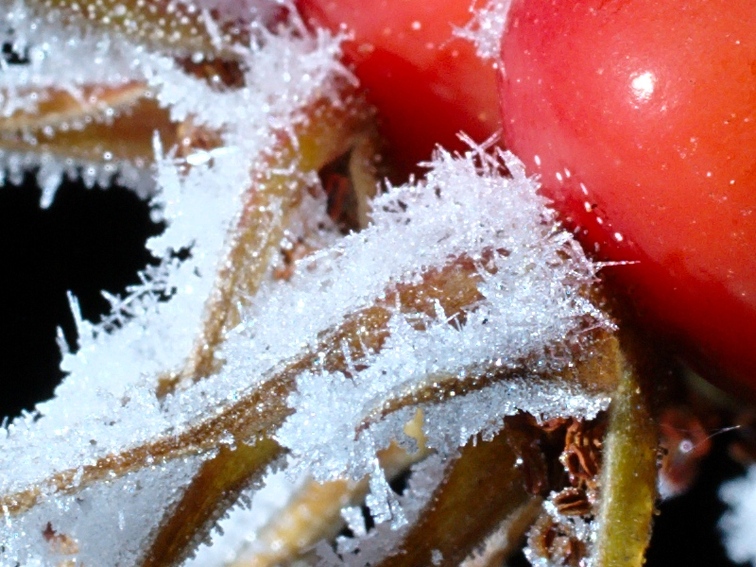
This is with the GIMP. it's intensive, it takes a while, but the results are better than just using USM.
Some jargon:
USM : Unsharp Masking. If you haven't played with it yet, do so. It sharpens pics nicely.
There are lots of ways of viewing colors. Aim here is to sharpen as necessary without introducing excessive noise. Therefore either Value in HSV or Luminosity in LAB should be sharpened.
Now, the technique. This uses GIMP, it's applicable to photoshop too in principle, but don't ask me how to do it as I don't have photochop.
1. Duplicate your pic twice.
Pic1:
- Edge Detect
- Now greyscale it (image - mode - greyscale)
- now move the colors-levels sliders so it's mainly black and white with very little gray
- apply
- add some gaussian blur. This will define how much around the strokes will be sharpened.
- Select all, copy
Pic2:
- colors - decompose to HSV or LAB
- in the channels dialog, stop showing A and B, only L is interesting.
- Create a new channel called "sharpening"
- select the channel, paste. <-- This bit's important
- in layers, anchor it
- now in the channels tab, right-click and hit "channel to selection"
- you should have marching ants....
- select the L layer
- apply your USM. 4.0, 0.5, 0 works OK for me....
- recompose to check what's going on. You could also smooth your ISO noise out before recomposing.
This is correct. Takes around 2 mins per pic on a fast machine, 10-15 here. Practice means everything. The most important bits are selecting the channel before the paste and the layer before the sharpen.
Bret
smart sharpening...
- bretti_kivi
- Shutterbug
- Posts: 1595
- Joined: Tue Aug 26, 2008 1:06 pm
- Location: Päijät-Häme or Uusimaa
smart sharpening...
Last edited by bretti_kivi on Wed Dec 09, 2009 1:46 pm, edited 1 time in total.
- bretti_kivi
- Shutterbug
- Posts: 1595
- Joined: Tue Aug 26, 2008 1:06 pm
- Location: Päijät-Häme or Uusimaa
- bretti_kivi
- Shutterbug
- Posts: 1595
- Joined: Tue Aug 26, 2008 1:06 pm
- Location: Päijät-Häme or Uusimaa
- bretti_kivi
- Shutterbug
- Posts: 1595
- Joined: Tue Aug 26, 2008 1:06 pm
- Location: Päijät-Häme or Uusimaa


