How to Build Kick Panels
Posted: Fri Jan 05, 2007 7:10 pm
This is a step-by-step tutorial showing you how to create your own custom kick panels. I know there are a lot of other people on here who can do a much better job than me, so please add what ever advice you can.
Items needed:
Painter’s tape
Tin foil
Plastic sheets
Fleece
Fiberglass
Paintbrushes
Heat gun (if in cold weather)
Disposable plastic cups
Dremel
Popsicle sticks (anything like it)
Glue gun
Sander
Sand paper
Bondo
Plastic disposable gloves
OPTIONAL: fiberglass mat
OPTIONAL: Grinder
1.) Building a Base
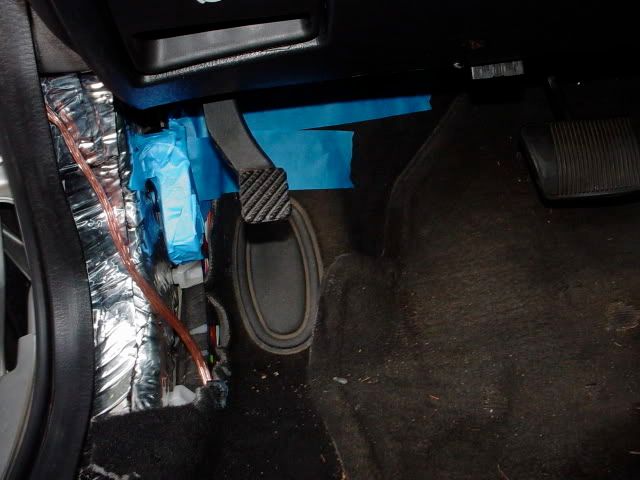
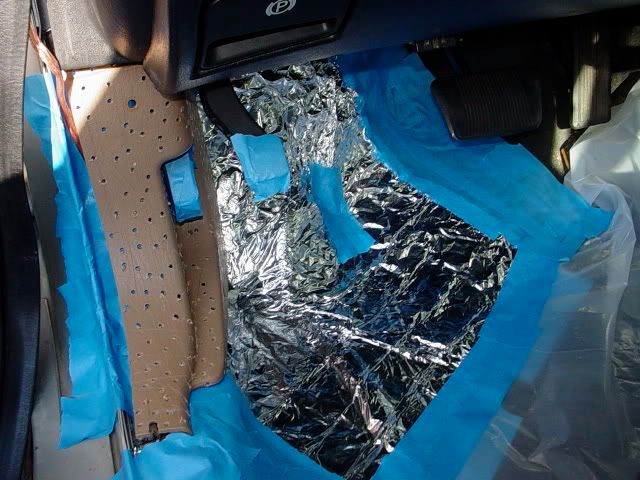
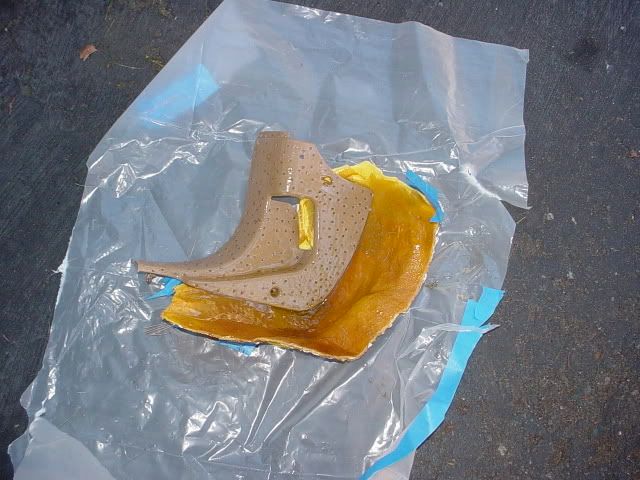
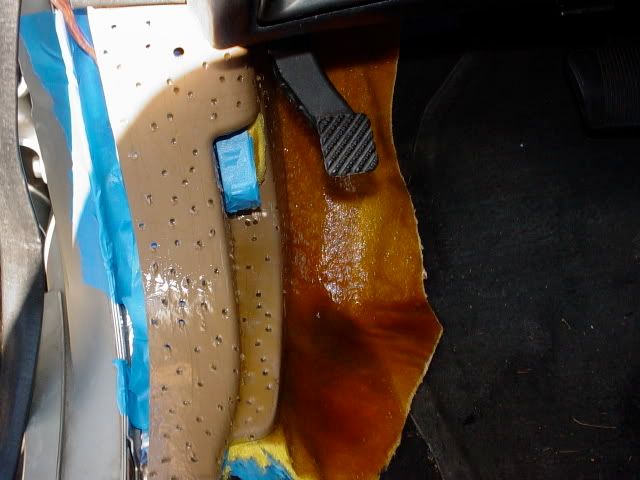
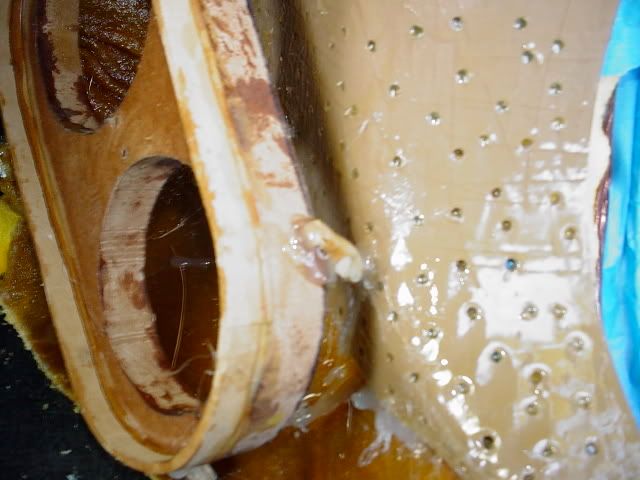
Tape off this entire area with painters tape, then lay down another layer of tin foil and tape it down around it’s edges. Now put down and tape off plastic sheets everywhere else on the floor to ensure no fiberglass will get on your carpet. Then place your stock kick panel back into location. Make sure the stock kick panel is prepped for fiberglass by drilling tiny holes and roughing it up with a low grit sand paper; this allows for the fiber glass to hold to the plastic kick. So it should look like...
Now lay down a piece of cloth, like fleece, or preferably fiberglass mat.
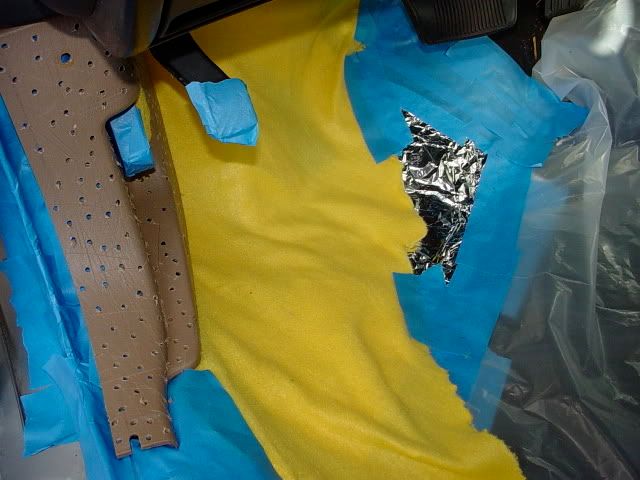
Now mix up about a 16 oz cup worth of fiberglass and paint it over the entire area. When applying the glass there are many techniques to do but I prefer to usually dab the glass on until it covers the entire area, then paint the rest of the glass on to the area.
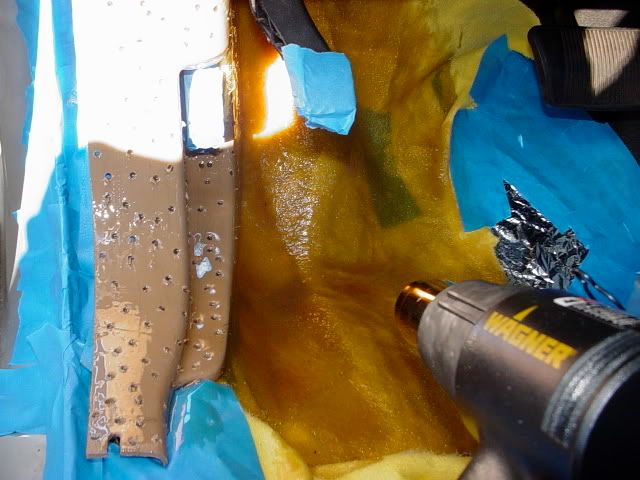
To get glass to cure it has to be in a warm area so if you are in cold conditions like I was, use a heating gun to warm the glass up enough to get it to cure.
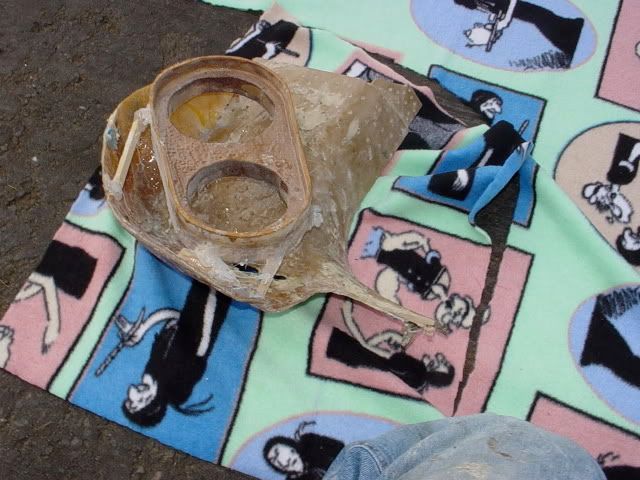
Now take your cured base and cut off the extra base with a dremel.
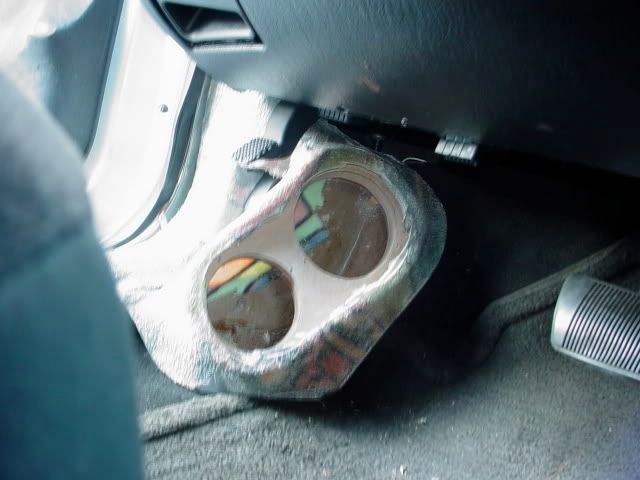
2.) Angling your baffle and attacking it
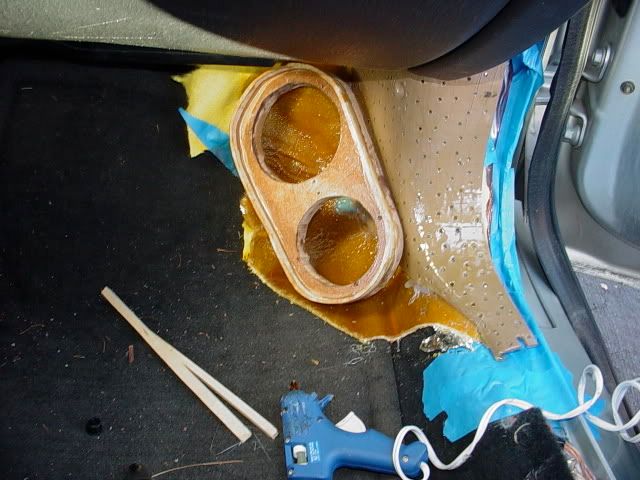
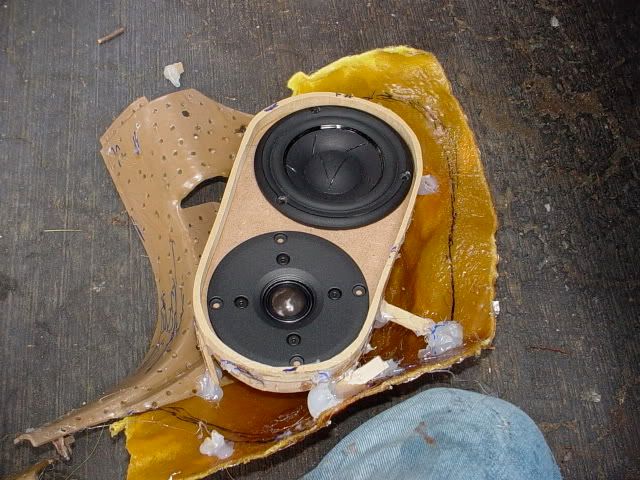
Now take your baffle that you've made before this for your speakers and start seeing how you would like it placed on your base. Once you've decided how you want it placed, take pieces of wood, metal strips, Popsicle sticks, anything of the nature really. Use them to hold your baffle in place w/ hot glue attacking them to the base and baffle like so...
Now this is optional at this point, you can place a towel around them and try them out at this point, to see if you like the angle. The try again and again until you find the optimal way you prefer them angled.
TIP: angling them so that they aim at your CD player is usually a good starting point.
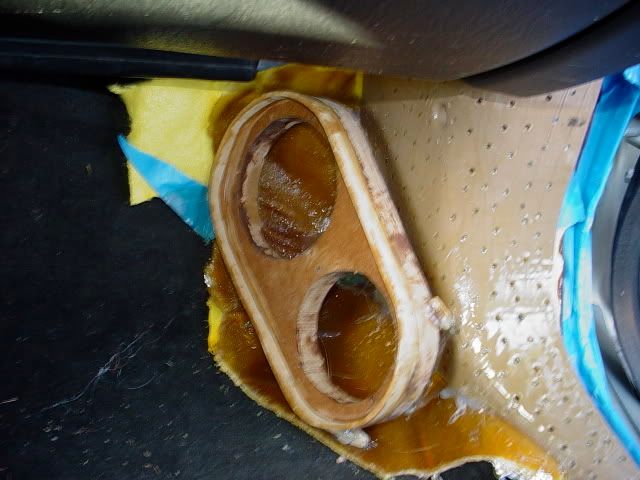
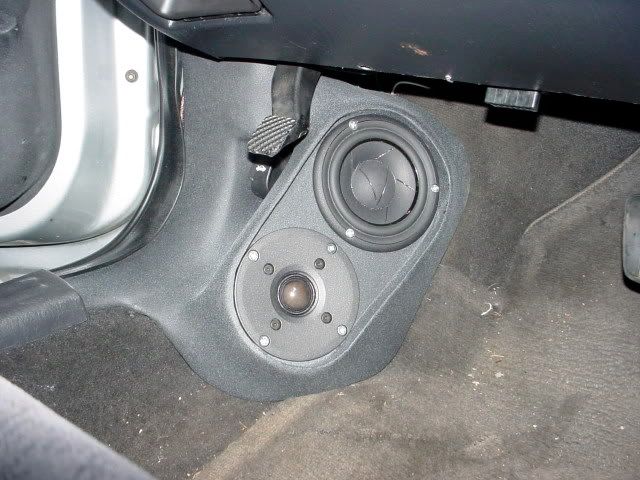
Before you go finish, make sure the speakers will fit...
Now see where i drew that line, this is the time when you want to cut away the extra of the base that is not needed.
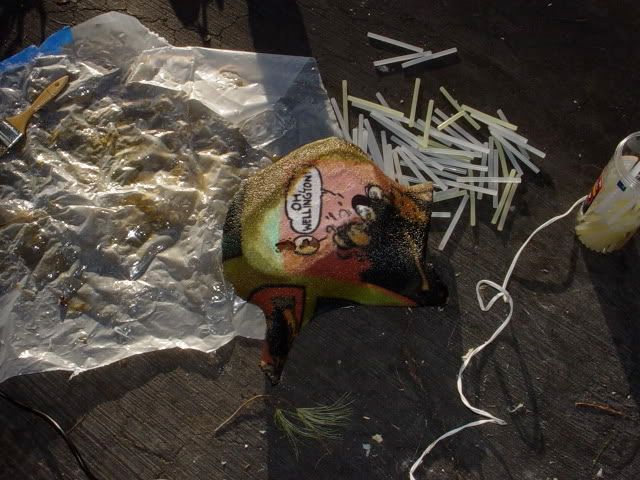
3.) Stretching the material
Place your creation over a medium thickness fleece and cut out a piece of fleece that will allow you to cover the entire kick.
Now take your hot glue gun and stretch the fleece around the front of the base and baffle
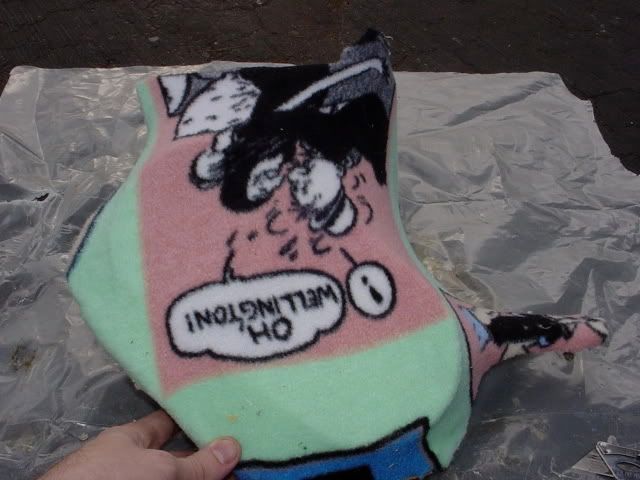
You don’t want any creases or folds as once then are glassed they will be much harder to get rid of.
Now mix up your glass and glass them
If you are in cold weather this may be helpful for curing them
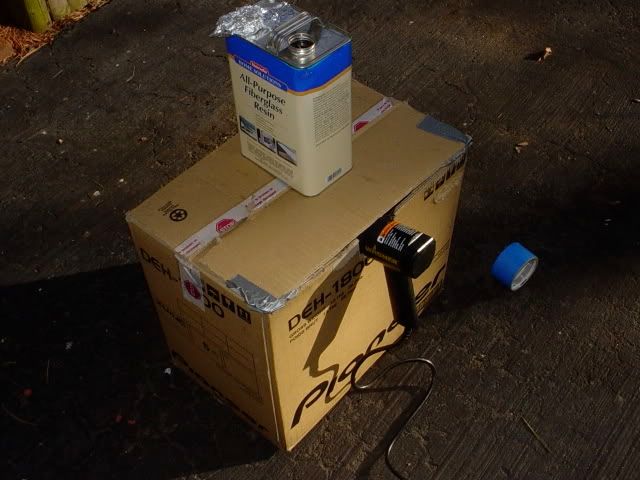
A box w/ a whole in it to stick the heating gun in; just places your kicks in there and they'll cure in no time.(dont leave the heat gun in there for over a min tho just trying to heat up the area a little bit. If you leave it on i guess it could be a fire issue, especially with an open tub of fiberglass holding the box down )
)
Now take your grinder or drummel and cut away the fleece part where your speakers are going to be placed.
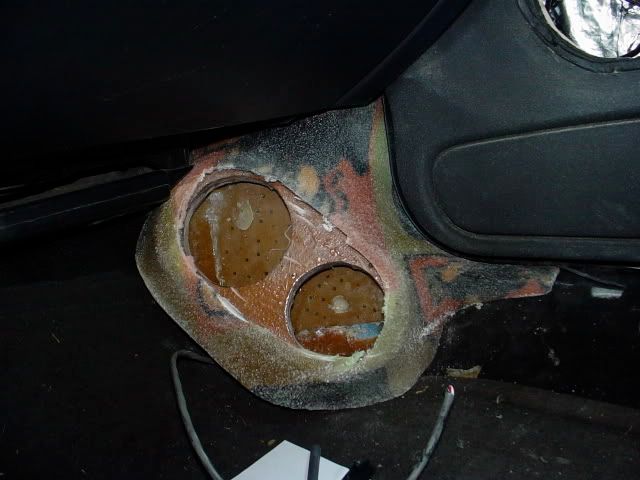
Also give them a test fit in the car just to make sure they fit.
Now mix up another cup of glass and give the outside, inside, and baffles another coat to ensure there are no leaks in the kicks.
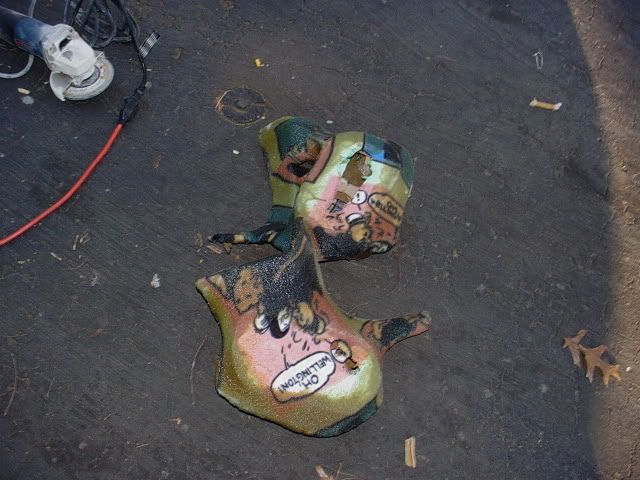
After this take your drummel or grinder and get rid of any big blemishes on the kicks.
The final part to it is to BONDO and SAND. May take up to 3 times of laying bondo.
After sanding them they will like this...
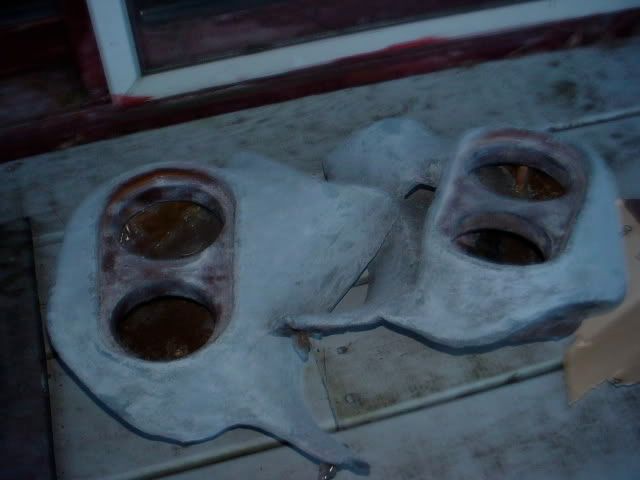
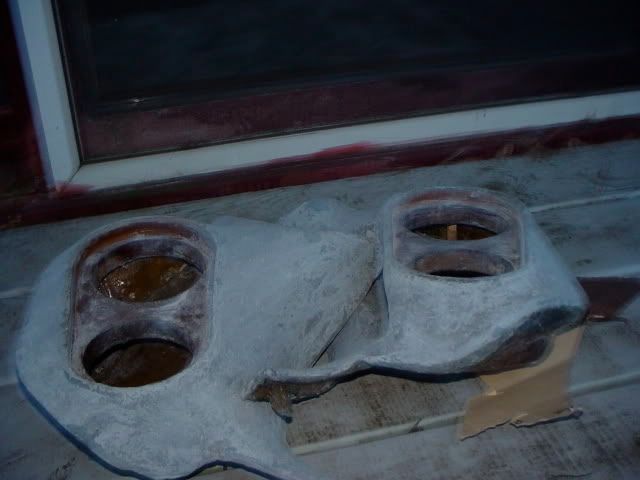
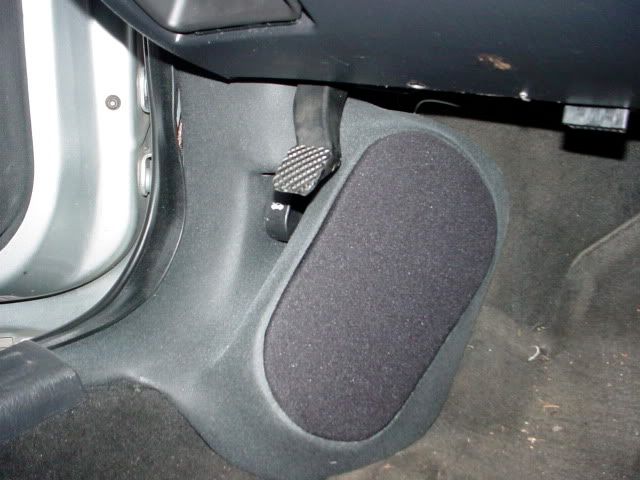
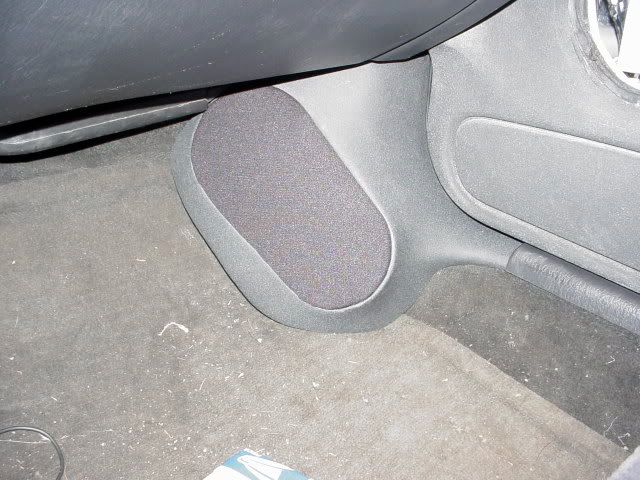
At this point your basically done, besides one-step the finish which is up to you…
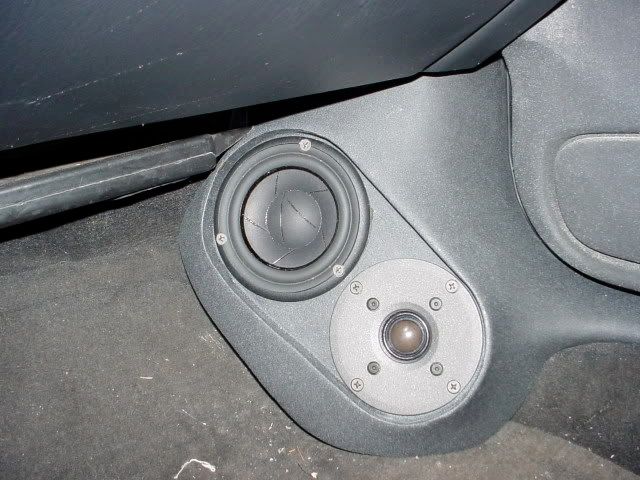
You can do anything from textured paint, carpet wrap, vynil wrap, suede ect… I post pics once I decide what to do.
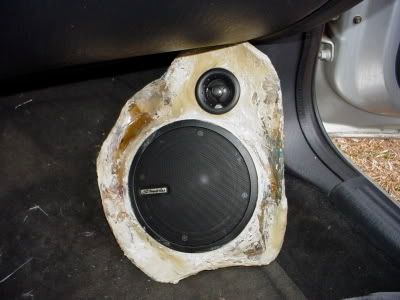
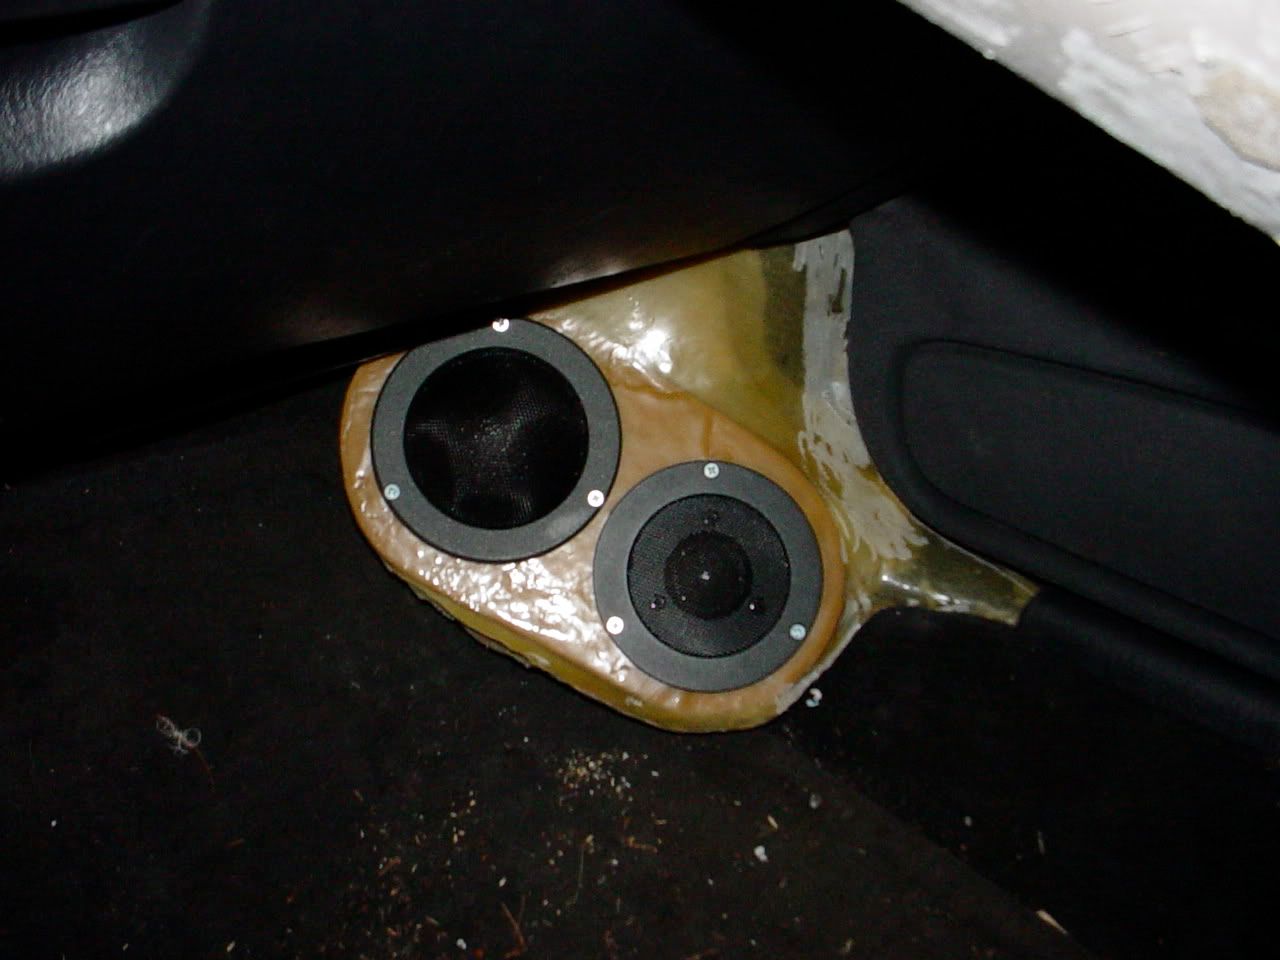
Here they are finished in aerosol textured paint from home depot... I gotta work on the color....but I am waiting until I re-do the doors too so i can try to match all of them as best as I can as it's a lot easier to match them at once.
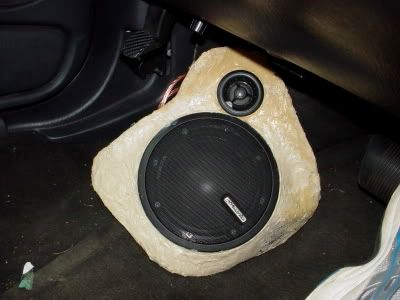
Another thing, just KEEP trying
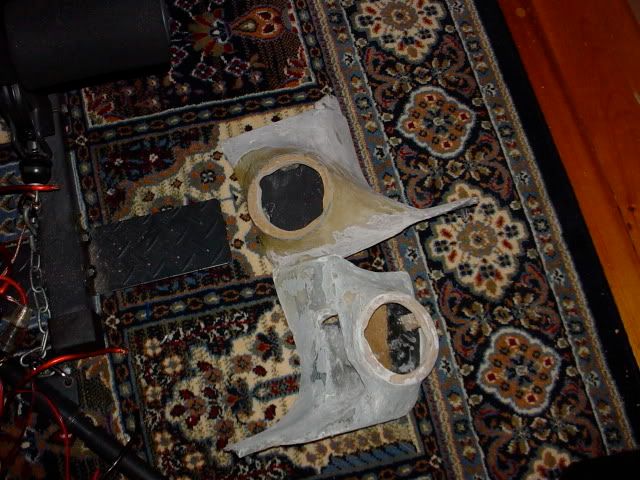
Look at my first attempt from a year ago :
pic 1
pic 2
the next
pic 1
pic 2
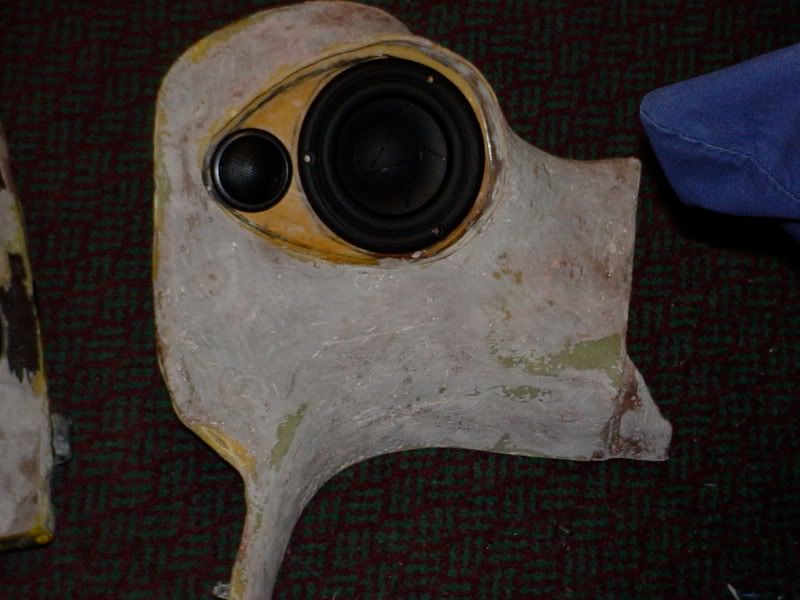
the 3rd try
pic 1
and 4th
pic 1
pic 2
You will improve with each try just like I did. Don't be discouraged if it doesn't work perfectly on the first try!
Items needed:
Painter’s tape
Tin foil
Plastic sheets
Fleece
Fiberglass
Paintbrushes
Heat gun (if in cold weather)
Disposable plastic cups
Dremel
Popsicle sticks (anything like it)
Glue gun
Sander
Sand paper
Bondo
Plastic disposable gloves
OPTIONAL: fiberglass mat
OPTIONAL: Grinder
1.) Building a Base
Tape off this entire area with painters tape, then lay down another layer of tin foil and tape it down around it’s edges. Now put down and tape off plastic sheets everywhere else on the floor to ensure no fiberglass will get on your carpet. Then place your stock kick panel back into location. Make sure the stock kick panel is prepped for fiberglass by drilling tiny holes and roughing it up with a low grit sand paper; this allows for the fiber glass to hold to the plastic kick. So it should look like...
Now lay down a piece of cloth, like fleece, or preferably fiberglass mat.
Now mix up about a 16 oz cup worth of fiberglass and paint it over the entire area. When applying the glass there are many techniques to do but I prefer to usually dab the glass on until it covers the entire area, then paint the rest of the glass on to the area.
To get glass to cure it has to be in a warm area so if you are in cold conditions like I was, use a heating gun to warm the glass up enough to get it to cure.
Now take your cured base and cut off the extra base with a dremel.
2.) Angling your baffle and attacking it
Now take your baffle that you've made before this for your speakers and start seeing how you would like it placed on your base. Once you've decided how you want it placed, take pieces of wood, metal strips, Popsicle sticks, anything of the nature really. Use them to hold your baffle in place w/ hot glue attacking them to the base and baffle like so...
Now this is optional at this point, you can place a towel around them and try them out at this point, to see if you like the angle. The try again and again until you find the optimal way you prefer them angled.
TIP: angling them so that they aim at your CD player is usually a good starting point.
Before you go finish, make sure the speakers will fit...
Now see where i drew that line, this is the time when you want to cut away the extra of the base that is not needed.
3.) Stretching the material
Place your creation over a medium thickness fleece and cut out a piece of fleece that will allow you to cover the entire kick.
Now take your hot glue gun and stretch the fleece around the front of the base and baffle
You don’t want any creases or folds as once then are glassed they will be much harder to get rid of.
Now mix up your glass and glass them
If you are in cold weather this may be helpful for curing them
A box w/ a whole in it to stick the heating gun in; just places your kicks in there and they'll cure in no time.(dont leave the heat gun in there for over a min tho just trying to heat up the area a little bit. If you leave it on i guess it could be a fire issue, especially with an open tub of fiberglass holding the box down
Now take your grinder or drummel and cut away the fleece part where your speakers are going to be placed.
Also give them a test fit in the car just to make sure they fit.
Now mix up another cup of glass and give the outside, inside, and baffles another coat to ensure there are no leaks in the kicks.
After this take your drummel or grinder and get rid of any big blemishes on the kicks.
The final part to it is to BONDO and SAND. May take up to 3 times of laying bondo.
After sanding them they will like this...
At this point your basically done, besides one-step the finish which is up to you…
You can do anything from textured paint, carpet wrap, vynil wrap, suede ect… I post pics once I decide what to do.
Here they are finished in aerosol textured paint from home depot... I gotta work on the color....but I am waiting until I re-do the doors too so i can try to match all of them as best as I can as it's a lot easier to match them at once.
Another thing, just KEEP trying
Look at my first attempt from a year ago :
pic 1
pic 2
the next
pic 1
pic 2
the 3rd try
pic 1
and 4th
pic 1
pic 2
You will improve with each try just like I did. Don't be discouraged if it doesn't work perfectly on the first try!