Page 1 of 1
RMD install locations
Posted: Wed Dec 26, 2012 7:21 pm
by JayGold
Post up the location of your RMD or similar voltage display, I'm looking for some ideas.
Re: RMD install locations
Posted: Thu Dec 27, 2012 4:29 am
by dwnrodeo
Re: RMD install locations
Posted: Thu Dec 27, 2012 6:32 am
by ttocs
hi, my name is scott and I have a problem with rmd's. Too damn many of them.
Put these two in at my power block display to show the voltage of each battery.

And the most recent one will go here to show the voltage at the DD10 so I will know it has power.

and then there will also be a few SDT displays in the overhead consol to show the amps voltage. When the owner is the one that will be doing the install and all troubleshooting/repairs later the install is a little different from most.
Re: RMD install locations
Posted: Thu Dec 27, 2012 6:05 pm
by JayGold
Well, it seems the only available location for the one I just purchased is right above the rear view mirror on the roof liner:

Re: RMD install locations
Posted: Thu Dec 27, 2012 8:19 pm
by Starunit10
That would look Good!

Re: RMD install locations
Posted: Thu Dec 27, 2012 11:56 pm
by ttocs
maybe you could add an overhead consol like I did in my ranger and my mustang. I took an overhead consol from an explorer and mounted it up in the ceiling. I like them because they also have a compass/outside temp feature, as well as have a place to hold your garage door opener.
I used the center portion that use to hold the dome lights for it to hold my rmd there. I painted it too match my octane LE that was the center point of the system.

Re: RMD install locations
Posted: Fri Dec 28, 2012 7:55 am
by JayGold
ttocs wrote:maybe you could add an overhead consol like I did in my ranger and my mustang. I took an overhead consol from an explorer and mounted it up in the ceiling. I like them because they also have a compass/outside temp feature, as well as have a place to hold your garage door opener.
I used the center portion that use to hold the dome lights for it to hold my rmd there. I painted it too match my octane LE that was the center point of the system.
Woah...now you got me heading to the parts yard to find a Subaru matching overhead console. I even have some high quality carbon fiber I can use as a template around the PG items if needed.
This way I can mount the RMD and potentially my LPL on/in it.
And this is why I love this site
Re: RMD install locations
Posted: Fri Dec 28, 2012 11:23 am
by ttocs
there was tons of room in that one. the small momentary push button on the side was to toggle between temp sensors, one on the amp(normally on) and one outside(when button was held).
Re: RMD install locations
Posted: Sun Dec 30, 2012 1:52 pm
by JayGold
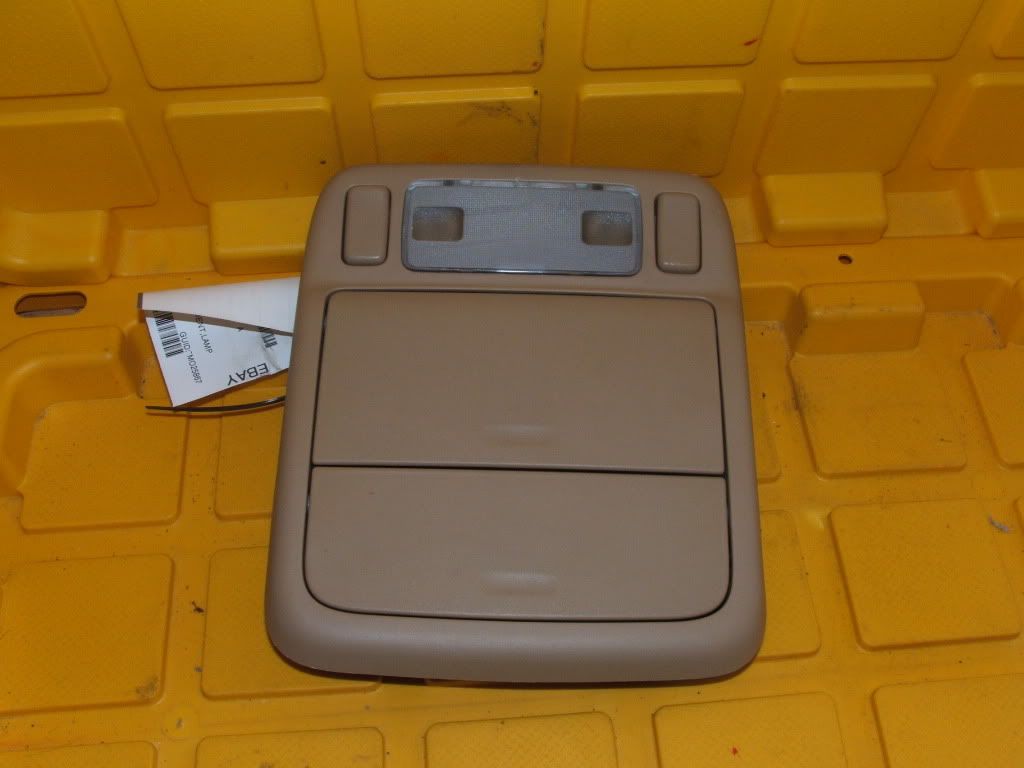
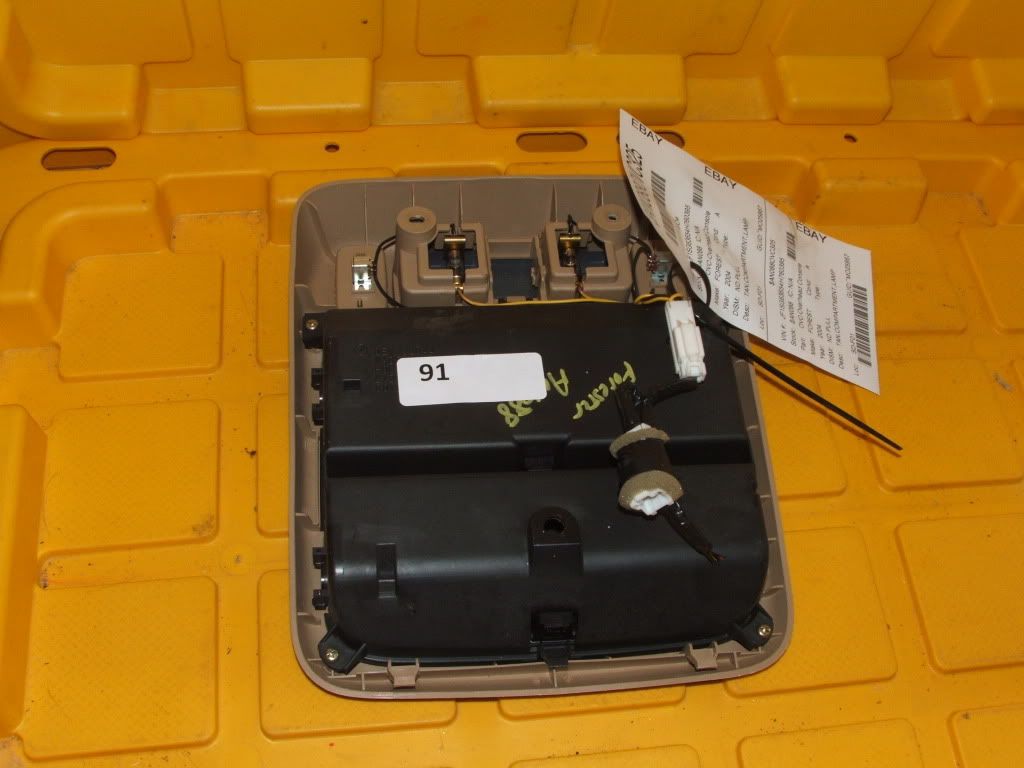
I'm thinking of going with either this Subaru overhead compartment or just mounting the (2) RMD's I have to the roof liner section between the visors and calling it a day.
This console will set me back $45.00 and I'll have to fabricate brackets to hold it to the roof supports.
Re: RMD install locations
Posted: Sun Dec 30, 2012 3:39 pm
by ttocs
mine was not hard to do even on the mustang. The ranger has the same cab as the explorer so it was a perfect fit but the mustangs went just as easy.
Re: RMD install locations
Posted: Sun Dec 30, 2012 6:56 pm
by JayGold
ttocs wrote:mine was not hard to do even on the mustang. The ranger has the same cab as the explorer so it was a perfect fit but the mustangs went just as easy.
How did you go about securing it to the roof liner or roof supports?
I want to do it right (I would sound deaden the inside) and make sure it won't resonate or vibrate with the low end frequencies.
Re: RMD install locations
Posted: Mon Dec 31, 2012 12:35 am
by ttocs
Mine was a bit different because it has two clips, and then two screws. hold the piece up there and make the screw holes onto the roof supports. On mine the mounting points for the consol matched up to them perfectly so i didn't have to make any kind of supports between factory pieces for me to mount the consol too. For the clips, I drilled two small holes on the end of the lines I made and then a dremel/cutting wheel to connect them. For just the screw holes obviously be carefull with your drill and use some short screws.