This will be the thread where I finally get to demonstrate why it was I used to be employed building installs back in the 90's.
I accept that my last 'install' which is what it was in the barest forms (for sound only not aesthetics) wasn't very tidy. However, mitigating factors were at play.
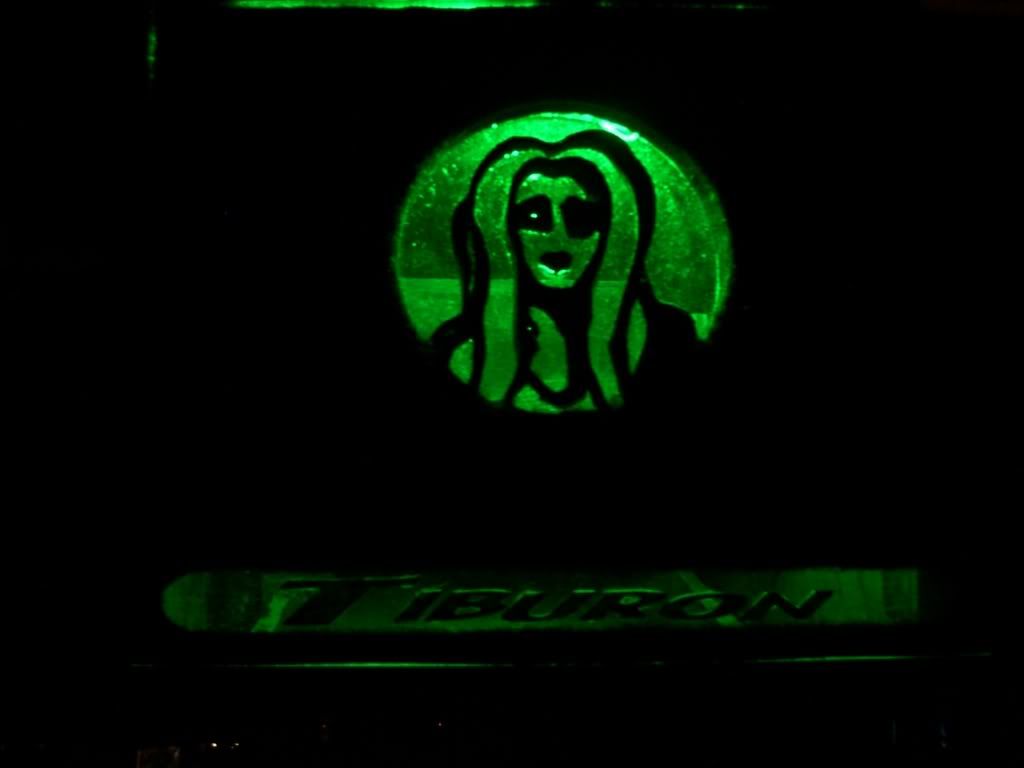
The install never began like that, it began something like this -
Which was plain, basic yet clean.
Sadly I then realised I did not like Kicker products at all (I want to say that theyre totally fucking SHIT but I dont want to wake the shitcunt troll) so the sub and amp had to go.
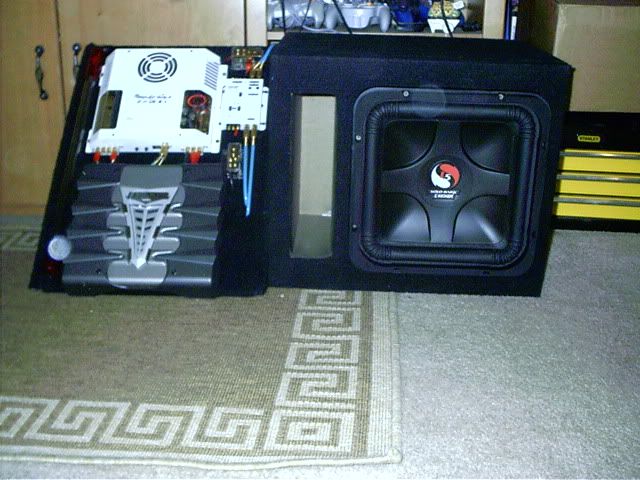
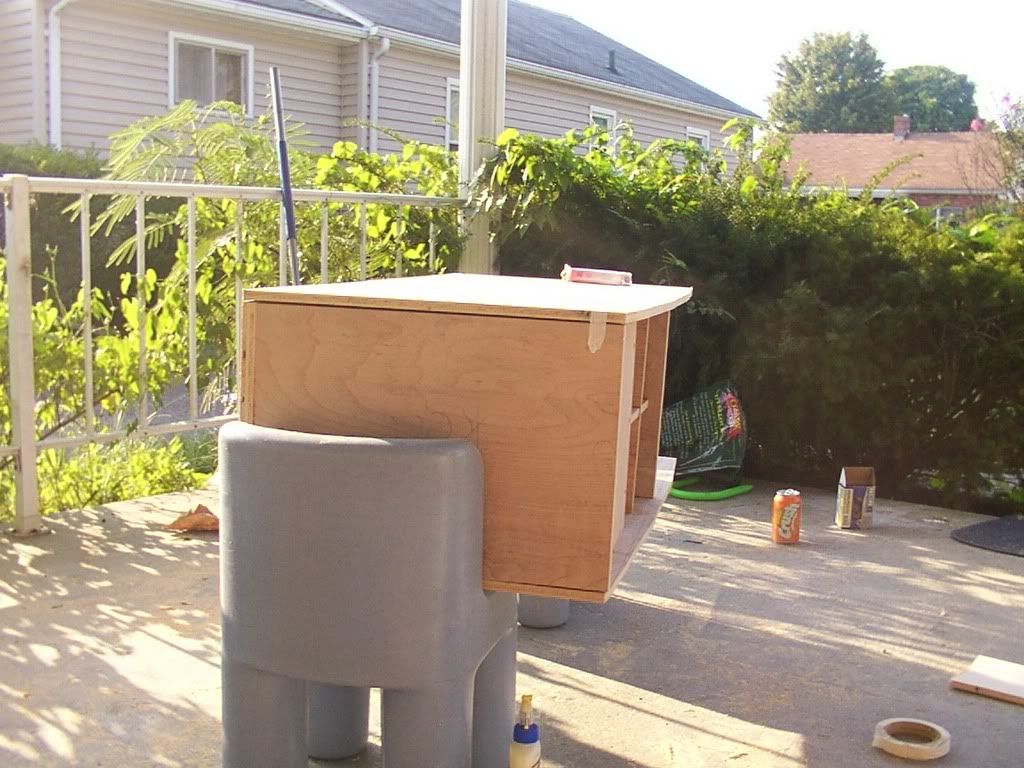
I bought the prebuilt kicker box in the pic up there for a few of reasons.
#1 I was still with my wife, so time was important.
#2 I lived in an apartment that I actually cared about.
#3 I was working 50 hours a week at the busiest time of year.
So I wasnt bothered about having a totally custom install, I just wanted a system in my car (and fucking hell I have seen ALOT worse than the above).
Sadly when I started swapping shit out nothing fit anymore. So I had to make it fit. In a perfect world I would own a 4-5 bedroom house and have a woodshop with every tool I needed in it (like back @ the store in the 90's) but sadly I didnt, so I just added gear not really giving a fuck about what it looked like.
Now, however, I do have the chance to display what I can do, and how complex I can make installs given the time, money and location to do so.
So, starting afresh I am going to start posting pics of my trunk build as I go, explaining what I have been up to.
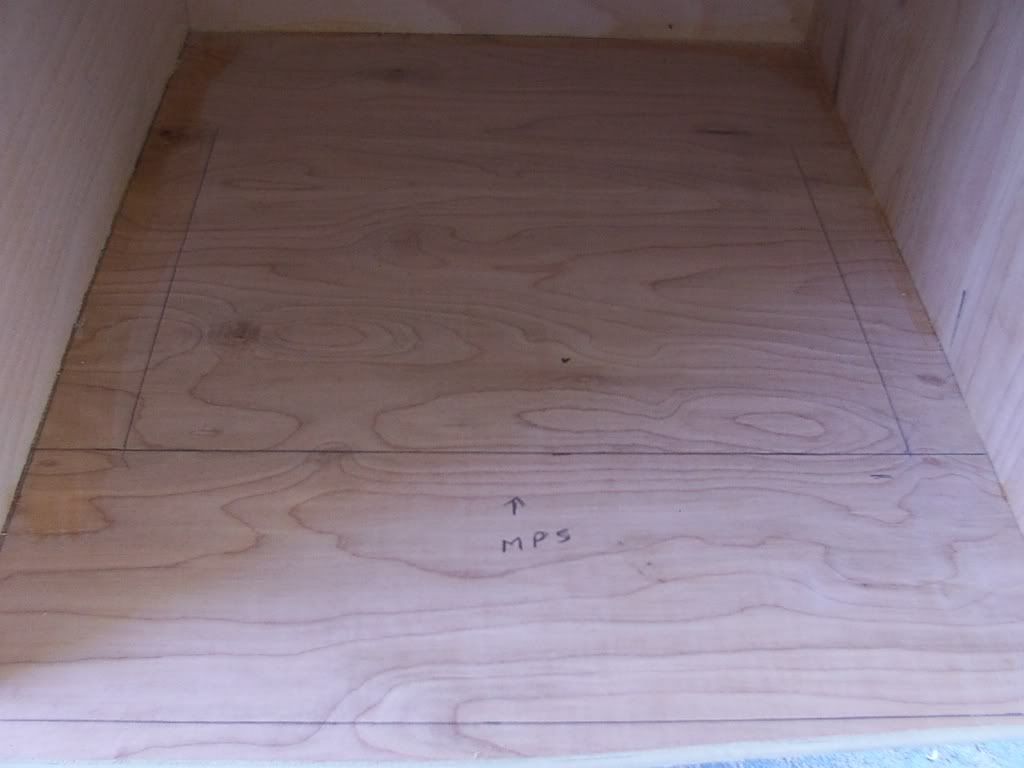
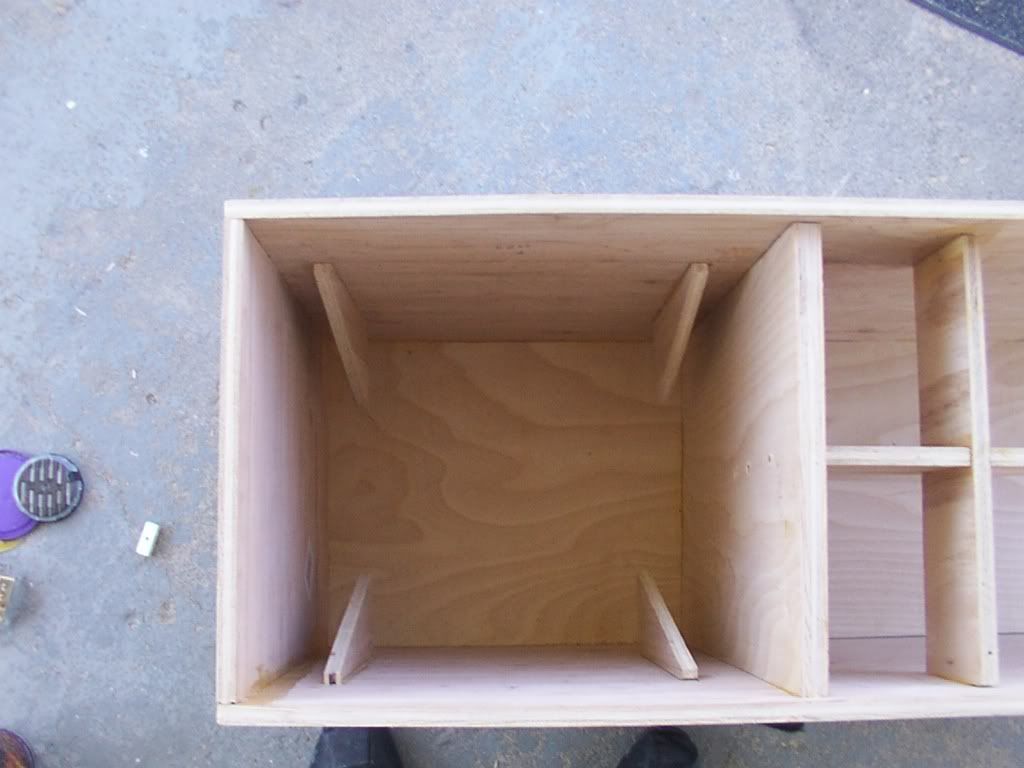
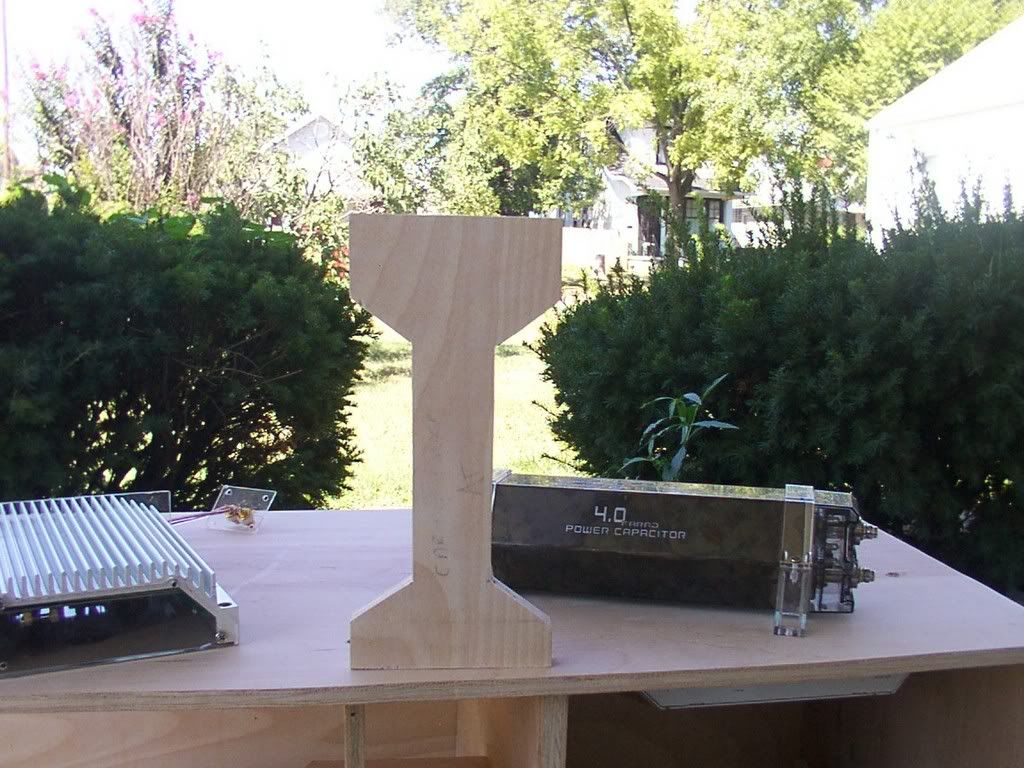
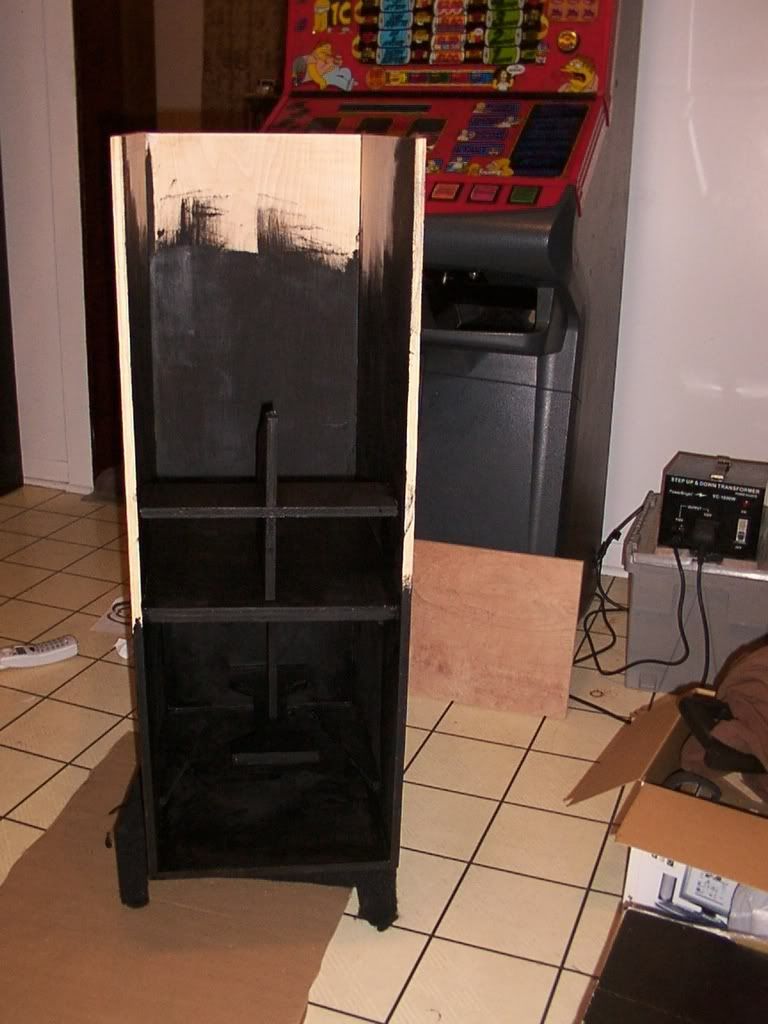
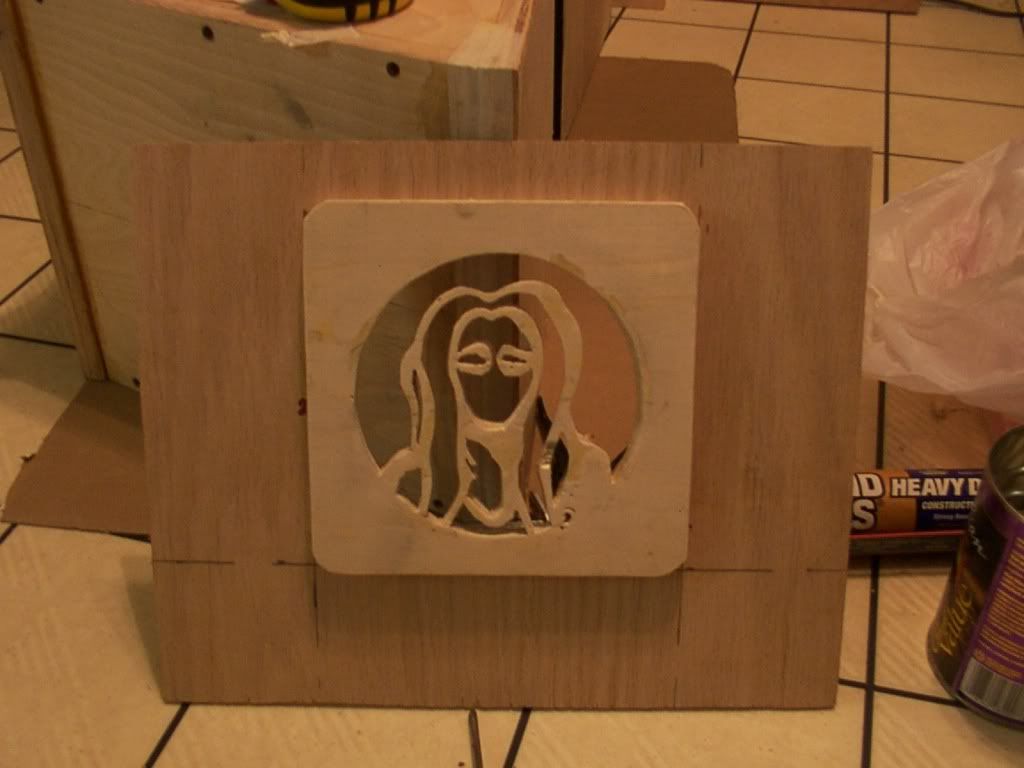
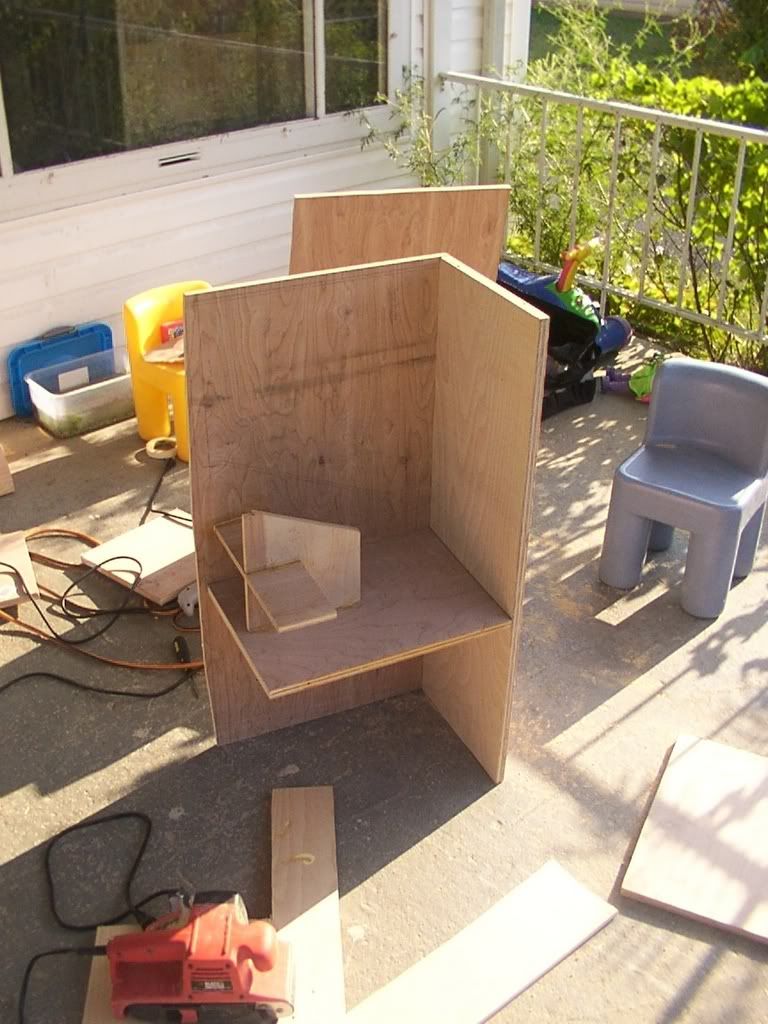
Stage one was building the sealed internal chamber for the 10 to reside in. This needed to be completely sealed (hence the masking tape covering over the oodles of liquid nails around the weakest joins) and a really oddball shape.
Pic here
It also needed the 4 port 'plane' thing constructed too, thats also in the picture (tho it isnt all one piece..yet
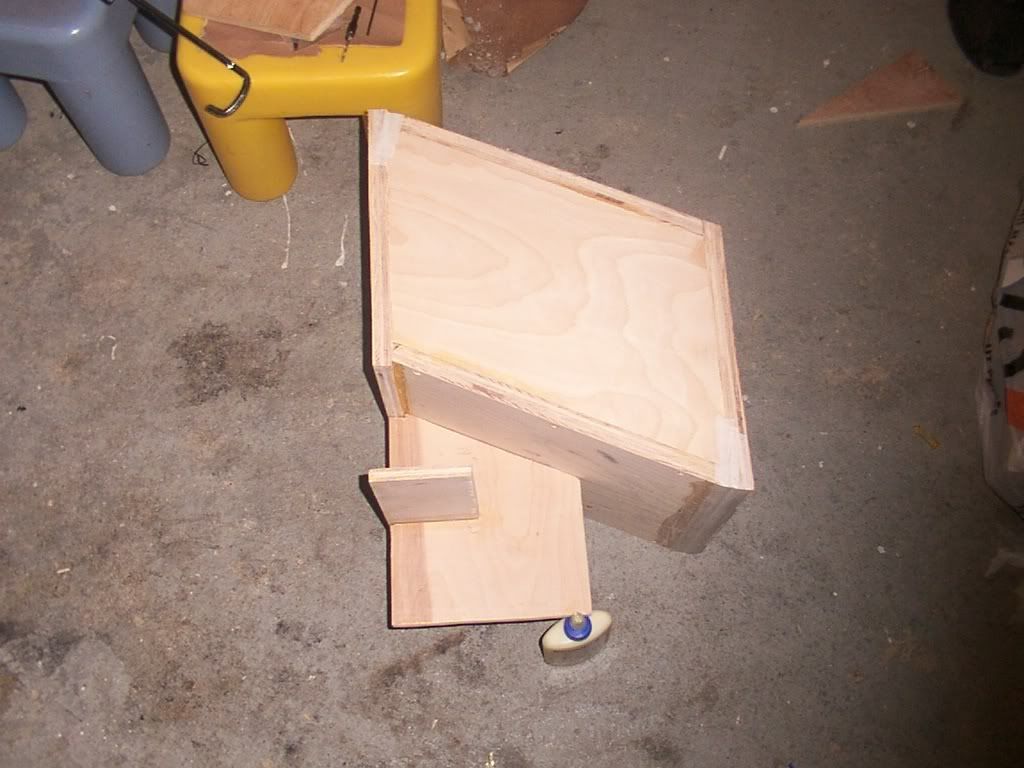
That alone took me about two days of on and off. I like to take my time when I can, so this time around (as I am putting my balls on the chopping block with the critics) I am not going to rush.
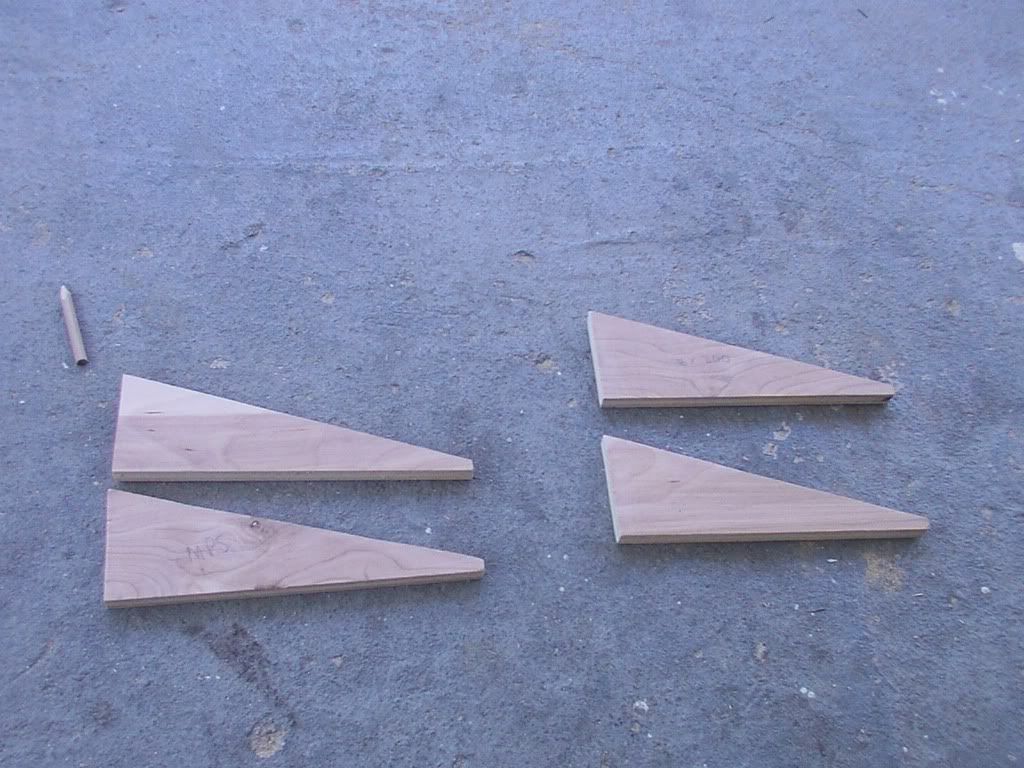
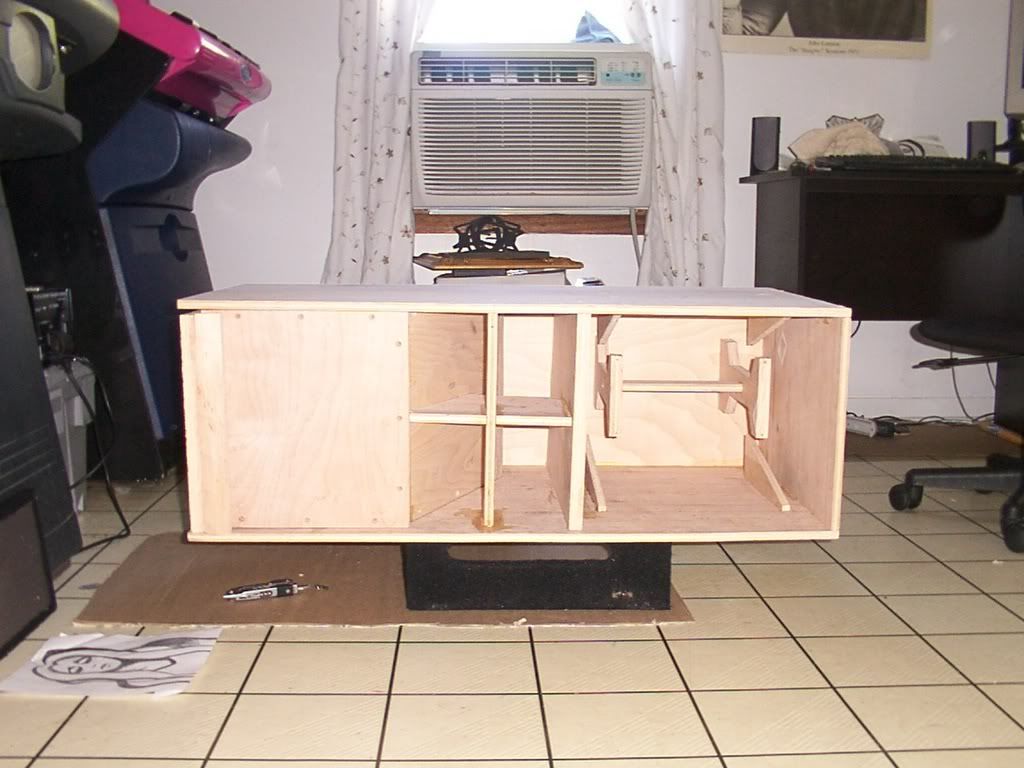
All of the internal structure needs to be done first, so obviously my two days of work didn't look like much up there. However this is a very complex design and it can't be hurried. Cuts need to be 100% accurate and I dont have a circular saw. All I have is a 'bag' of tools that cost me $42 from Lowes for a Jigsaw, drill and sander I don't even need. Tho I will use that at the end to make everything bum smooth
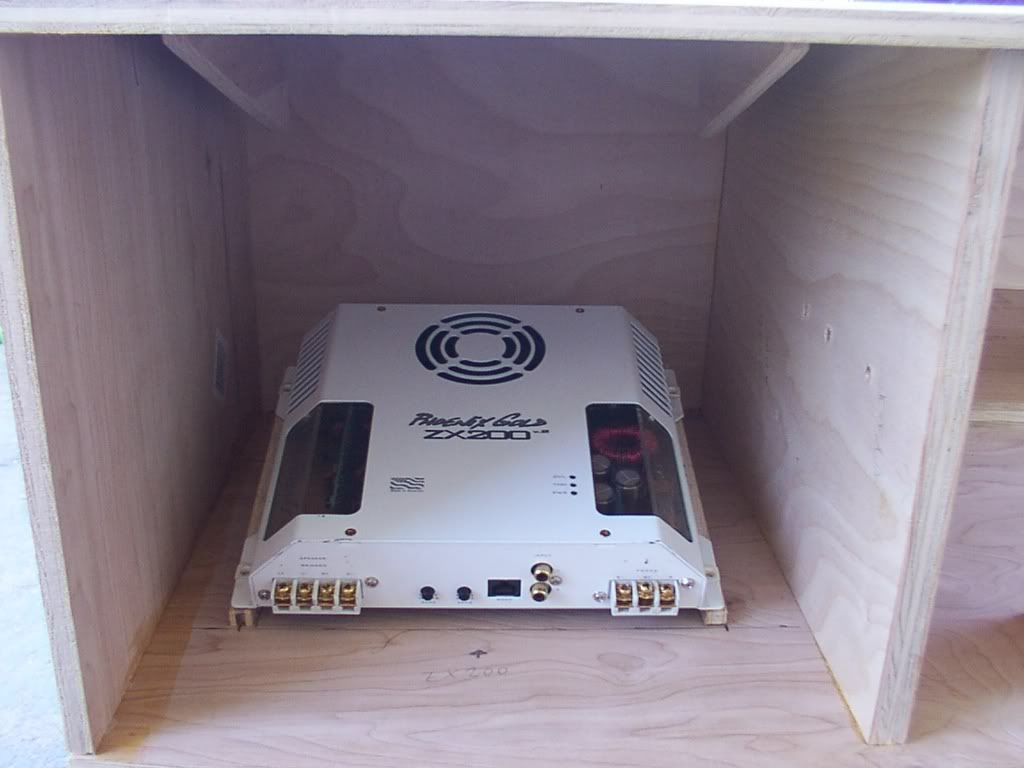
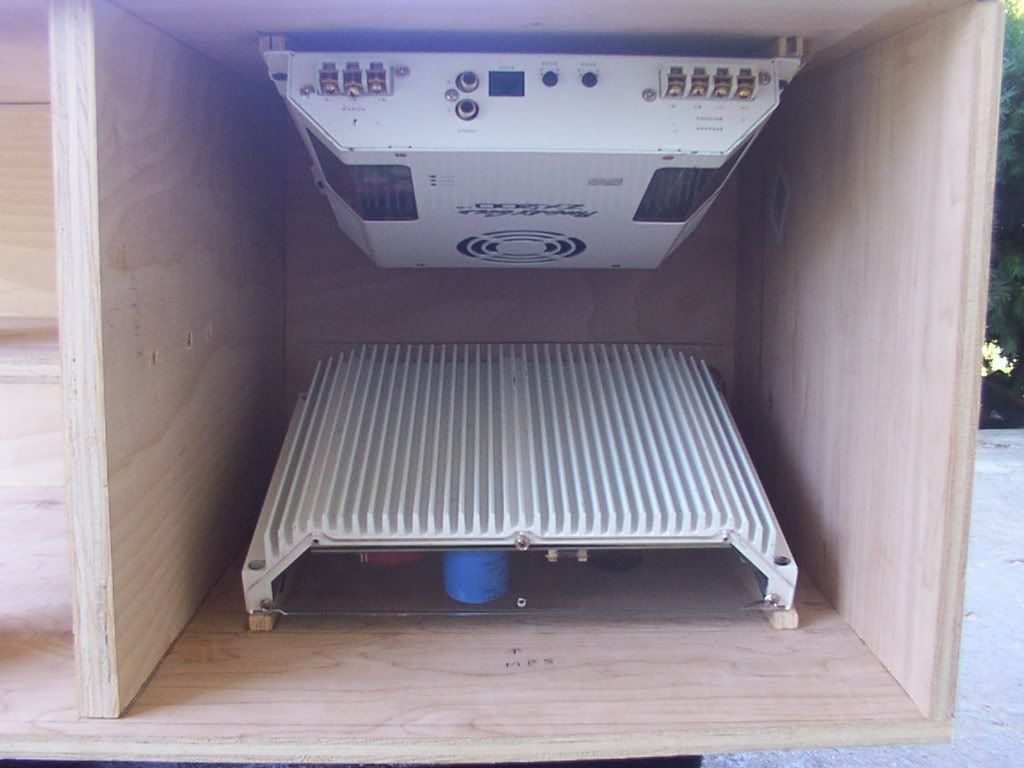
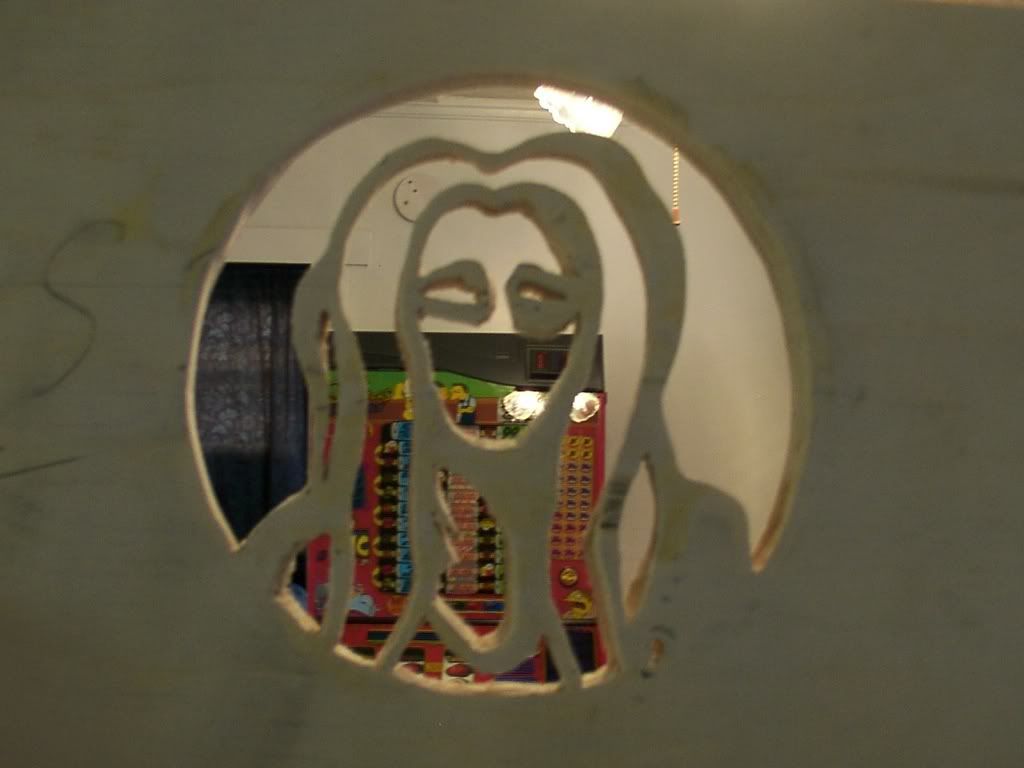
So today I got up and started on the external structure of the build. Where the amps go, how they mount and all other kinds of things are my secret for the minute, my game plan is set but I do want to have an element of suprise for you guys, so Im remaining tight lipped. One piece of the next step is going to take me at least a day or two for one panel of wood however
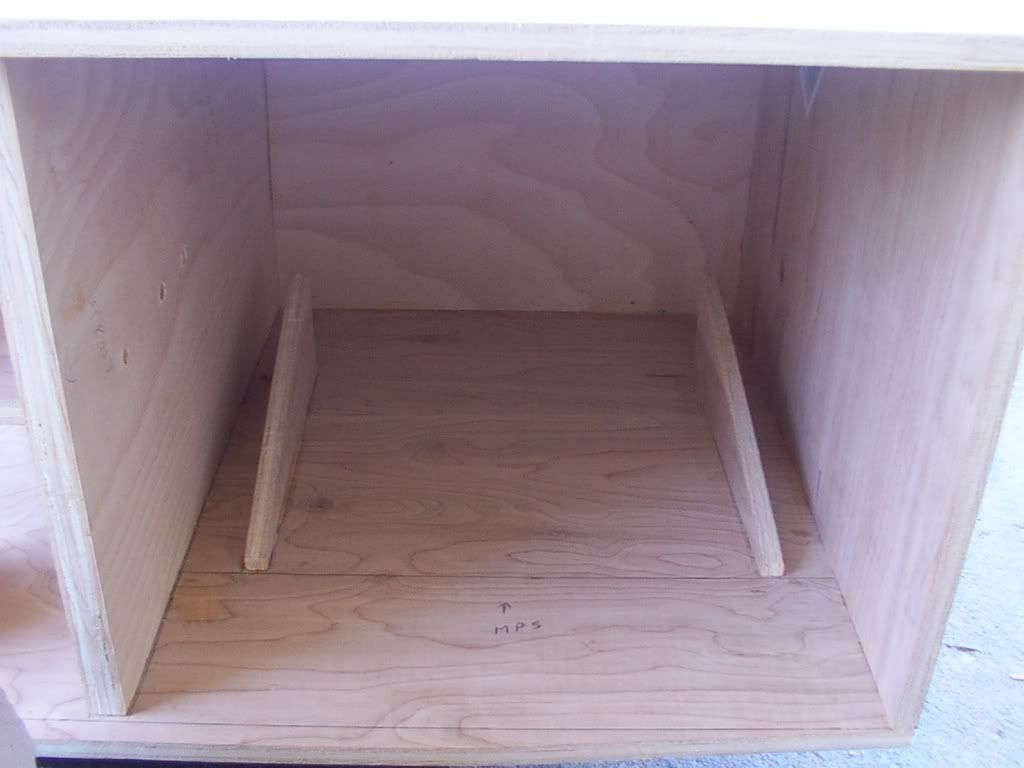
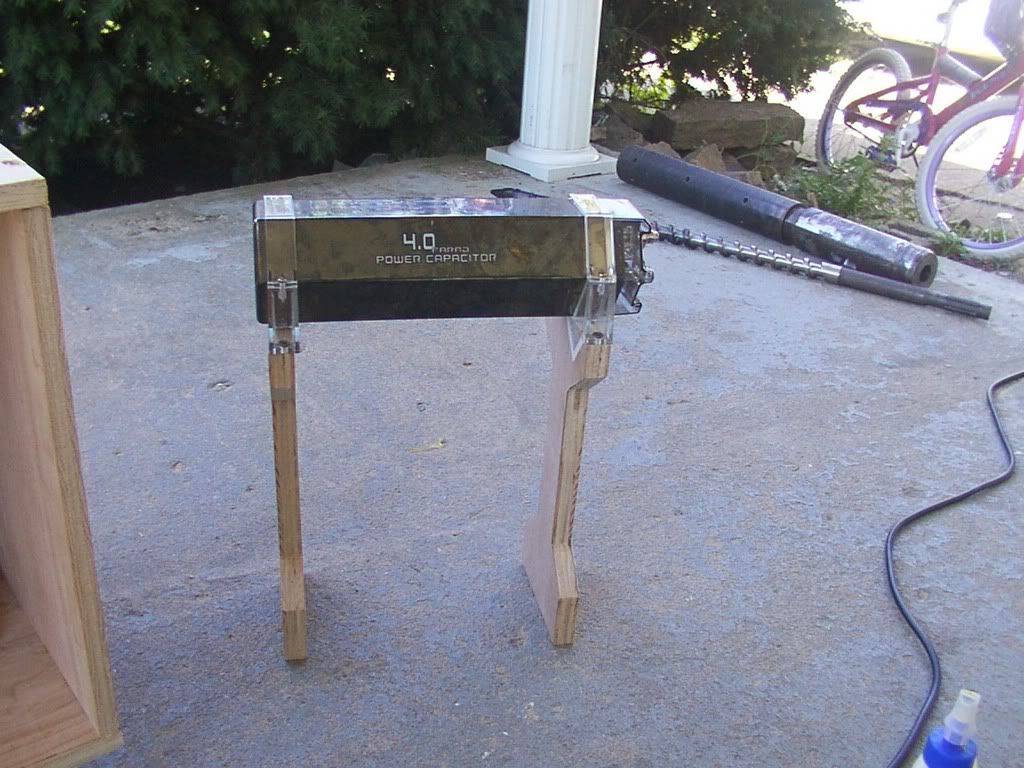
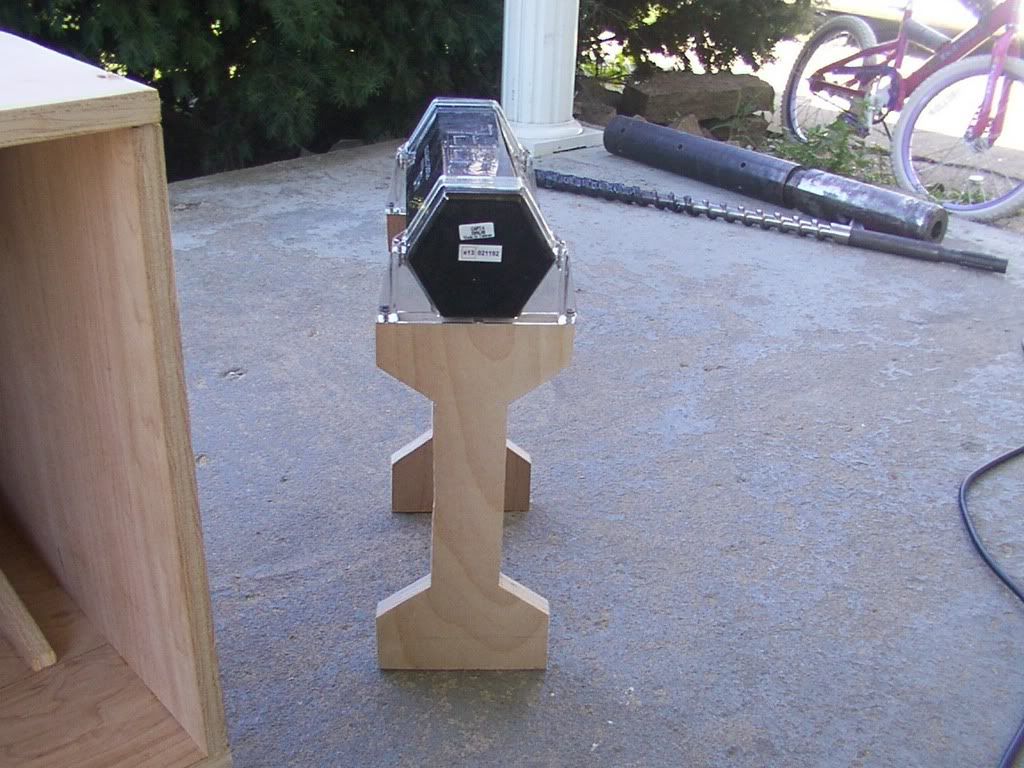
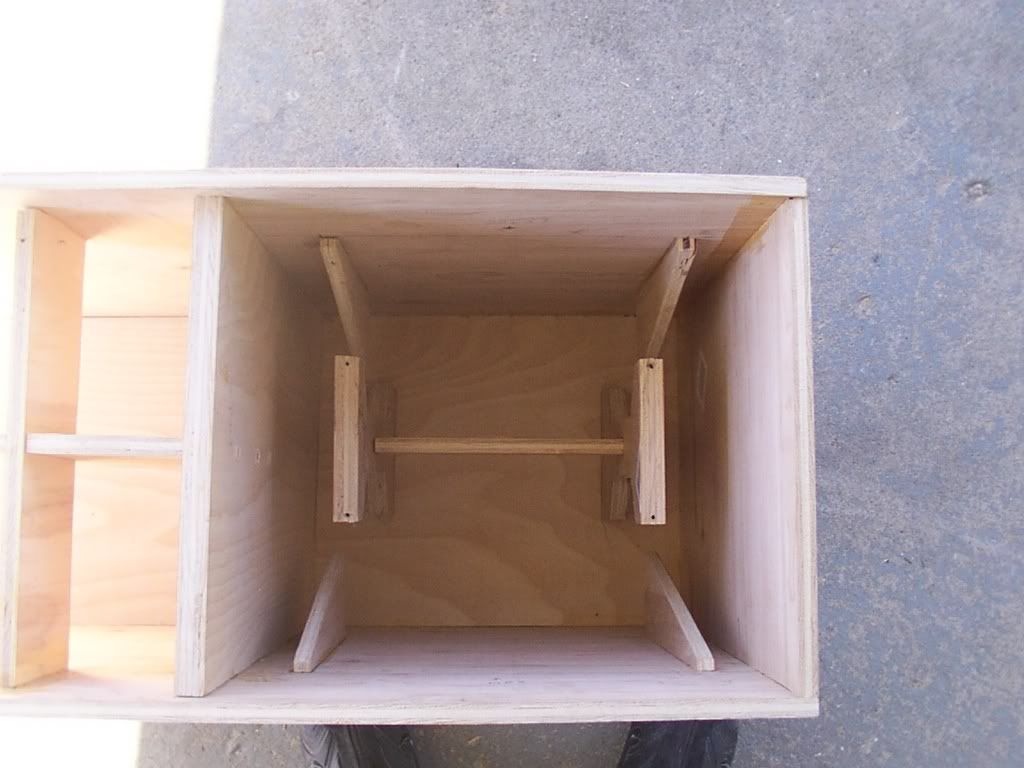
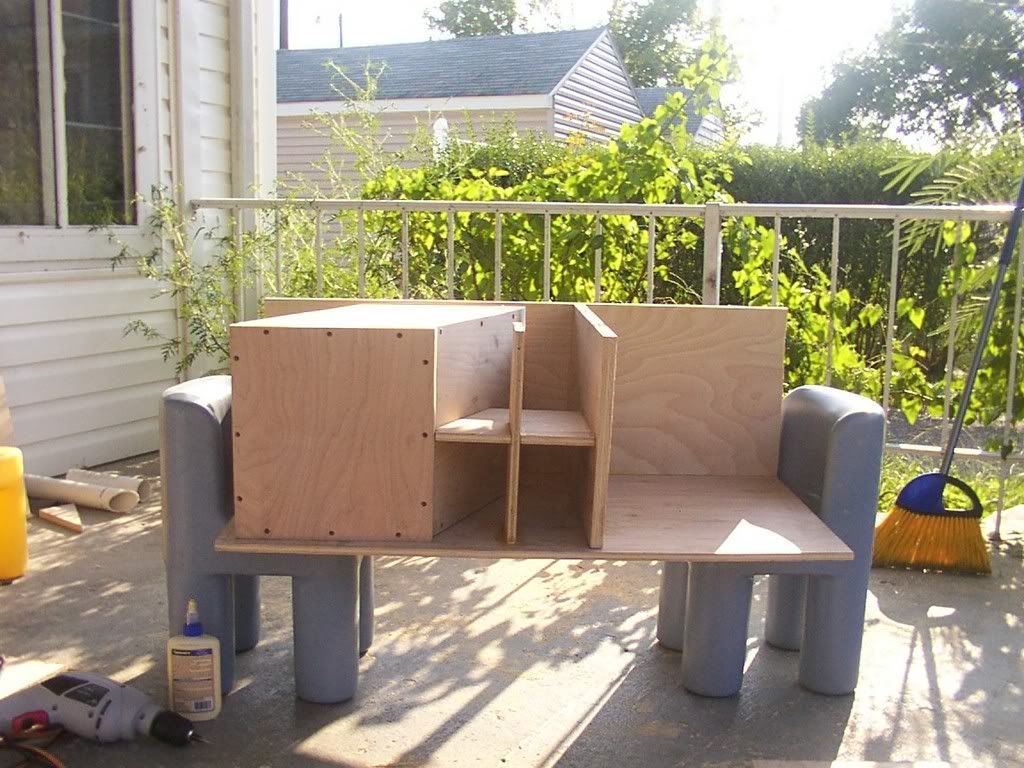
In this pic you can see the bottom of the build, bottom of the reflex and the cross chamber.
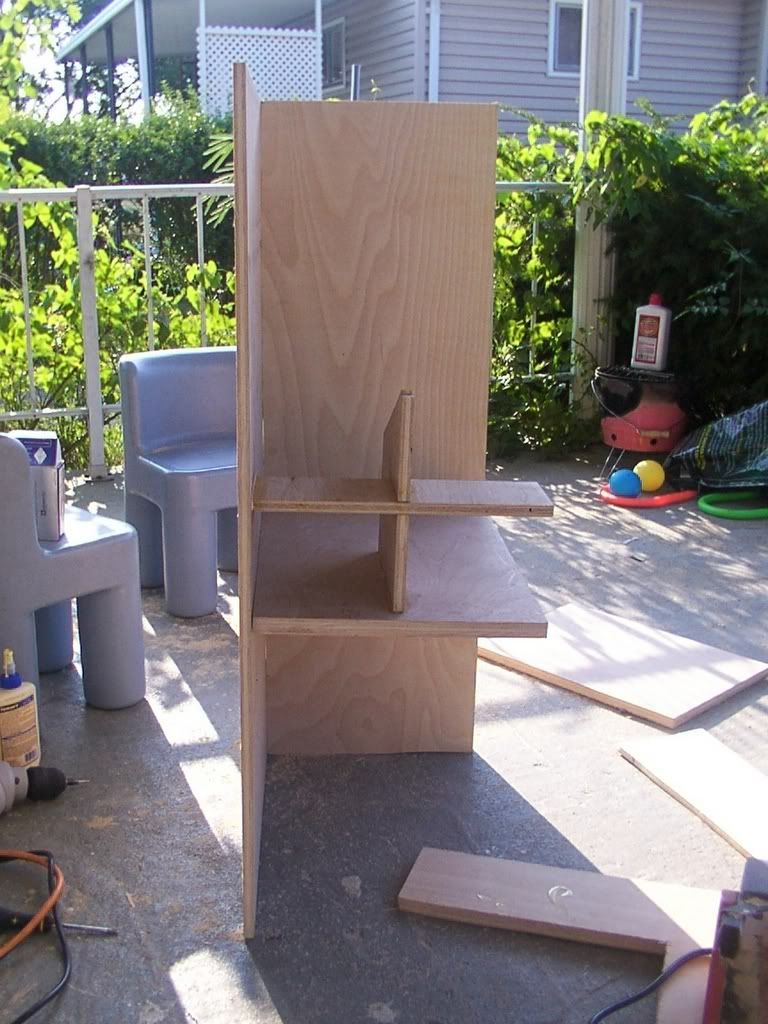
And a different angle on that.
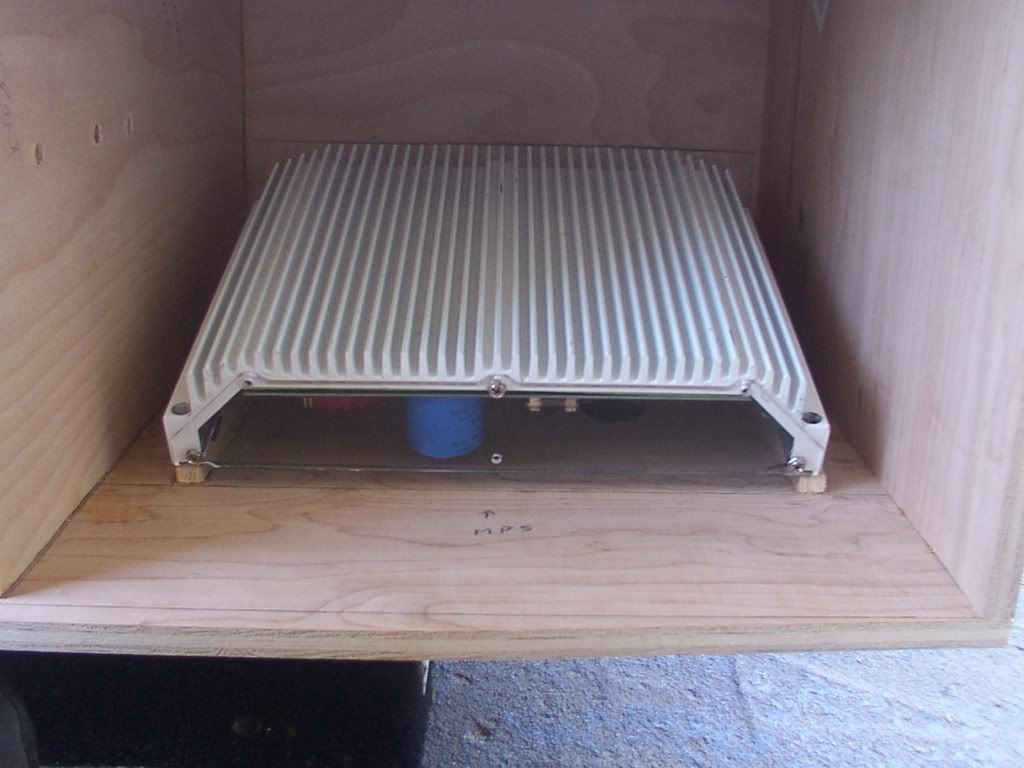
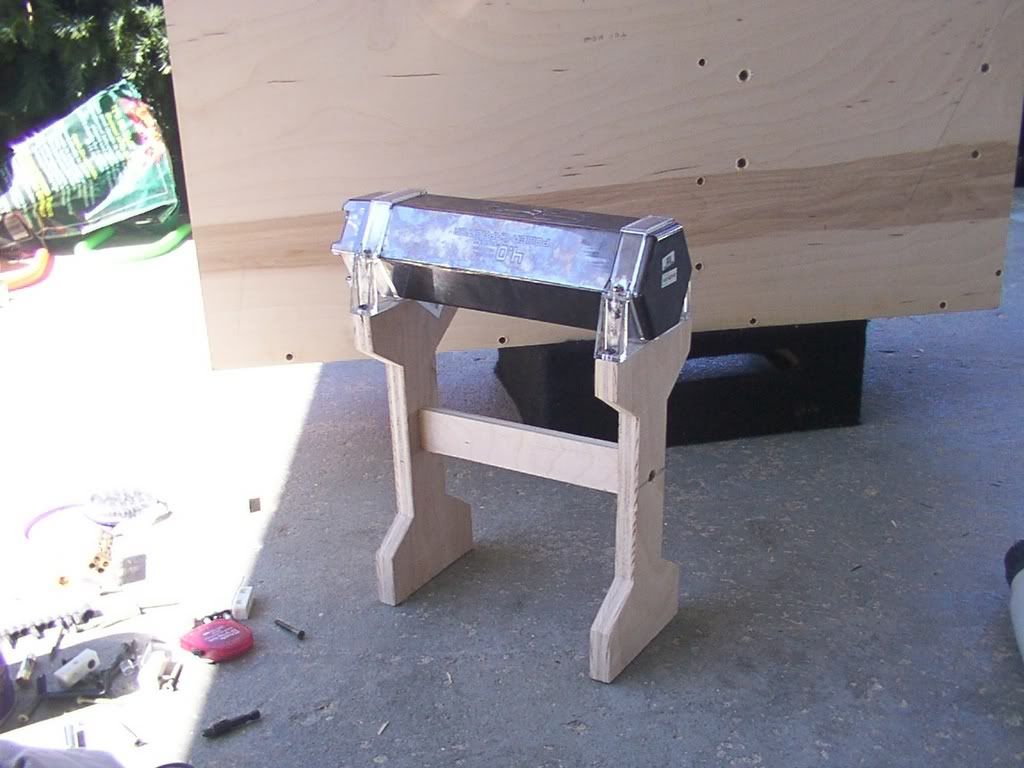
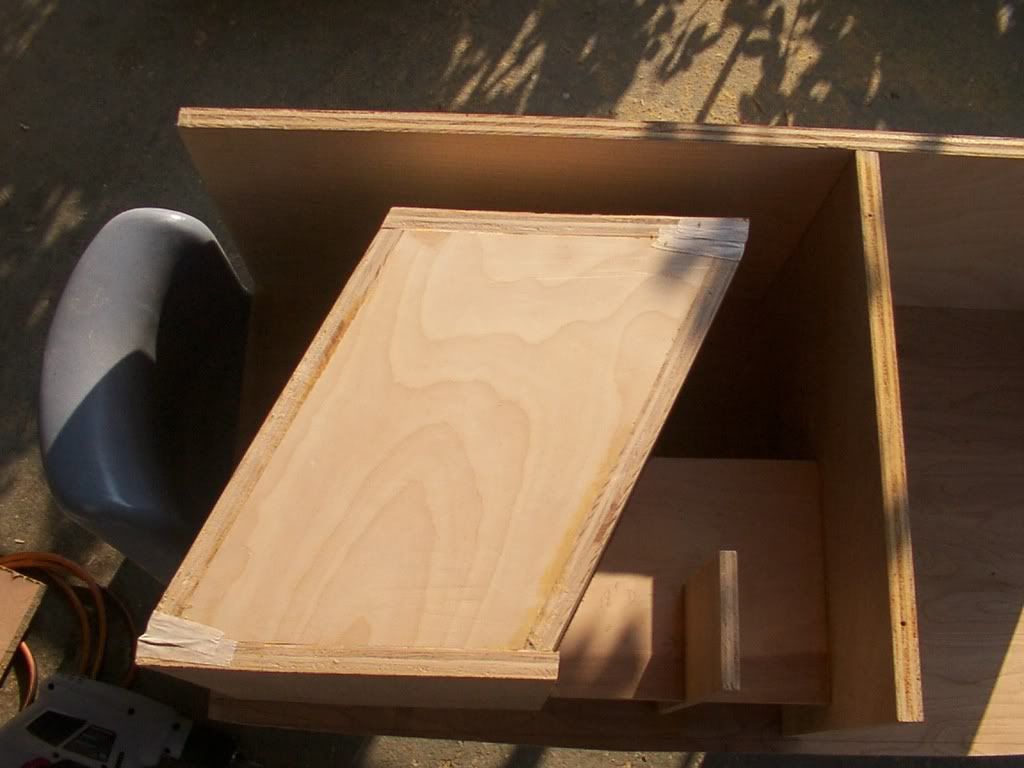
Here is the internal sealed unit in place. It's not fixed there yet because I need to cut the woofer out before it goes in, or I wont be able to because the sides will stop me getting the saw in there
This pic gives a good idea how the folded horn design manages to work, it's basically like a large tuba that throws out the bass once it's been pressured inside.
Most of the day was cutting, very little (sadly) is actual assembly ATM, because this thing has to be done in stages so that I can get it all together in the right order. Fitting the wrong piece in now would stop me getting one in later. So alot of brain hurting thought needs to go into this.
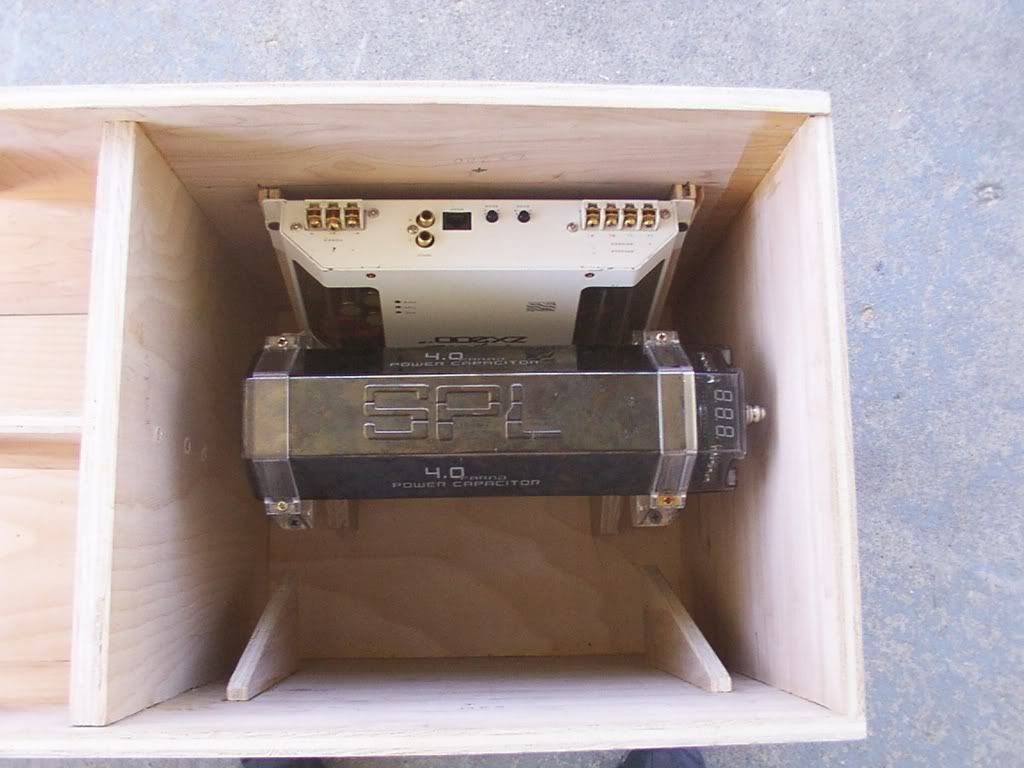
Here is a test fit pic, with the chamber in, top of the install on, and a 1.5" trim piece on the left side to cover what will need to be liquid nails to seal the front of the reflex (the part where there is the most pressure buildup)
You can also see now where the amps will reside, but Im not telling how theyll reside there or any of my theme plans
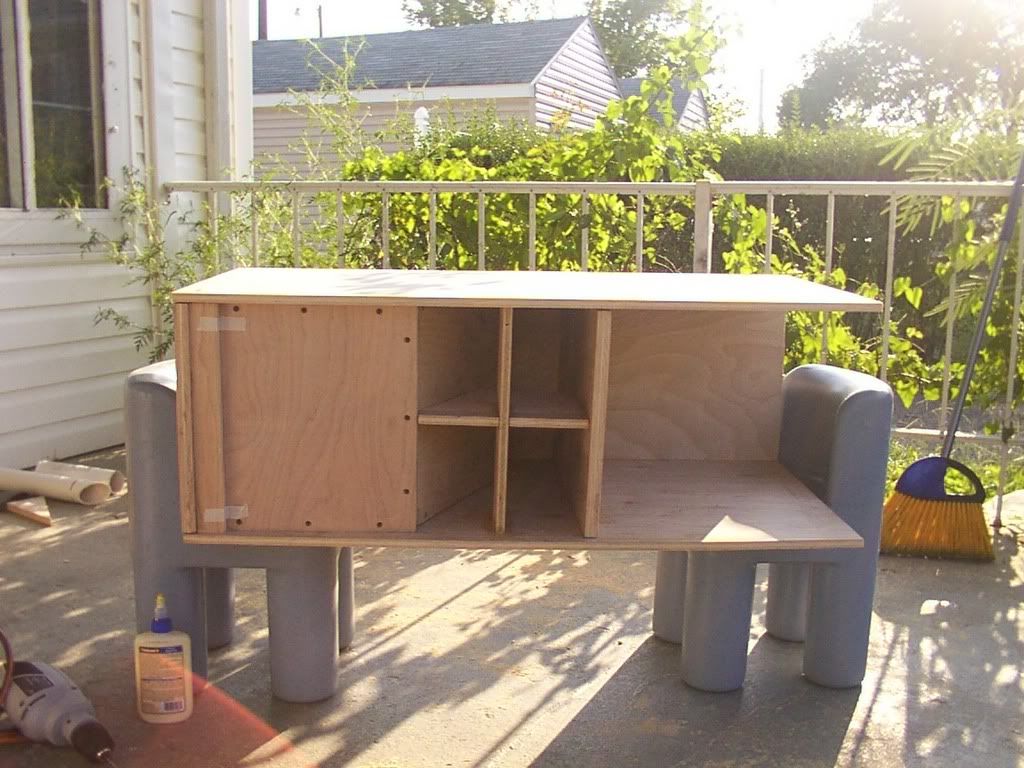
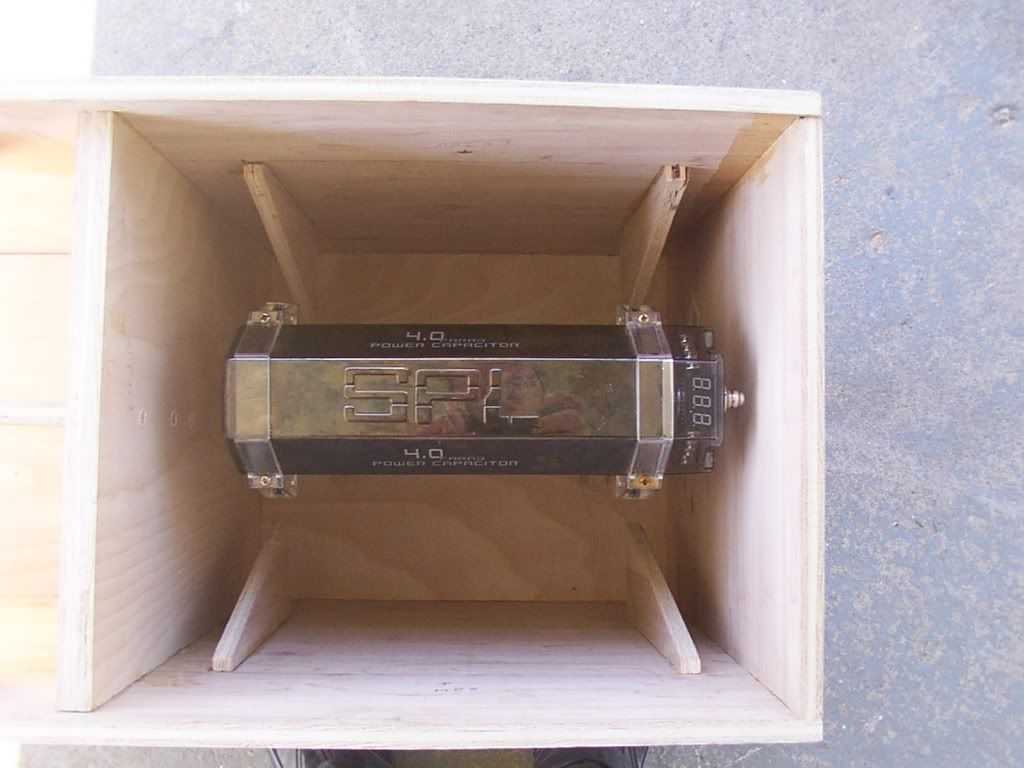
And here is the test fitted end. This will need to be removable so I can change the woofer or get to it for any reason
Please also be advised I have used 1/2" and 3/4" birch here to seriously reduce overall install weight. BUT any structural parts of the box are all 3/4 (sealed unit, back, top and bottom) and the only parts that are 1/2 are the top and bottom of the whole install, but one part is double walled (Against the sealed 3/4 thick sealed enclosure side) and the other is only where the air comes out, there wont be any pressure there really)
I have some more fab work to do today, but nothing worth showing. So, I'll be back (no doubt) at some point tomorrow with more pics of the install
*Please keep your nasty fucking 'opinions' to yourself. I can handle criticism if you dare to bring it (I know what Im fucking doing ok?) but if you start trolling or running your mouth just to be a cunt then prepare yourself for some serious shit slinging because I have no patience for trolls anymore.
Thankyou