home-made softbox

Like snapping pictures? Amateurs, hobbyists and professionals all enthusastically supported!
Post Reply
User avatar
bretti_kivi
Shutterbug
Posts: 1595
Joined: Tue Aug 26, 2008 1:06 pm
Location: Päijät-Häme or Uusimaa

home-made softbox

Post by bretti_kivi »

... well, I got around to it (no choice, I need it for the weekend, lots of portraits to do at a family event).

It works. Really, really well. Very surprised.

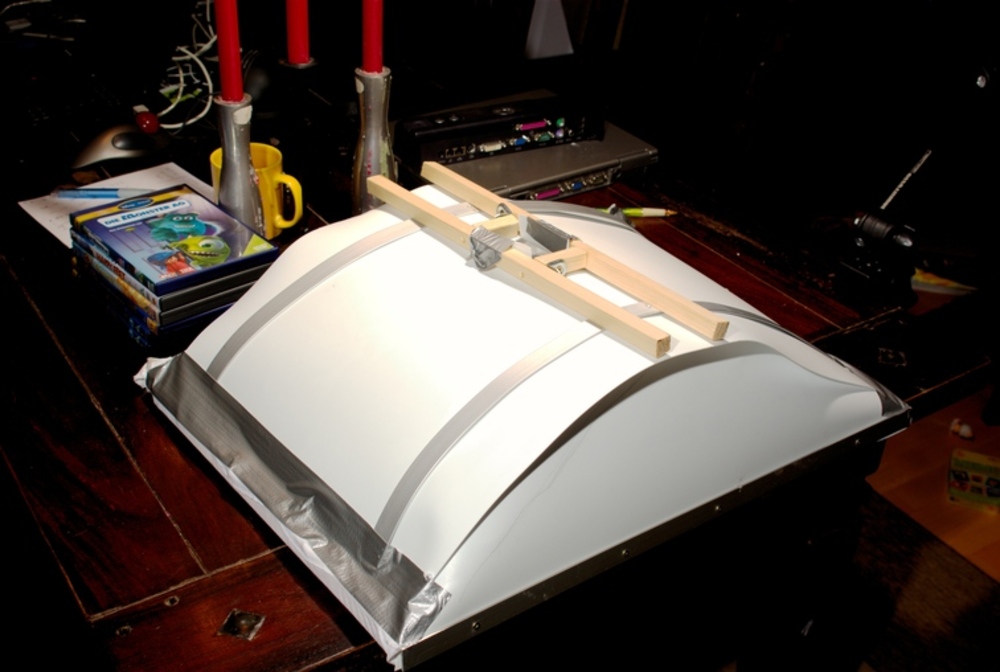
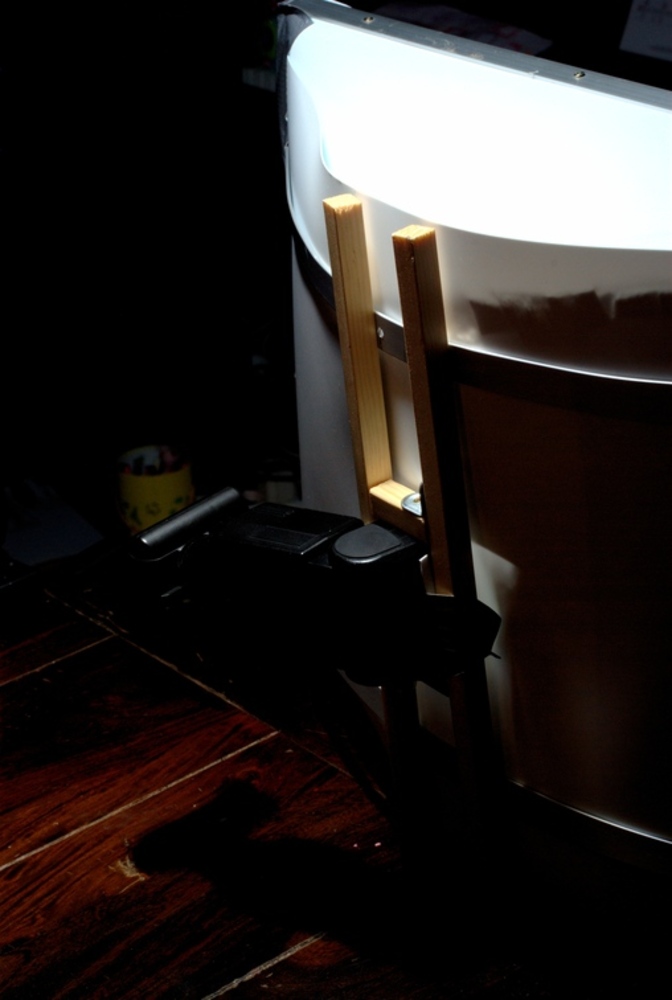
Following some ideas from around the web; 2 600mm long alu tubes, bent for around 45 degree angle top to bottom. 2 flats duct taped in place. Thin plastic (MAPAL) in the centre and on the sides, all taped in place.
Alu foil glued into place as a reflector, a cut-up old t-shirt taped in place over the top. Ta-Daa!
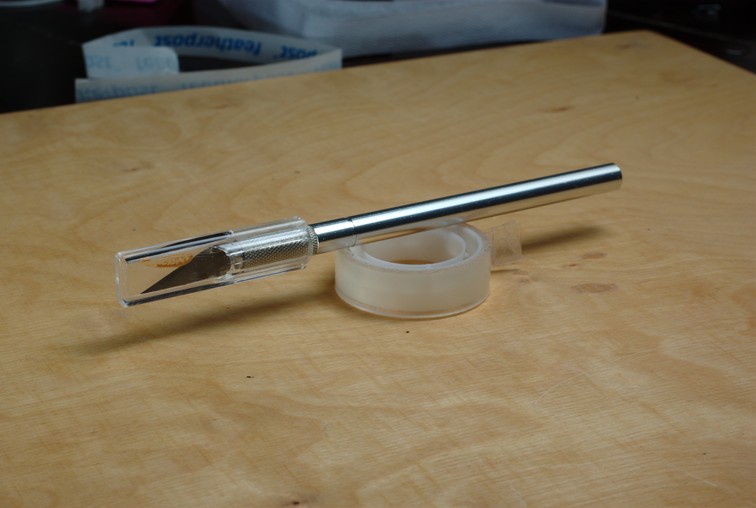
The flash is held in place with the flaps from its hole and some feathering of the edges. Flash on full power is really cool, around 1/8 is enough for macro work at 1/100 & f16.

Very impressed with the results, now all I have to do is make it look slightly less ghetto before I use it in anger at the weekend.

Images:

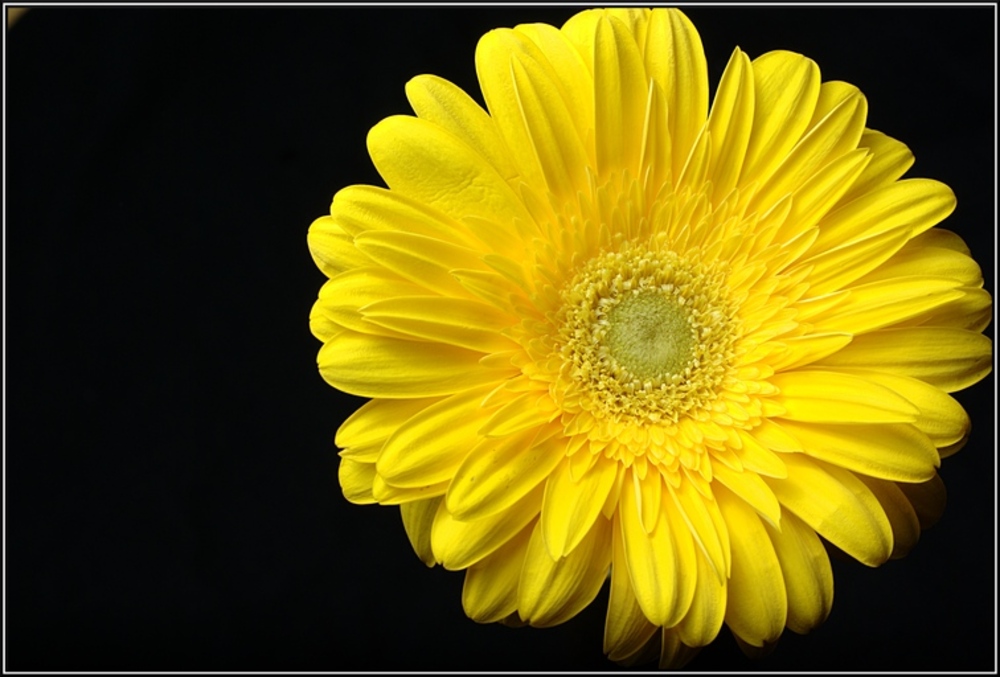
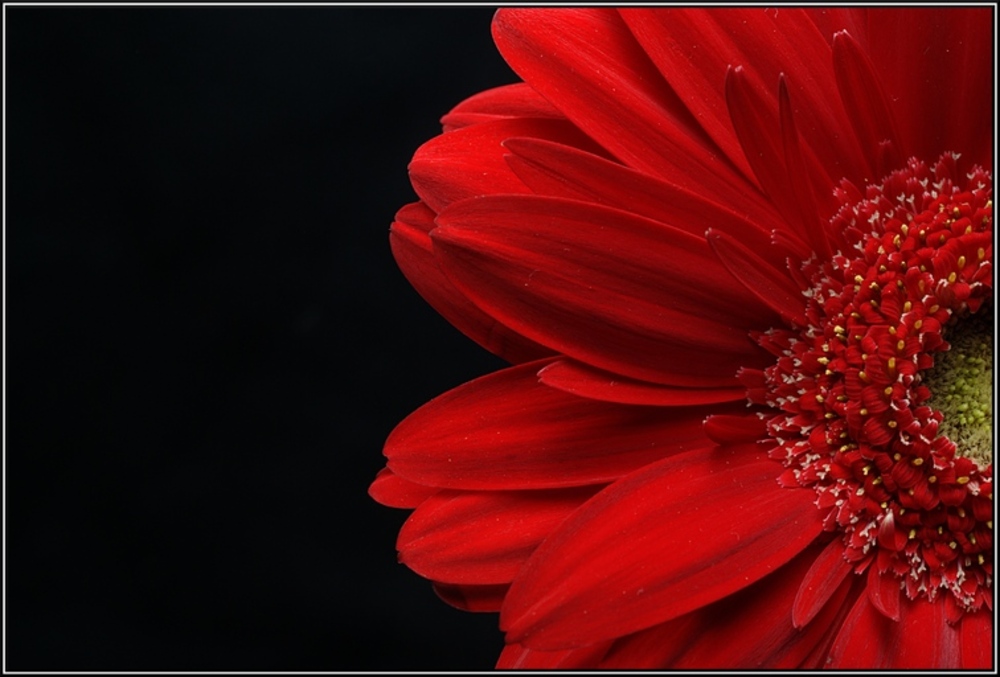
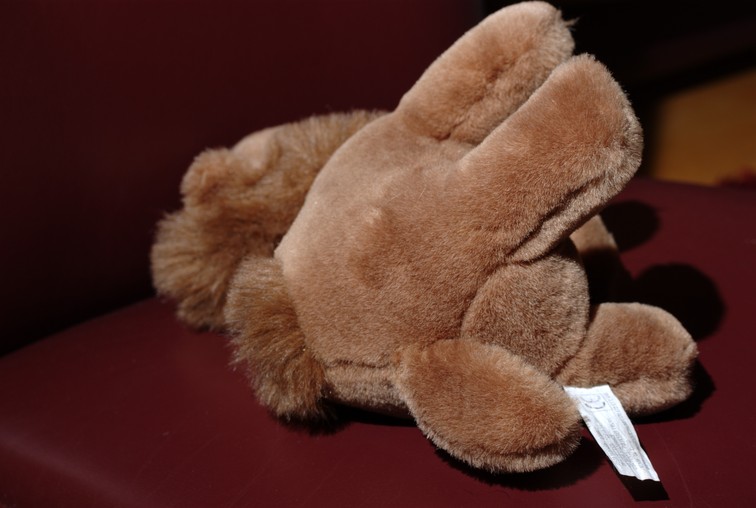
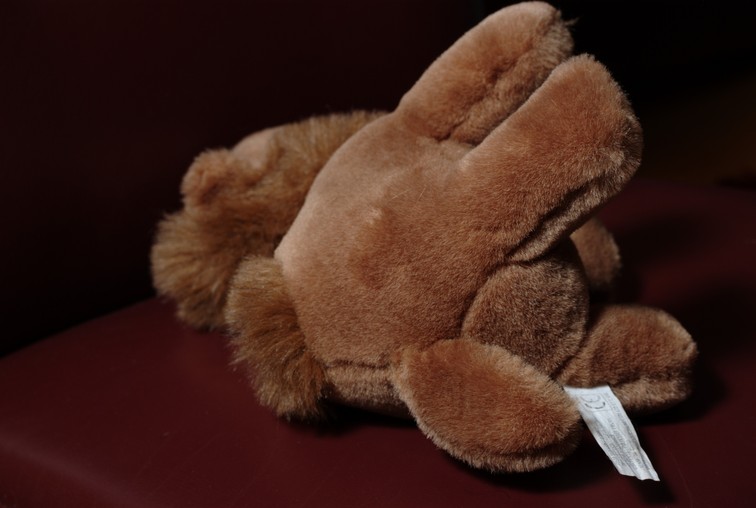
testing with an ancient Picnic Camel...

Bounced from the ceiling:
Image

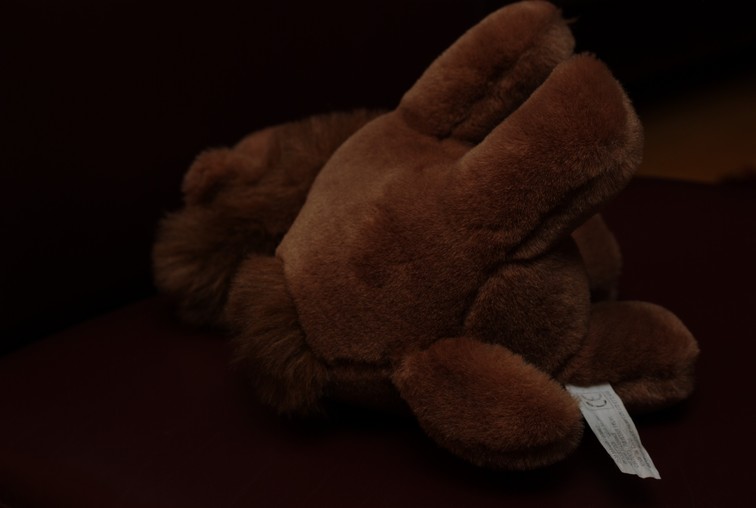
Bounced close to the ceiling:
Image
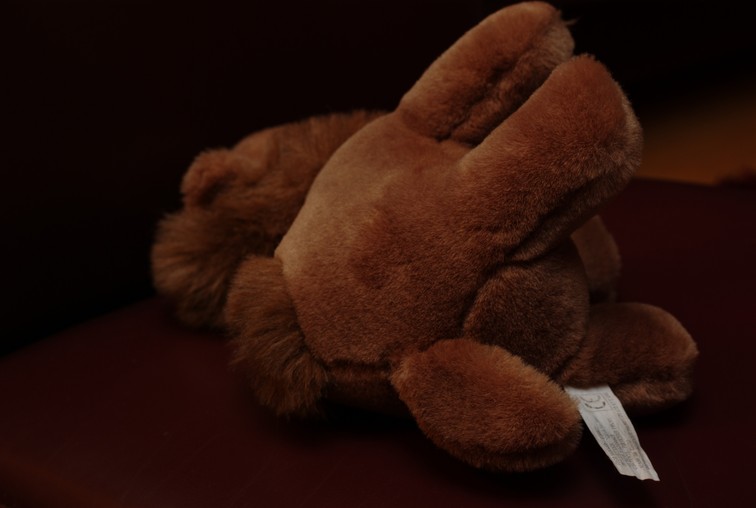
Direct flash, set to 17mm

Image

Softboxed
Image

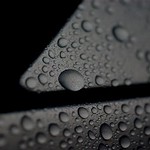
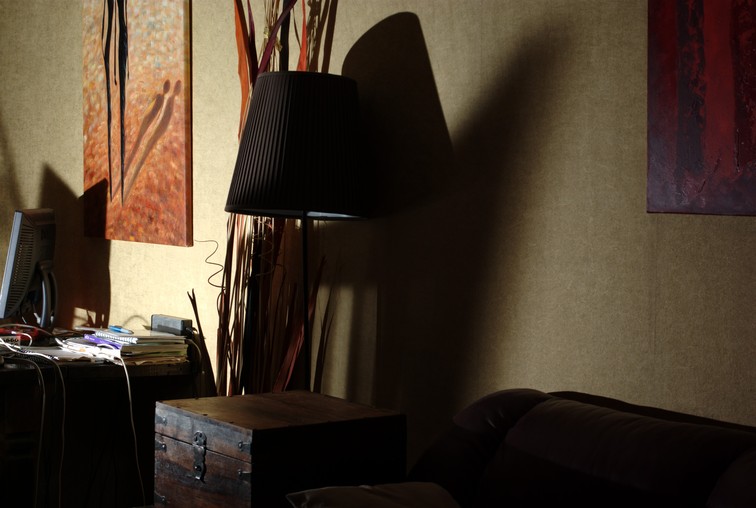
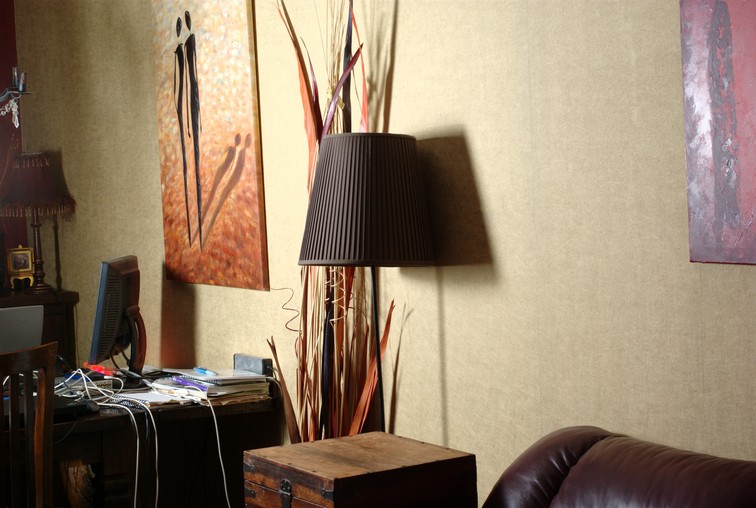
A test shot or two, note the shadows. The A2 pic has another flash bottom right, firing through the sheet @ 1/32 power (so minimal but still there).

Image
Image

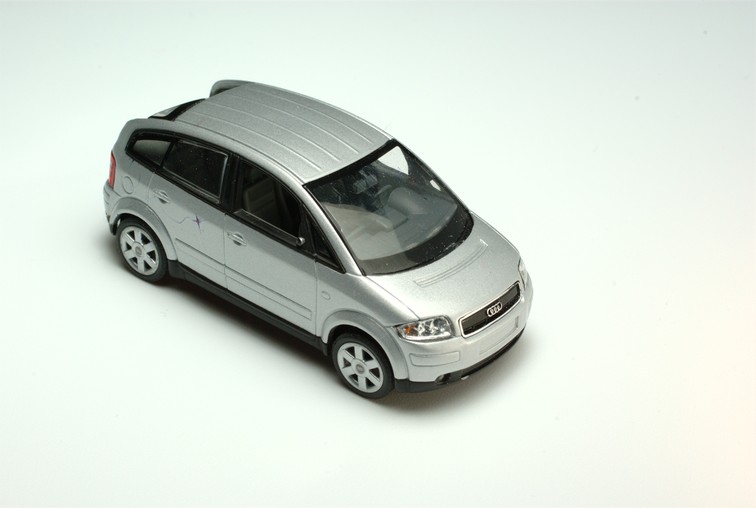
Quick shadow test on the wall. Not quite fair as the 'box was on an arm an so around 70cm above the table, but even so. Both flashes set to 28mm, full power. My position isn't identical, but it's in the corner next to the balcony so it's very similar. Both are 0.5s f8.

Image
Image

The box itself: the curve is around 600mm long and 300mm wide. 150mm deep, the front is 560mm long.

Bret
User avatar
stipud
Voltage Ohms
Posts: 14719
Joined: Sat Nov 26, 1983 4:00 am
Location: Burnaby, BC
Contact:

Post by stipud »

How bout a pic of the box... and maybe a guide :D
User avatar
bretti_kivi
Shutterbug
Posts: 1595
Joined: Tue Aug 26, 2008 1:06 pm
Location: Päijät-Häme or Uusimaa

Post by bretti_kivi »

oooh, I forgot abouut this.

More results:

Image

and

Image

Materials used:
3m 15mmx15mm pine
1 sheet 400x650mm MAPAL (Polypropylene sheet in 0.6mm)
1 sheet around 200 x 500 mapal
a bunch of 3x12mm screws (got some spax ones with tx10 heads for a quid or so last time I ordered at axminster)
4 x L pieces for the corners of the frame
2 x 560mm x20mm x2mm alu sections
2 x 650mm x 20 x 2mm alu sections
an old white T-shirt

Pine:

- 400 x 4
- 530 x 2
5mm drill bit, 2mm bit

Outside Measurements are 400 x 560mm.

15mm wood (15x15) for the top frame
15mm wood for the flash holder

Make the frame first, use some "l" pieces in the corners. Make sure it's close to straight!

Get your longer alu peices. Mark the middle.
Measure your flash. Divide by 2, add 8mm and then mark, so that the marks are in total the size of the flash head vertically (just the flash lens section!).
mark 8mm from both ends.

Drill all of the marks (four holes per strip) with the 5mm bit.

The second set of strips will hold the shirt in place on the sides.
Cut to size, sand the sharp edges, bind them together, drill them both. four screws per side should do.

Pre-drill the shorter sides of the frame for the MAPAL. 5 screws per end should be fine; use a sharp tool (knife) to start the hole for the screw; screw the mapal, one section at a time, to the wood.
Push the end of the alu underneath the mapal and screw this in place, too (that's why the second set of holes). It helps to have already bent the alu at this point, but you could possibly get away without. Test it, check it, it's not a 100% science. Try not to break your frame

Screw the other end of the MAPAL and then the aluminum in place.

Take the other 2 400mm sections, screw the mapal into place through the holes in the aluminium into the wood. The wood is on the outside, it will hold the flash in place. The alu strengthens and ensures the curve.
Now cut some mildly (+10mm) oversize MAPAL sides for the box. Trace it.
Cut them (scissors, scalpel), and screw ONE into place UNDER the straight alu strips for the side.
Turn over, take the second one. Screw that into place too.
Cover the inside with glued-down foil.

Now remove the end screw, cut a hole in the section of t-shirt which is going to be hit by the screw and re-fasten the alu. Repeat on both sides, pull the shirt reasonably tight.

I've just taped down my ends at the moment, it's still kinda ghetto. it's fine for the weekend.


Box pics:

side:
Image

back:
Image
flash mount:
Image

Bret
User avatar
stipud
Voltage Ohms
Posts: 14719
Joined: Sat Nov 26, 1983 4:00 am
Location: Burnaby, BC
Contact:

Post by stipud »

Holy eff that's a lot bigger than I was expecting. :lol:

I thought it was one of these:
Image
Post Reply