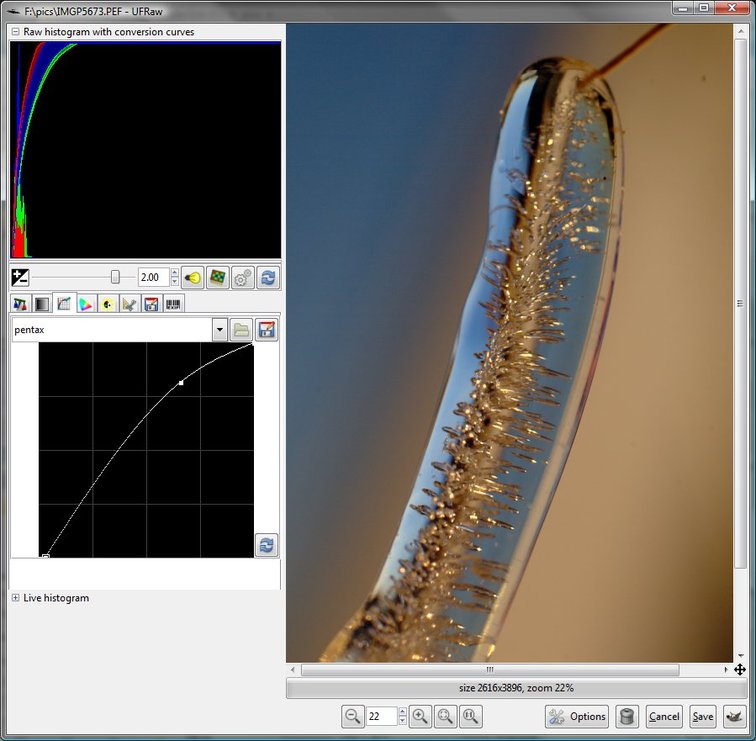
right, this is the last one:
this is "auto" corrected and with the curve returned to standard.
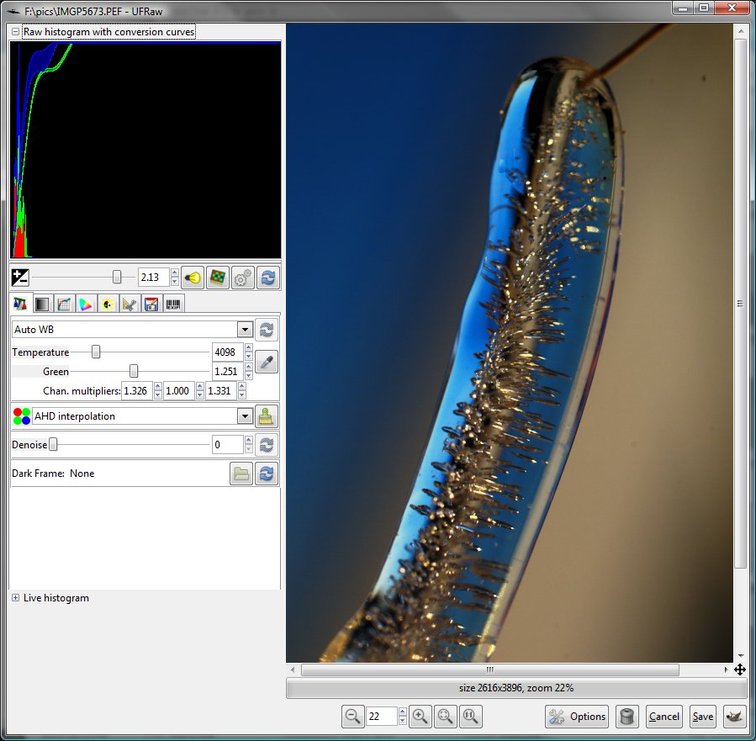
So, if I start from there... well, it's too pale, and I'm not convinced on the Whitebalance (easy way to check - people's skin or sky.. it should look "normal").
So, WB set to "camera WB", then curve applied...
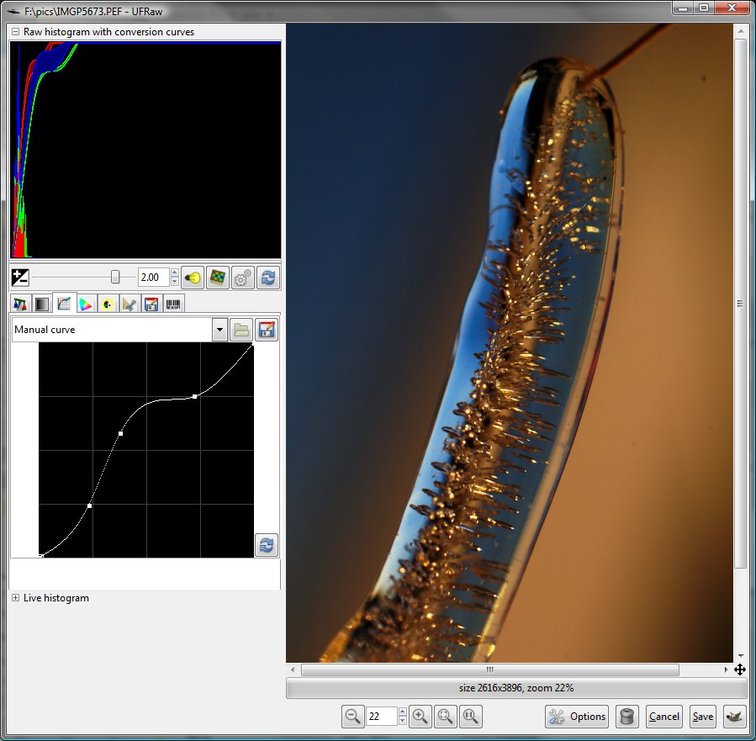
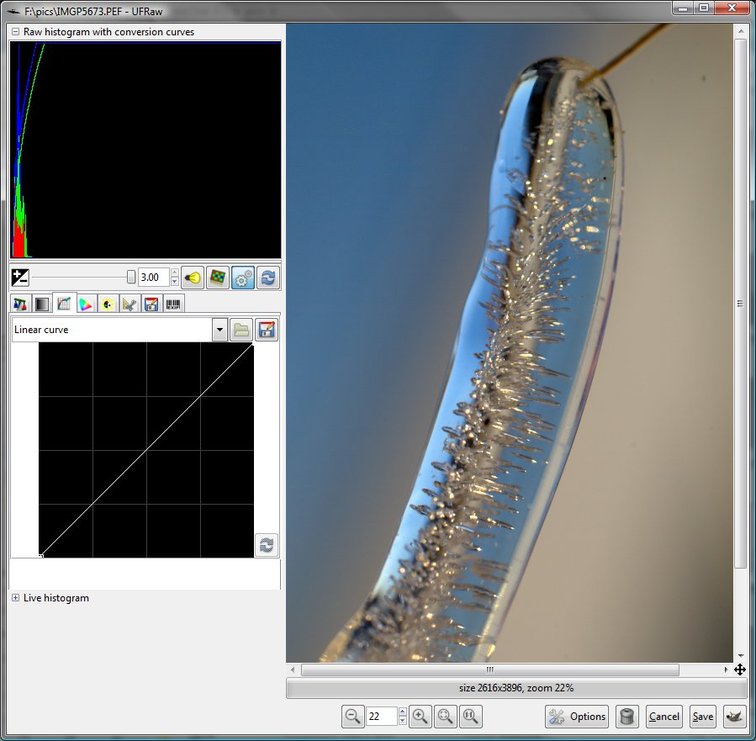
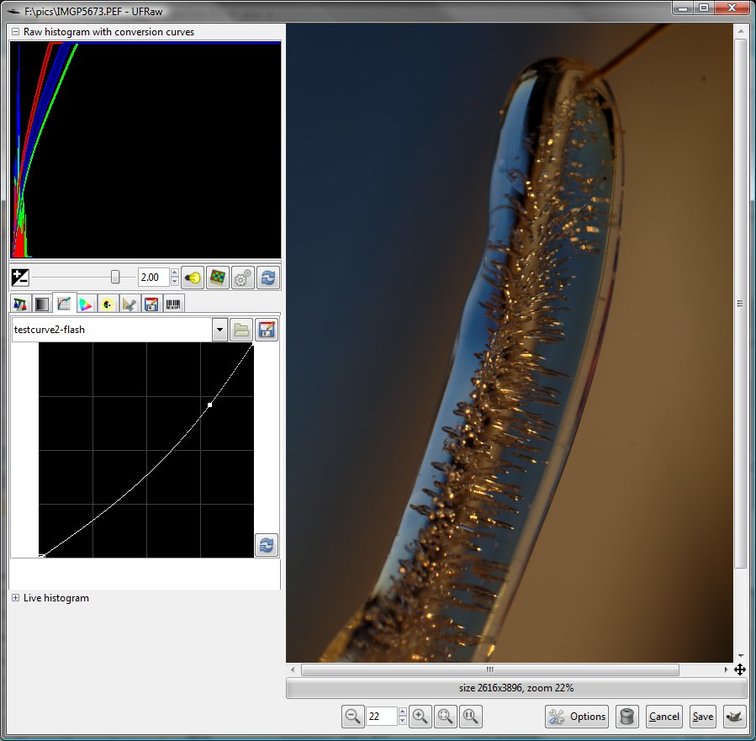
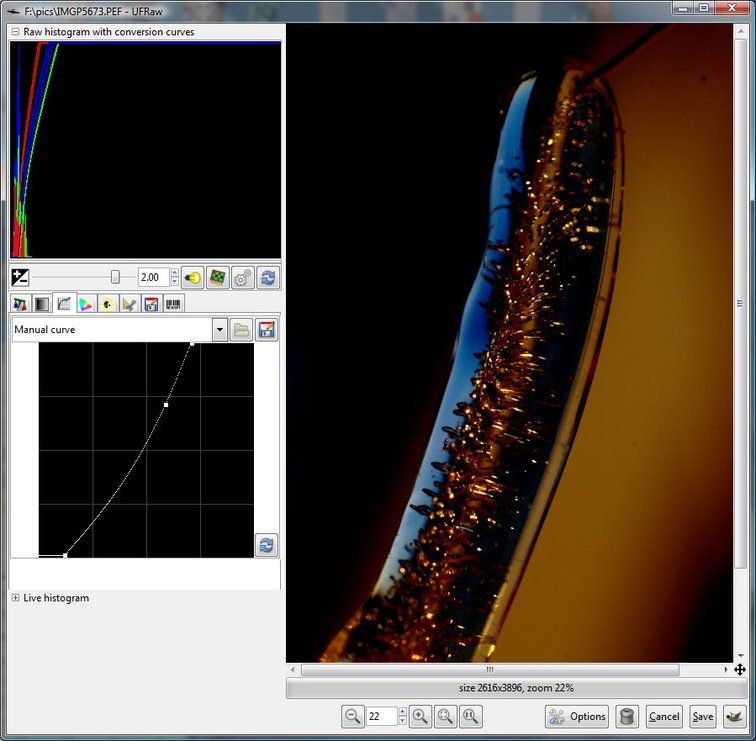
I have a couple of other curves, too, you can see what they do:
and
Note that moving the bottom and top of the curve will also have an effect...
Other stuff: if it's faster than, say 1/60, turn SR OFF! Wind is a nightmare, but take lots of shots and then select the best ones afterwards.
Questions? ask.