Page 1 of 1
RAW, Luminosity curves and some other bits...
Posted: Fri Mar 20, 2009 1:27 pm
by bretti_kivi
so, following on from a question:
right, this is the last one:
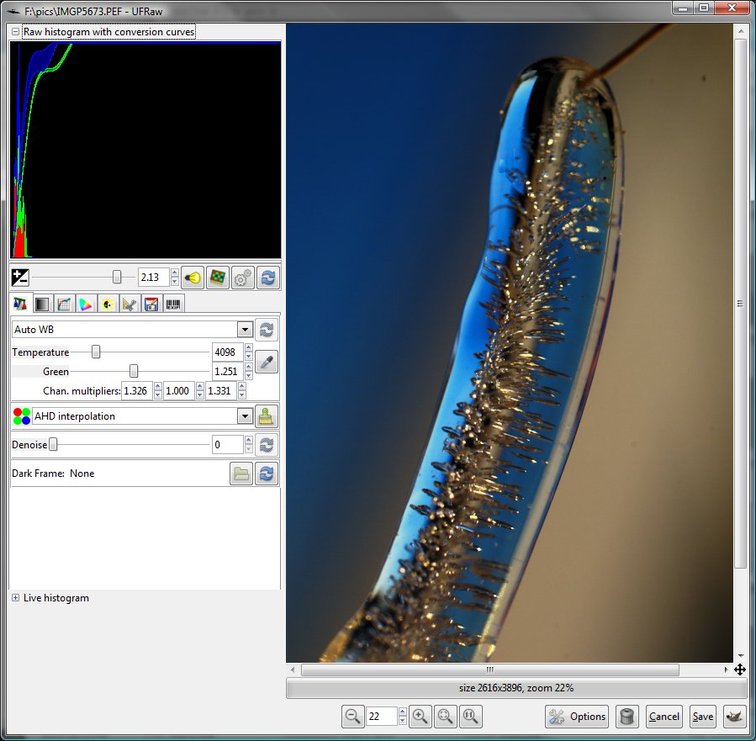
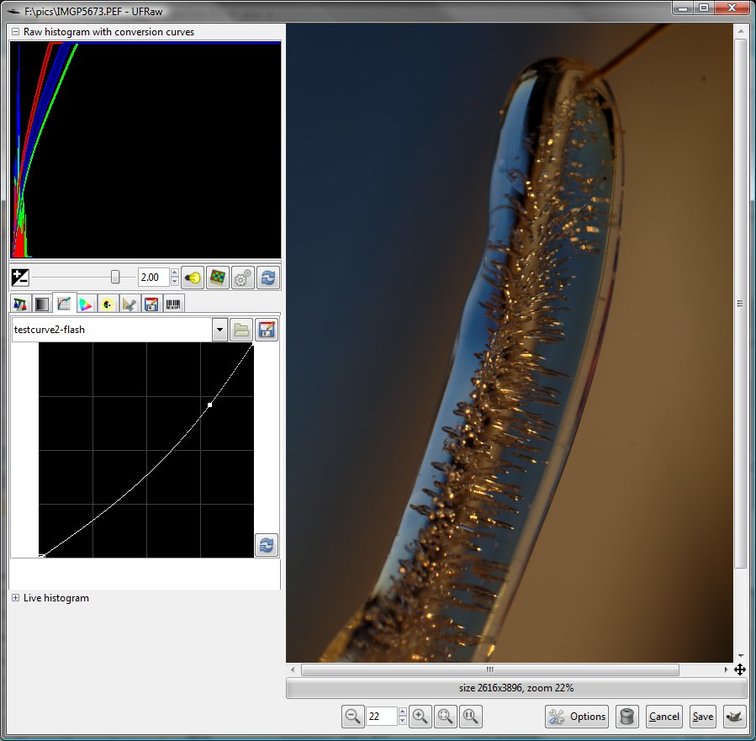
this is "auto" corrected and with the curve returned to standard.
So, if I start from there... well, it's too pale, and I'm not convinced on the Whitebalance (easy way to check - people's skin or sky.. it should look "normal").
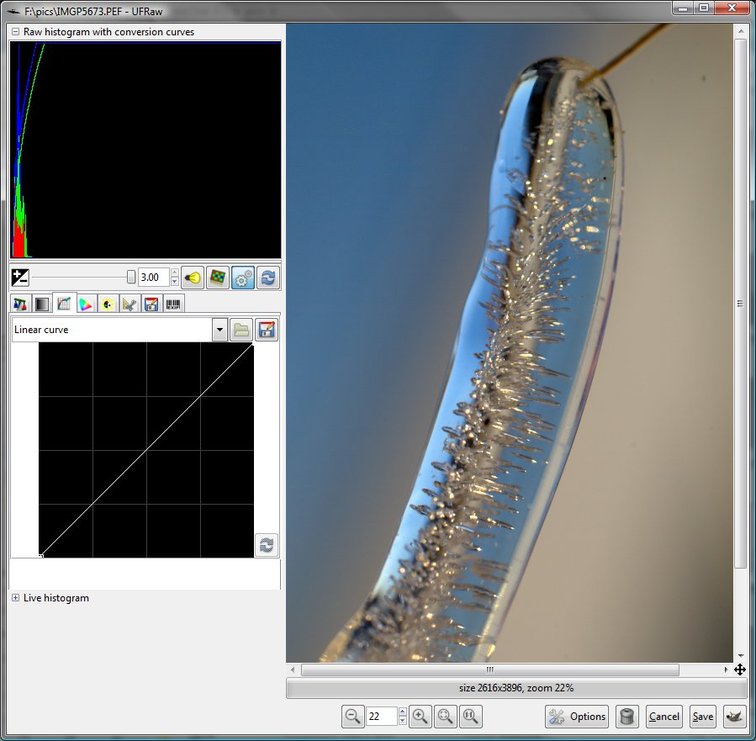
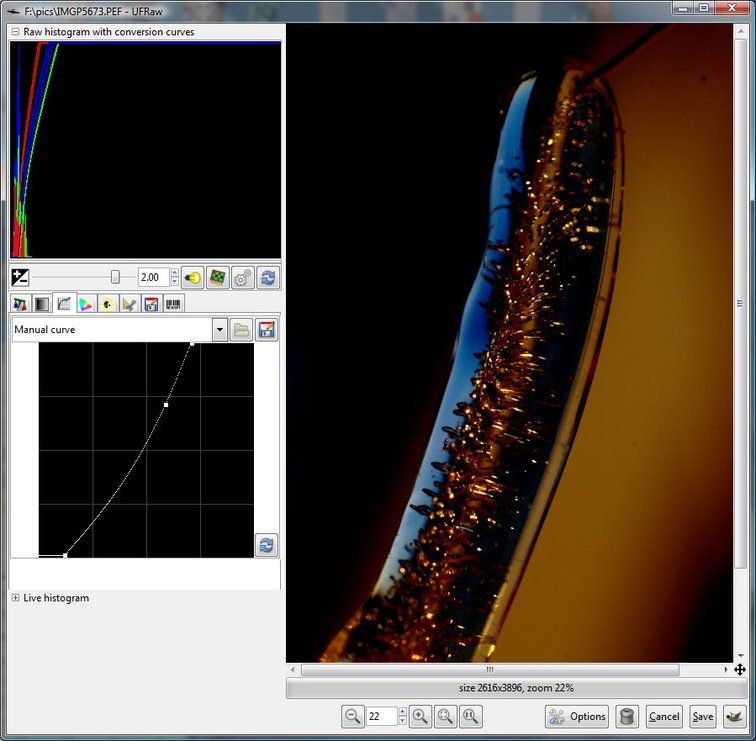
So, WB set to "camera WB", then curve applied...
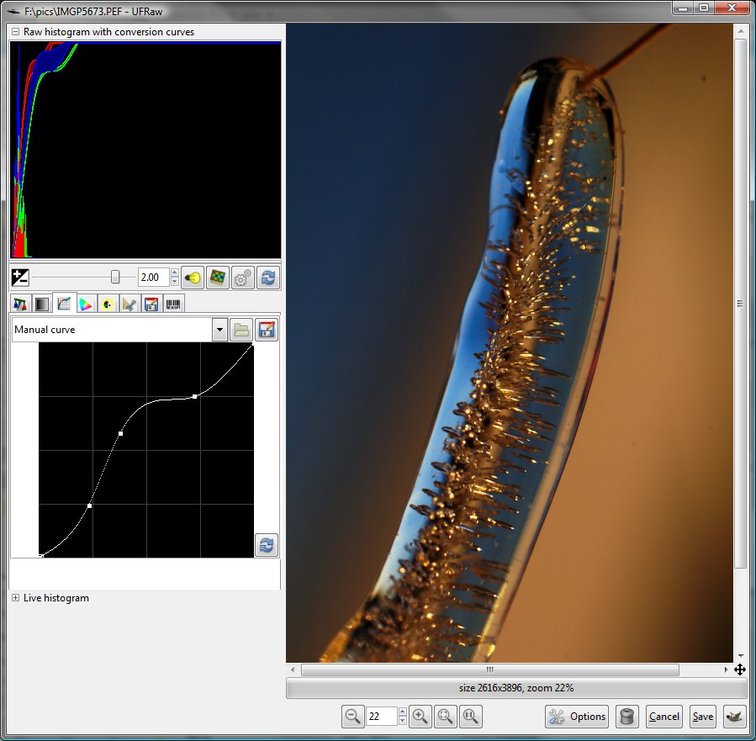
I have a couple of other curves, too, you can see what they do:
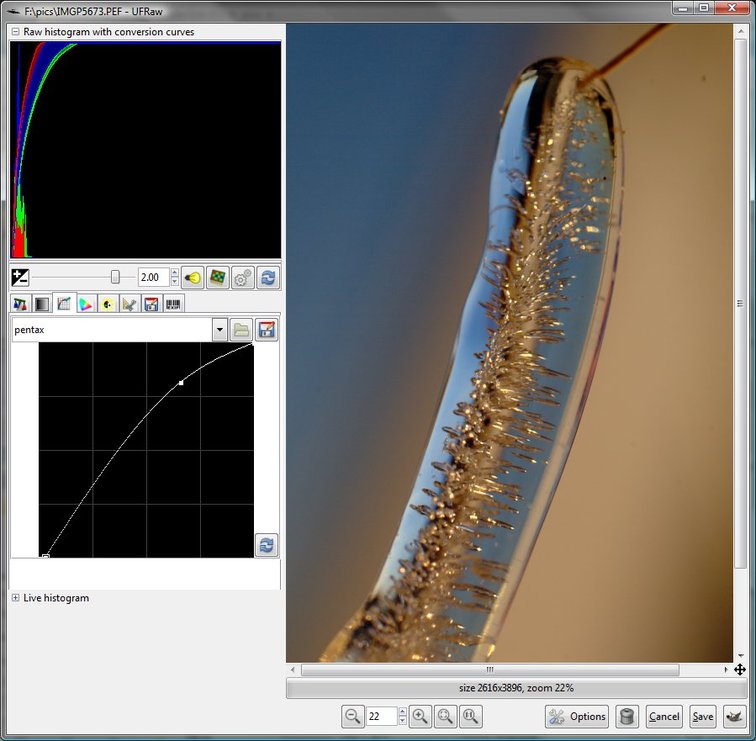
and
Note that moving the bottom and top of the curve will also have an effect...
Other stuff: if it's faster than, say 1/60, turn SR OFF! Wind is a nightmare, but take lots of shots and then select the best ones afterwards.
Questions? ask.
Posted: Fri Mar 20, 2009 1:37 pm
by mr tibbs
What program is that? Also, what is the reason for turning the shake reduction off?
I have been playing around with RAW and using the auto correct feature in Picasa. All of my flower pics today were shot in RAW and corrected in Picasa. Do you know of a better program that is free? I really liked the Adobe lightroom, but I don't think I can pay $300 for a program I won't use all the time. That and I don't think I could ever use all of the features of the program.
Posted: Fri Mar 20, 2009 1:55 pm
by bretti_kivi
I use UFRaw and GIMP, both free.
GIMP:
http://downloads.sourceforge.net/gimp-w ... -setup.exe
UFraw:
http://sourceforge.net/project/platform ... tform=3514
Works very well for me.
SR off because it will try to correct movement that simply isn't there. I think it was off for all of those shots.
Bret
Posted: Fri Mar 20, 2009 2:23 pm
by joyride
apparently I am just too used to Photoshop. Those histograms are completely new to me, and i have no clue how you are reading them.
I loaded up the image in PS, and my suspicions were correct. The image looks a little dark because your levels are off. Also, it looks like you clipped a little of the bottom end. If you can, bring your levels in on the top side and it will read a little better. Are you shooting in a 'vivid' mode or anything? The first image looks really heavily saturated on the blue side. Also, I try to never use the 'auto' settings, as they always come out weird looking.
Posted: Fri Mar 20, 2009 6:05 pm
by Rold Gold
Posted: Fri Mar 20, 2009 6:19 pm
by GX3
FuzzyHoNutz wrote:Are you making dildos......


........
ok so i wasn't the only one

........ my girl said that that would be way too cold
Posted: Fri Mar 20, 2009 6:38 pm
by Wakeup
Oh you didnt post this in the right section....should have been posted in my SH!TBR!X thread!
Cuz of the shape looks like a peenor.
J/k!

Posted: Sat Mar 21, 2009 1:05 am
by bretti_kivi
guys, real size in this case was less than two inches from top to bottom. I think she'd be disappointed

Back to topic: I don't tend to read histograms for correctness. Yes, the saturation is too high - 1.4 as opposed to my correct 1.25, which is a result of using the 135 too much recently - and yes, I have raised the bottom end of the curves, for more contrast.
Yes, it is also "dark"; I like the drama.
This is actually also important: I'm not creating for print, I'm creating for fun and the web. The pic should look good to me, it's not about its usability. If I wanted to submit it as stock, I would definitely work with it some more to get a) the colours less extreme and b) lighter with an even spread across the complete histogram.
"Auto" worked really well on the ice-track pics; sometimes it does, sometimes it doesn't, but a reasonably accurate monitor and a good idea of what you want helps
@joyride: Now I know where to check my processing

Bret
Posted: Sun Sep 13, 2009 11:41 pm
by bretti_kivi
...something else that just came up:
When sharpening, first decompose the pic to HSV.
USM ONLY on the value layer
now recompose.
Bret
Posted: Wed Nov 04, 2009 1:38 pm
by bretti_kivi
... and there's another way, but it's a lot more complex.
Start by duplicating the pic twice. Kill the original.
1. Decompose pic1 to LAB.
2. On that pic, edge-detect.
3. Then greyscale it and, with the help of the color levels, turn it to black & white.
4. Fluff the edges by applying some gaussian blur.
5. Now the difficult but: with the luminous layer selected, create a new layer. Leave it at 50% transparency, it's not important.
6. In the layers toolbox, you now want to change the layer to a selection.
7. Apply USM to the selection layer. Recompose and check.
It's complex, it's long winded, but the results seem pretty good. I will test this again on some pics that are unfocused and on a couple of others that are pinsharp and see what happens. I would like to automate this... maybe I can.
Bret