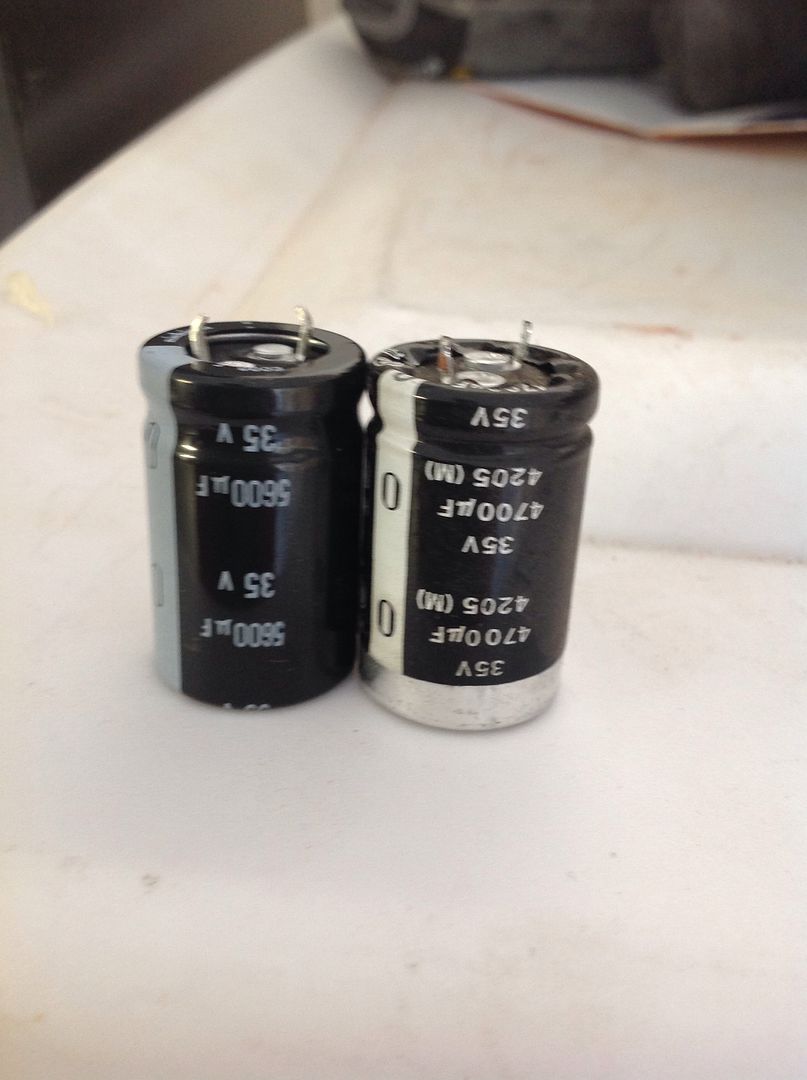
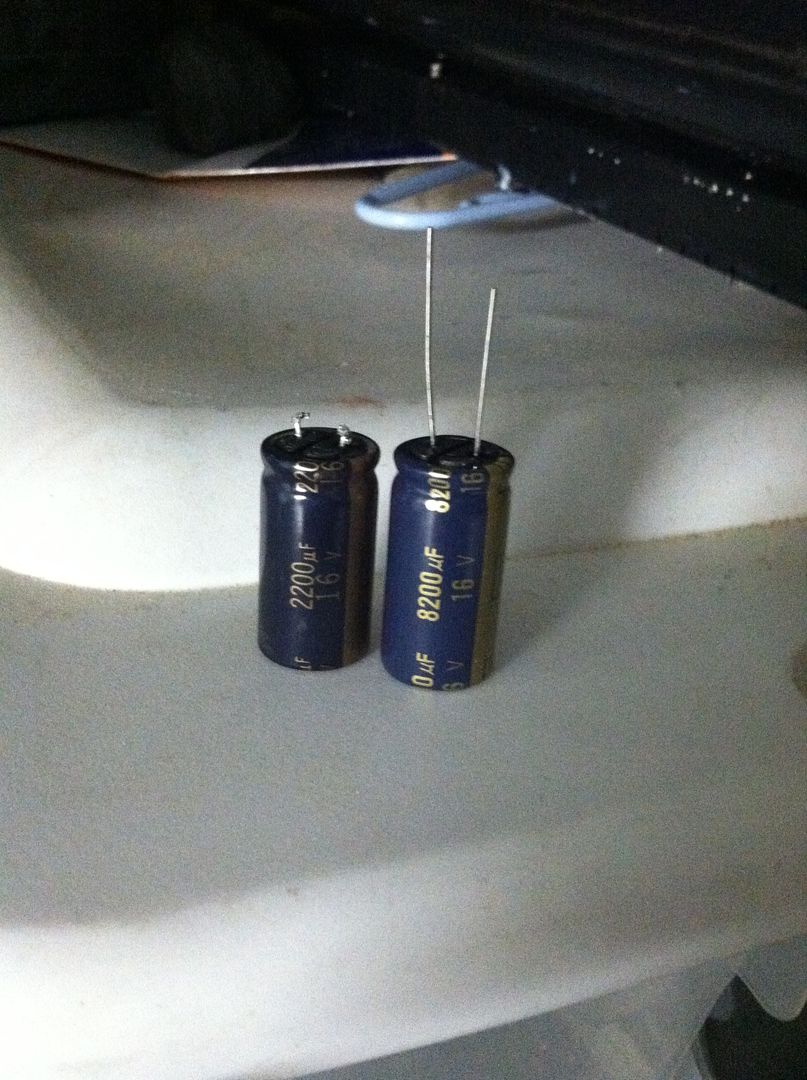
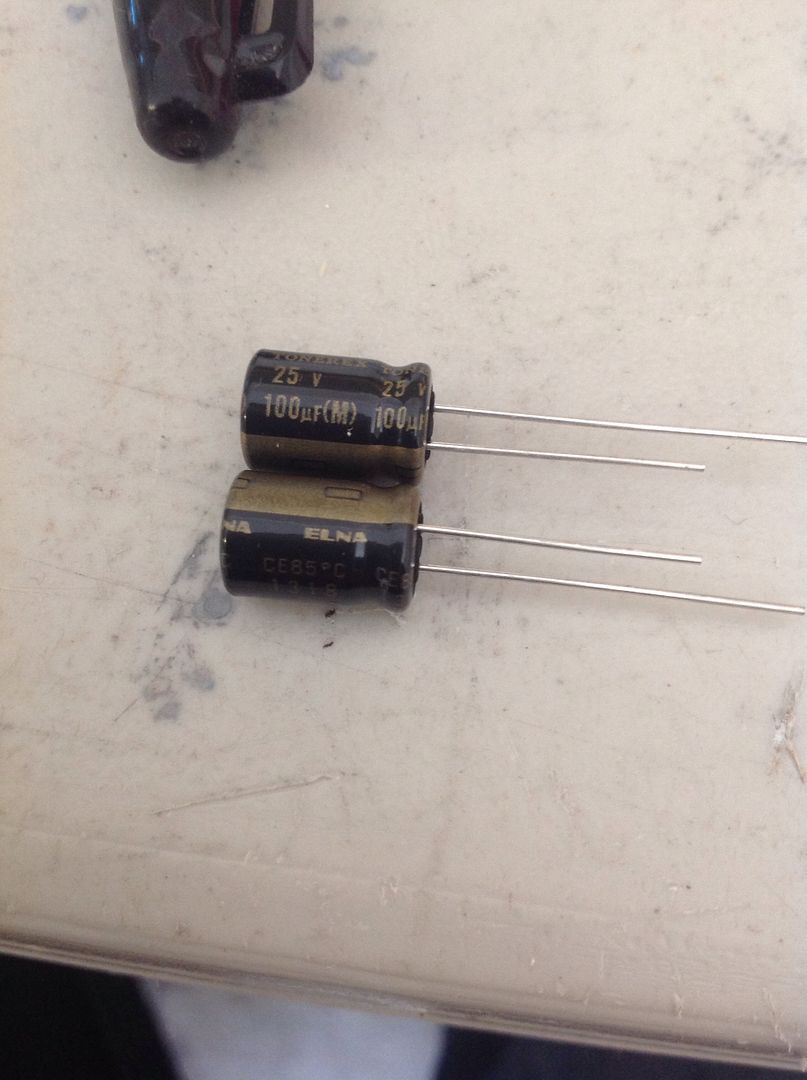
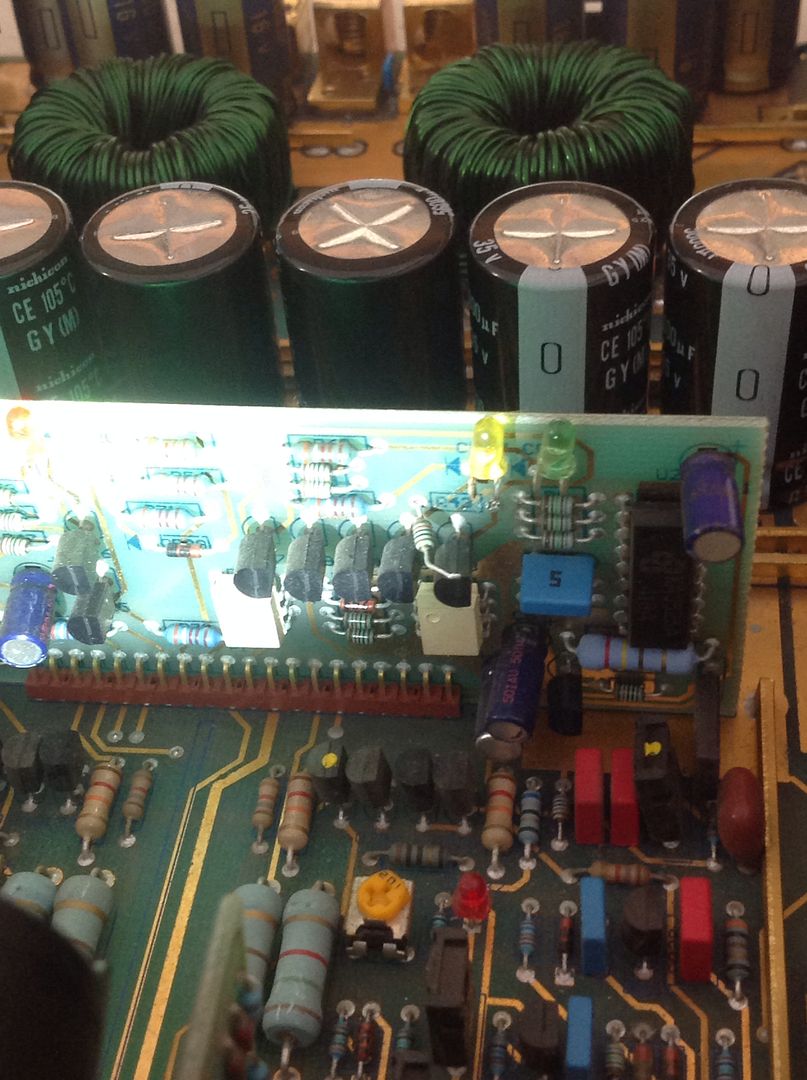
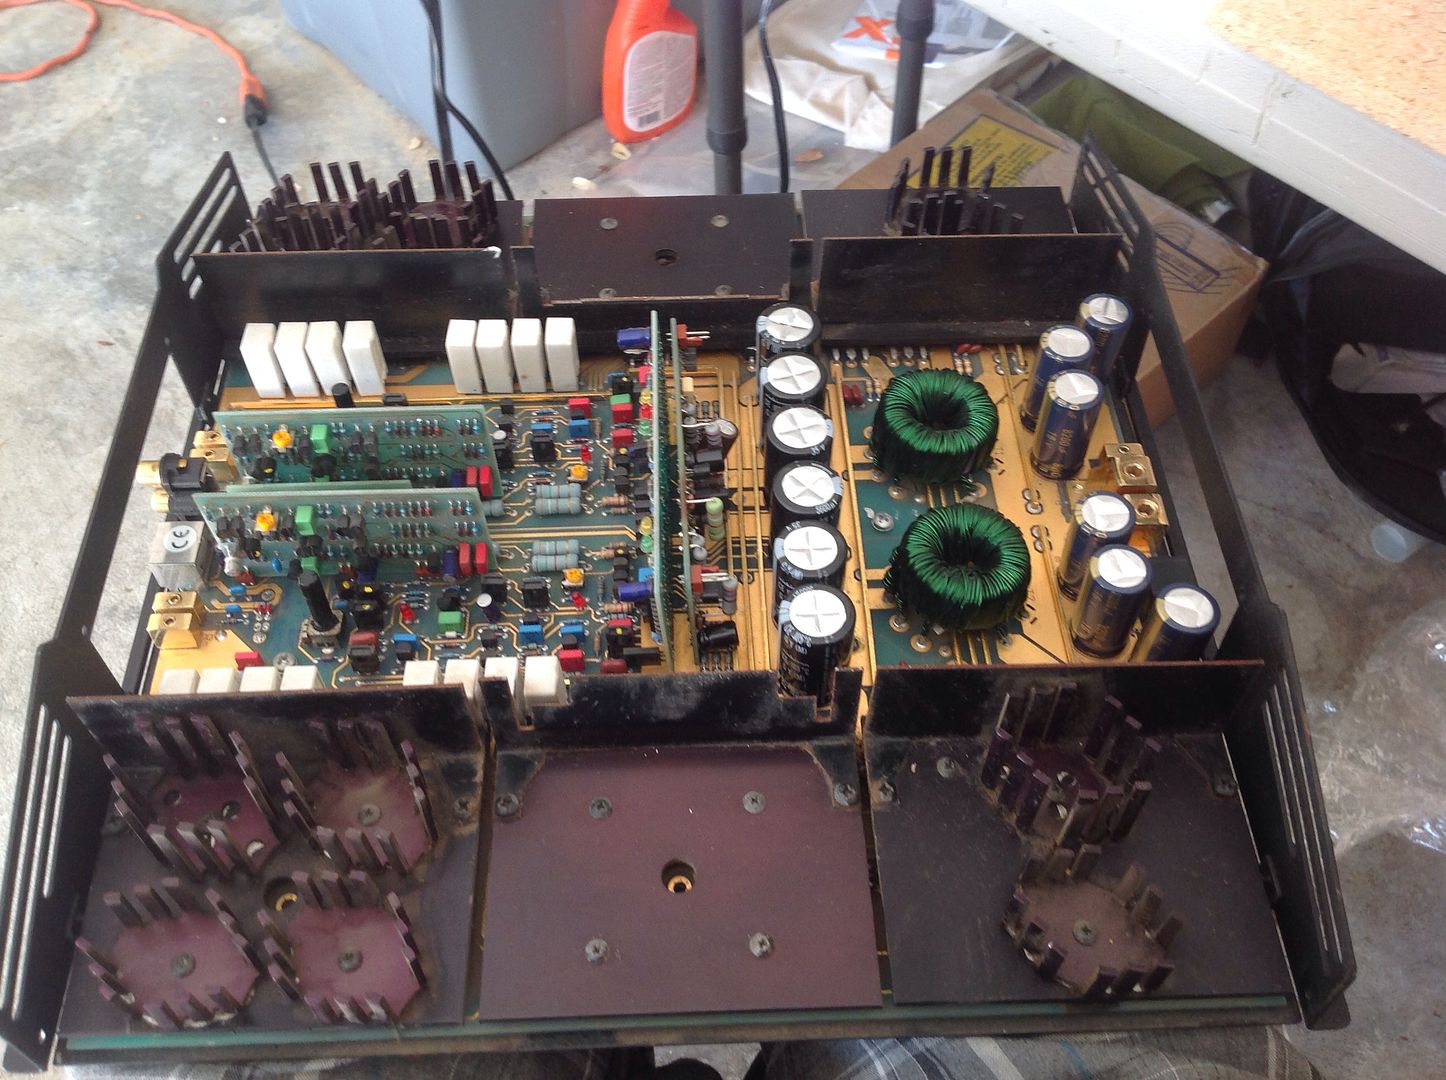
Now all resistors have been changed, and all caps were swapped out. They were replaced with same values but ELNA caps, except for one cap that isn't available as ELNA, and that's the 4.7uf, I got it as 10uf...
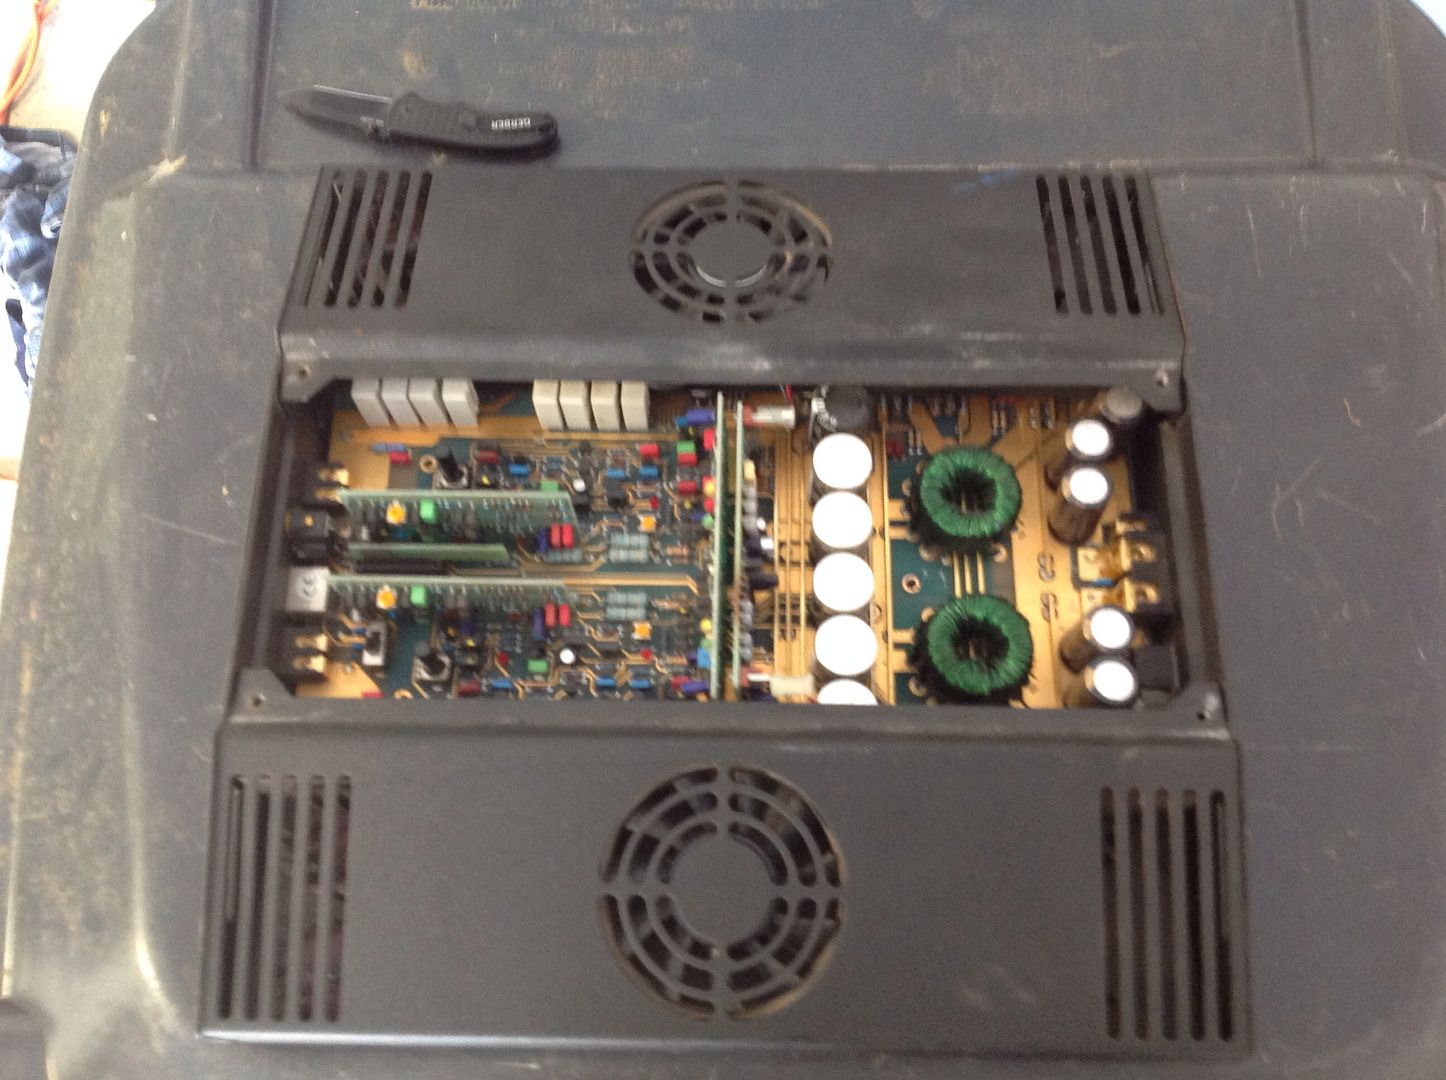
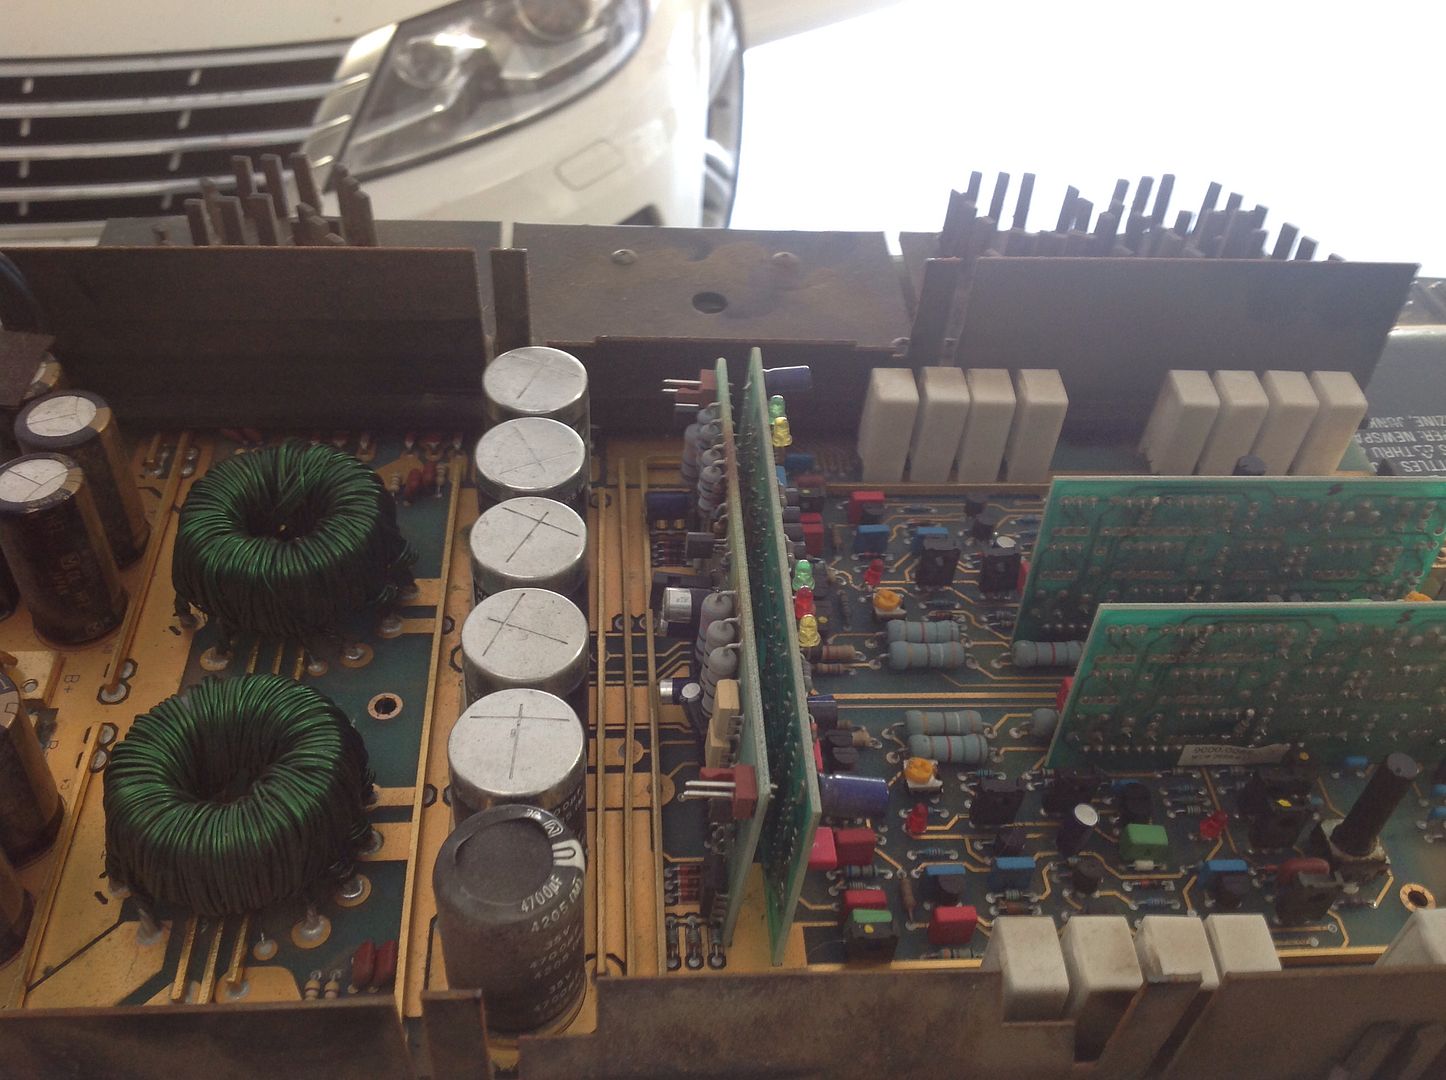
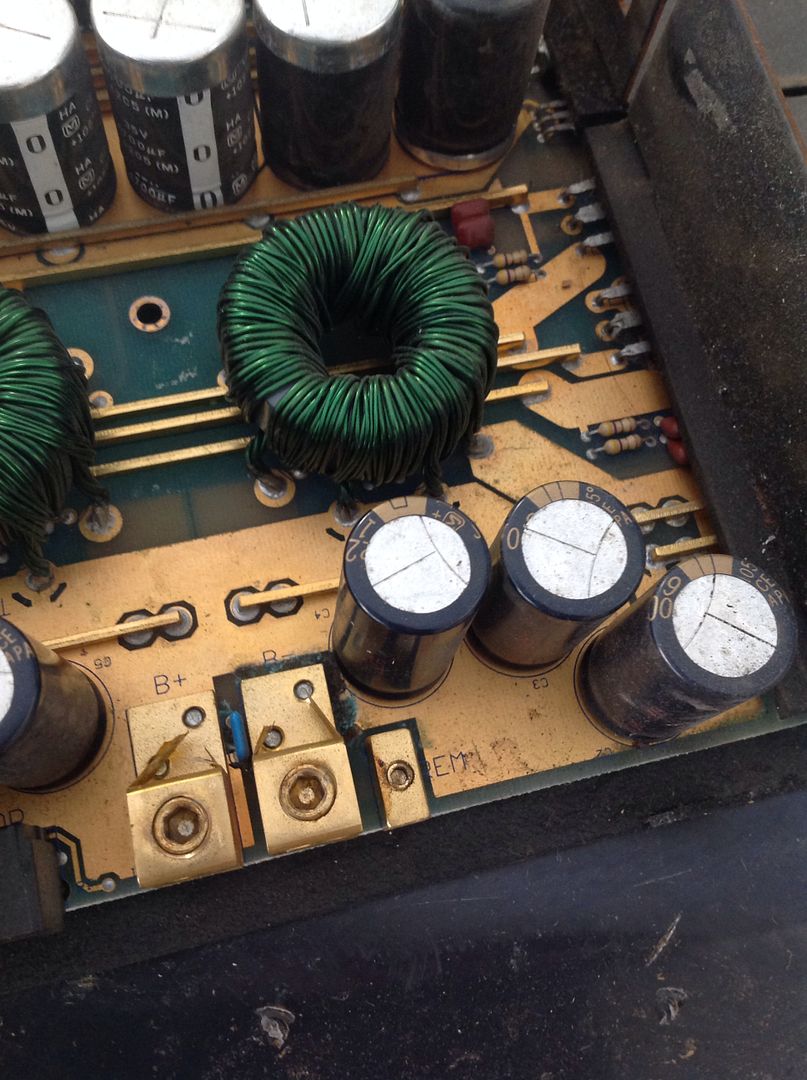
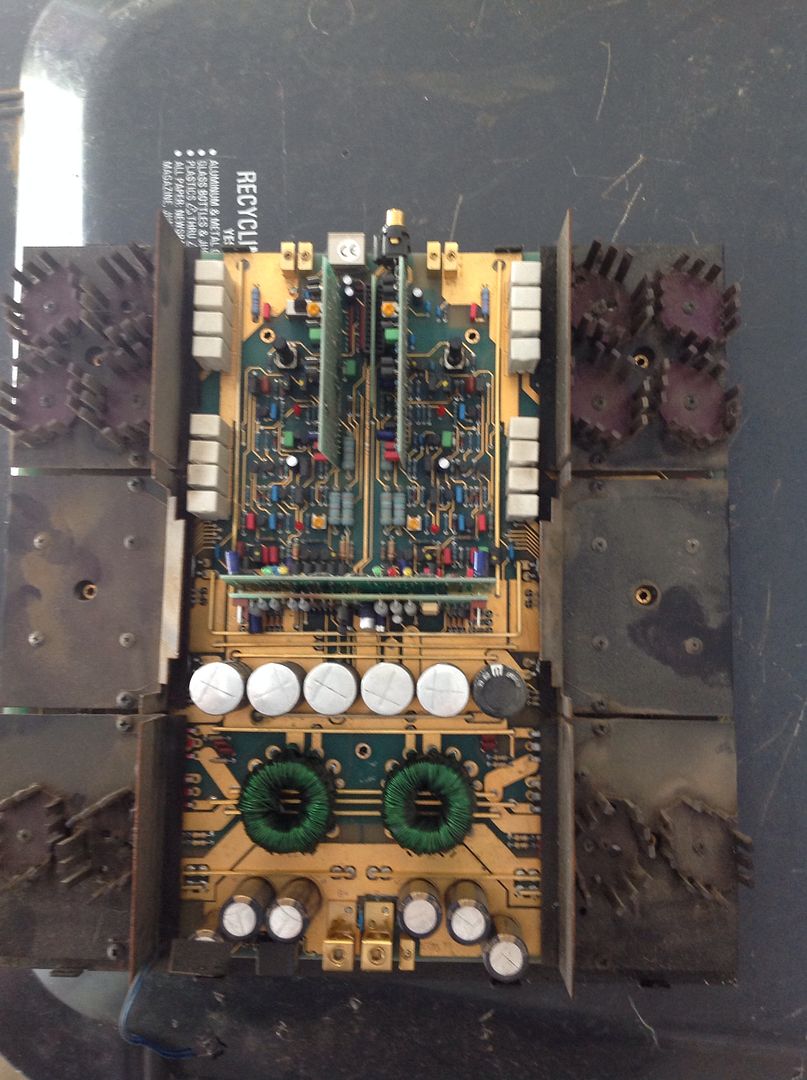
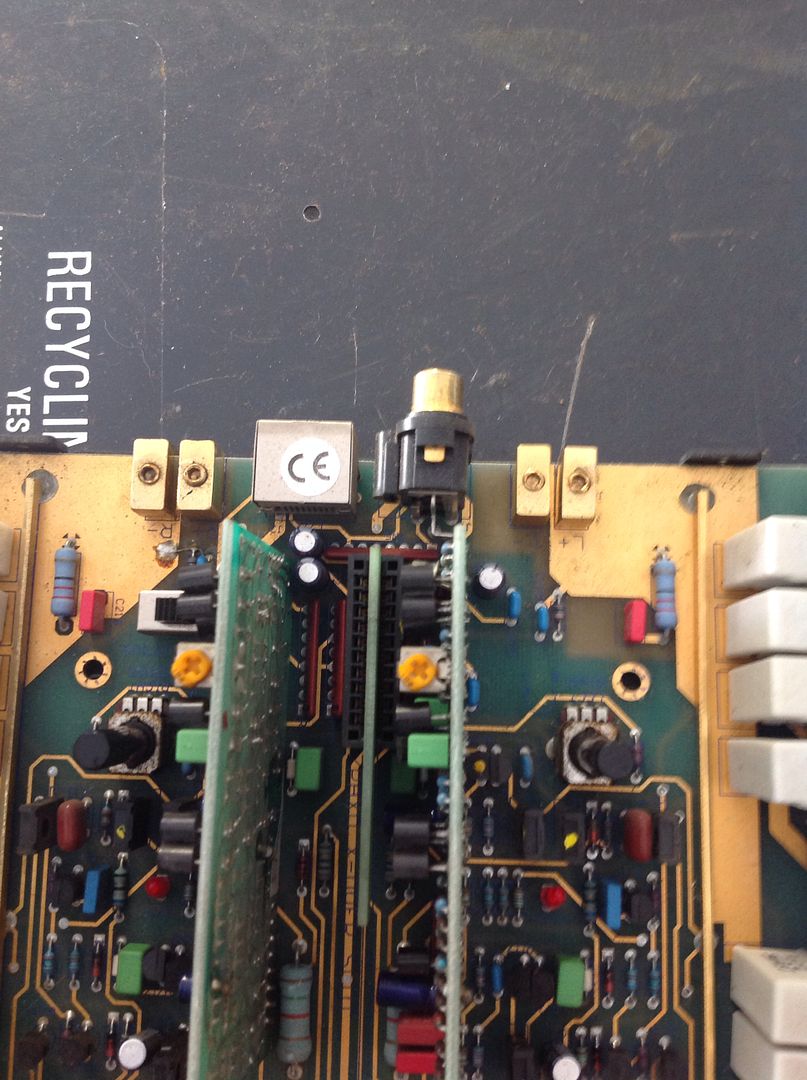
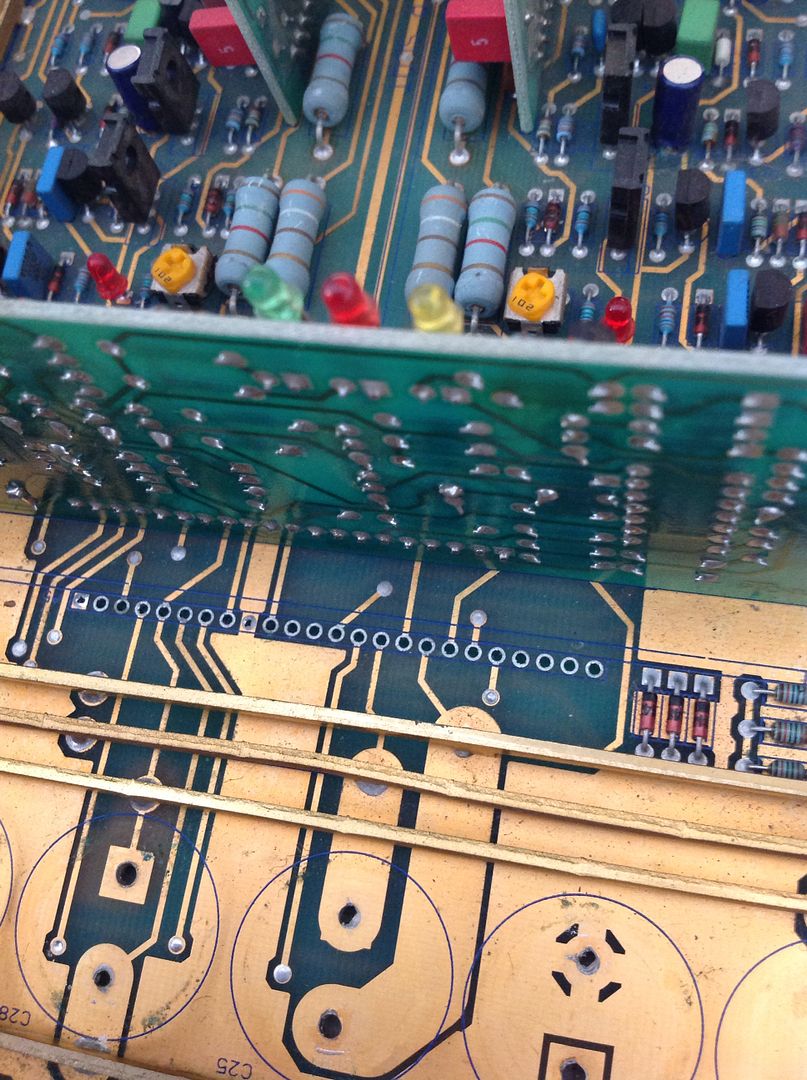
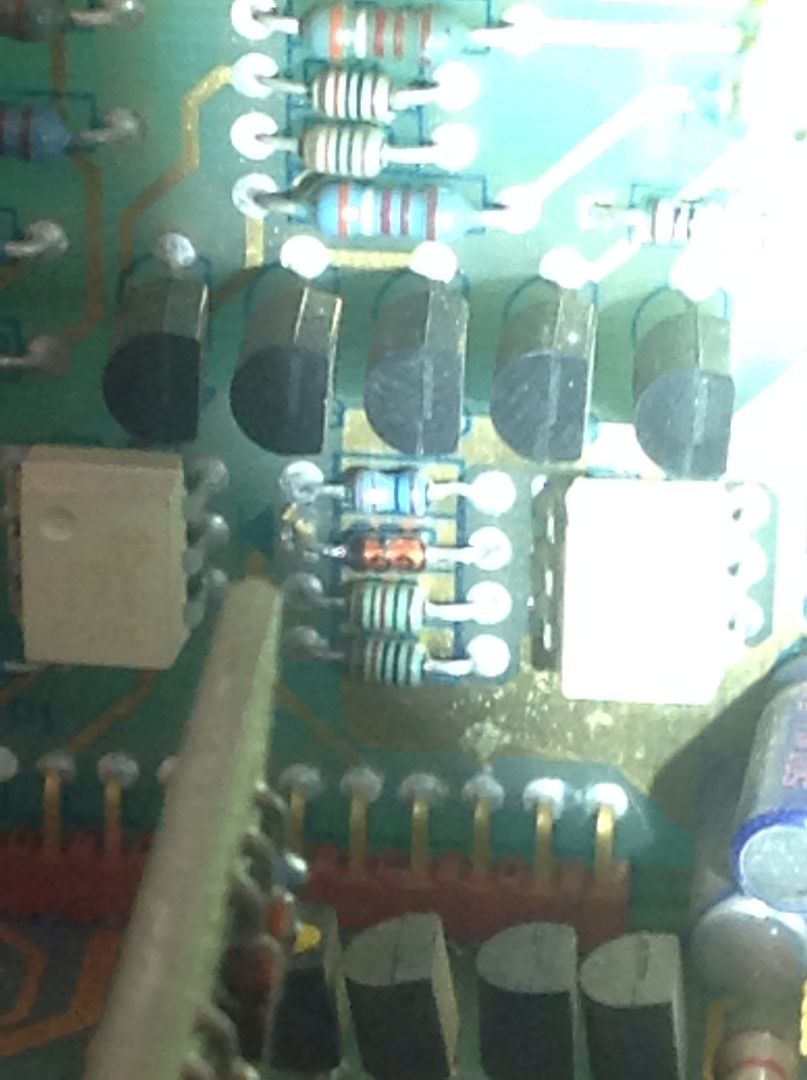
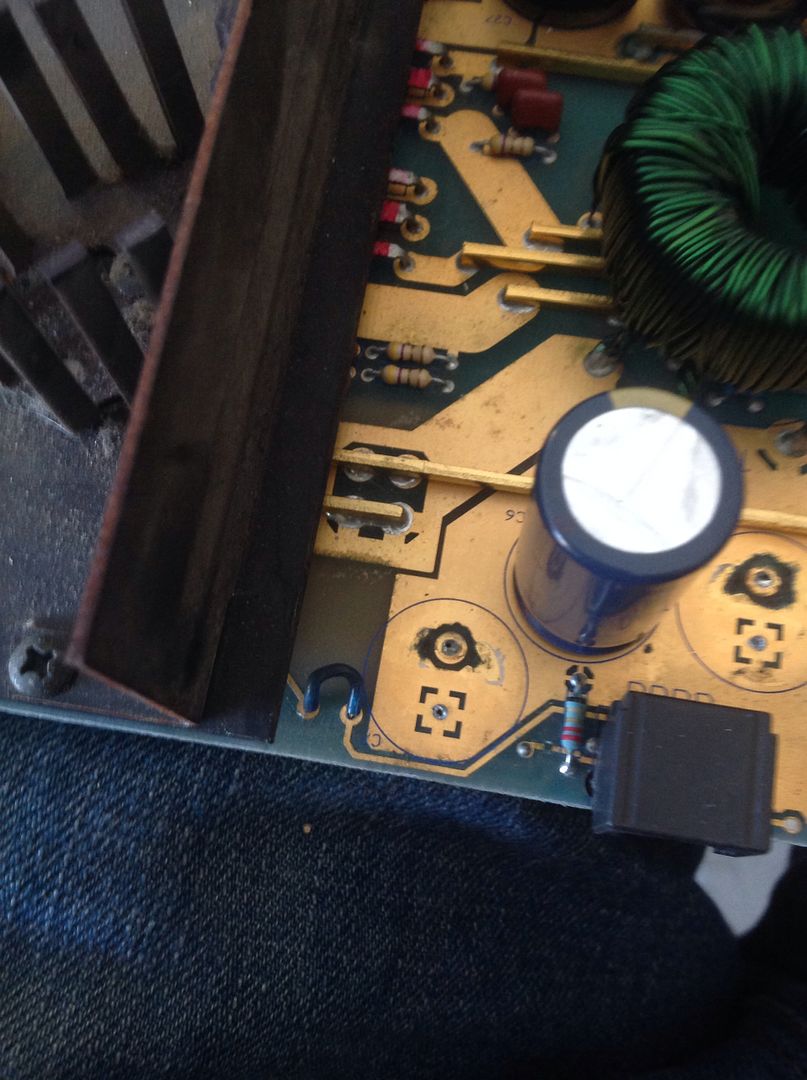
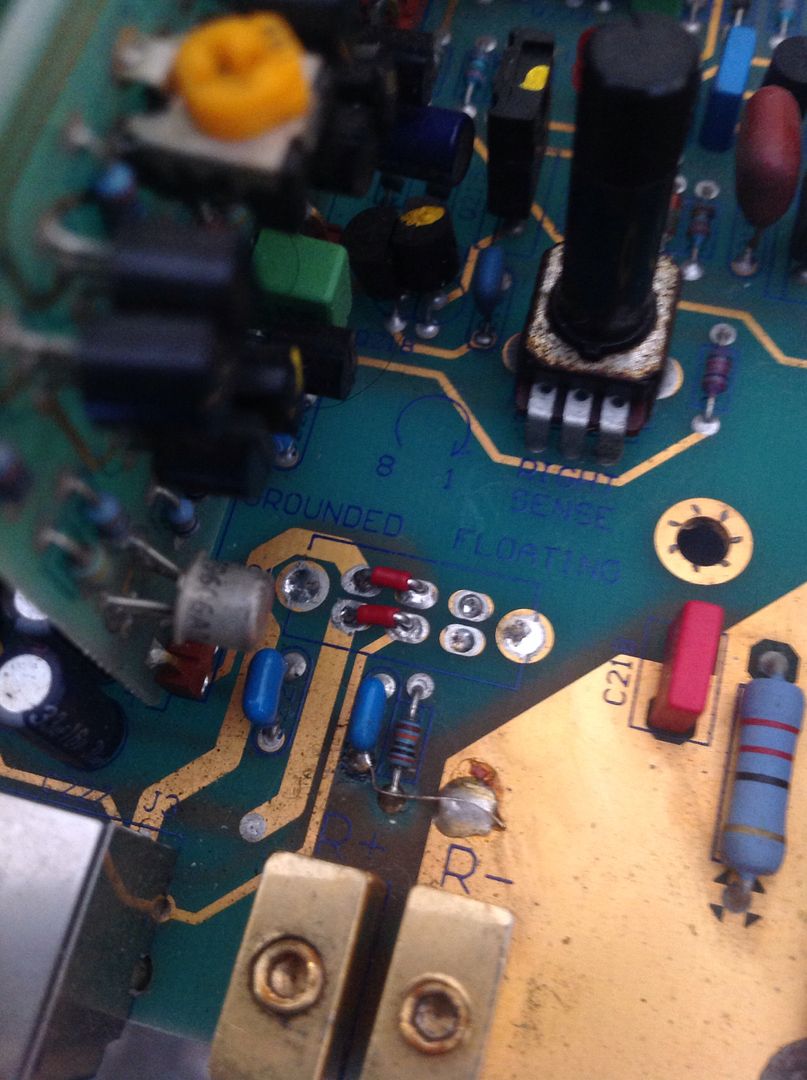
Now more detailed shots...
A few of these and a few of those.
Creator of www.phoenixgoldregistry.com
hit me up to add your limited edition amps.
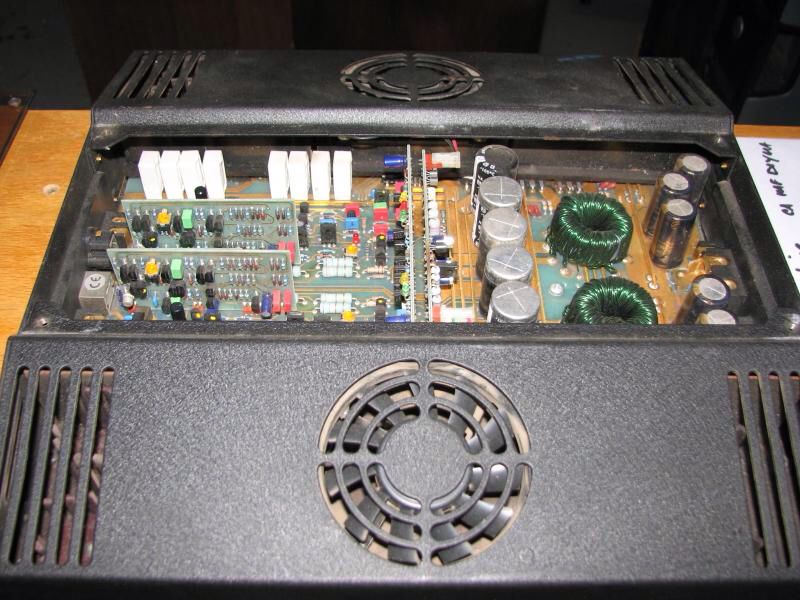
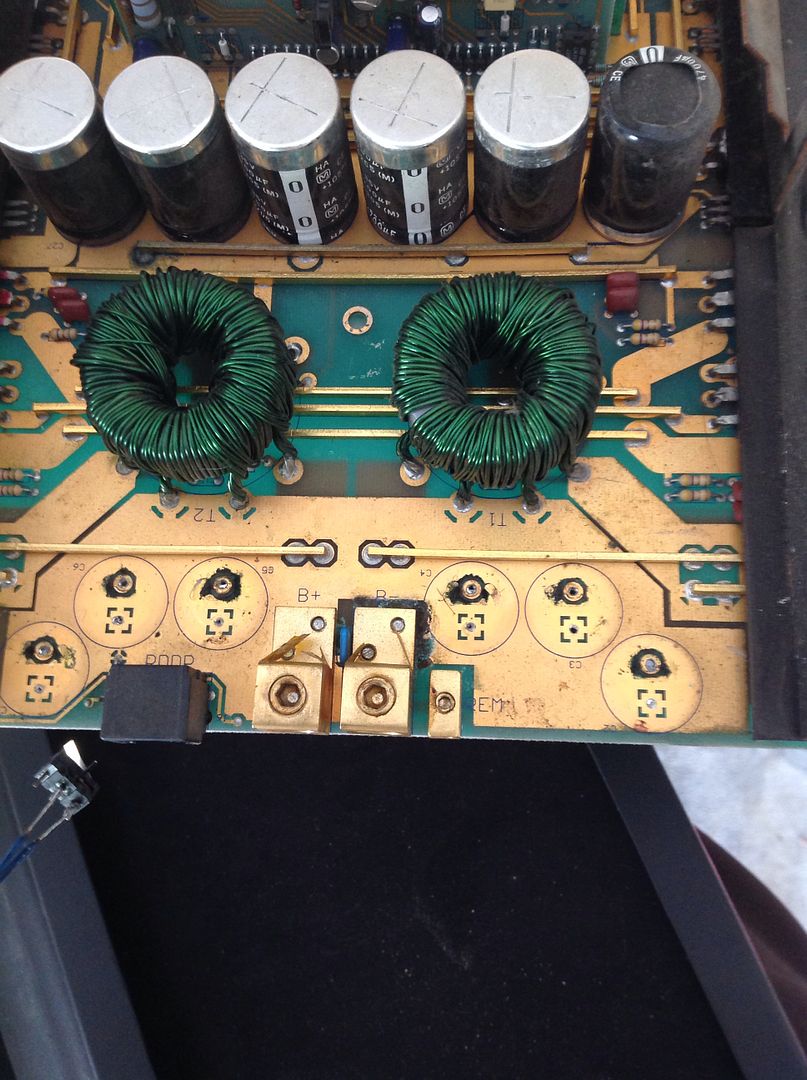
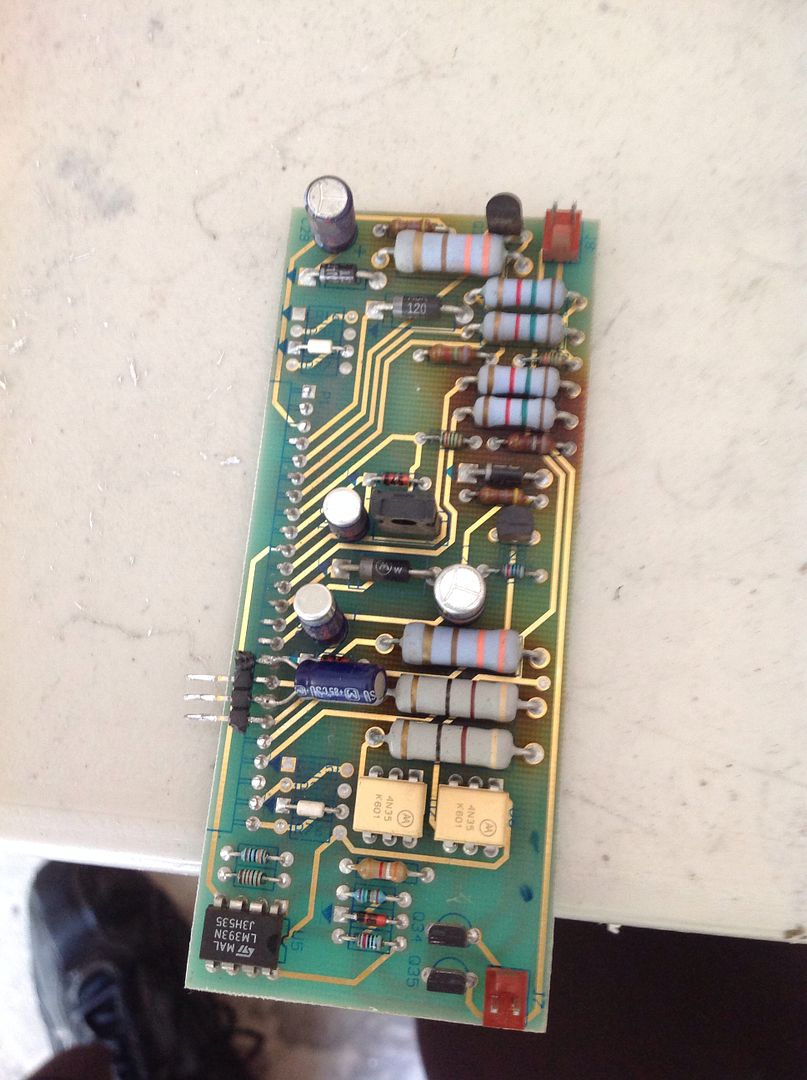
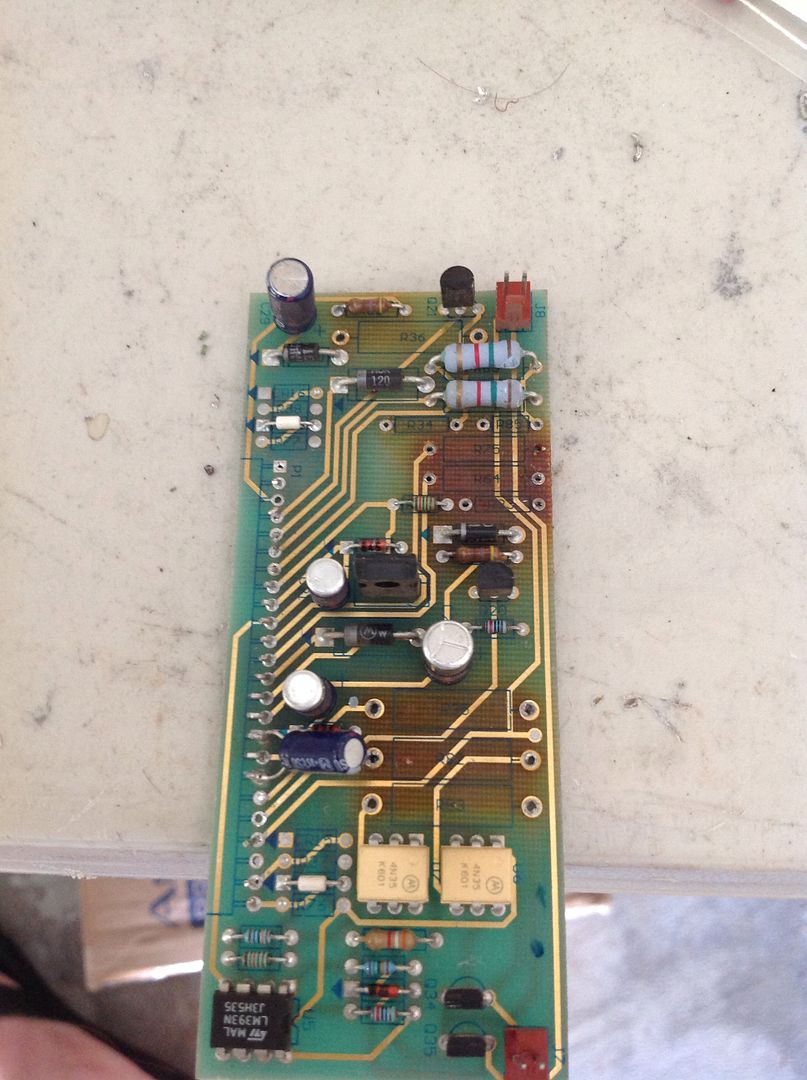
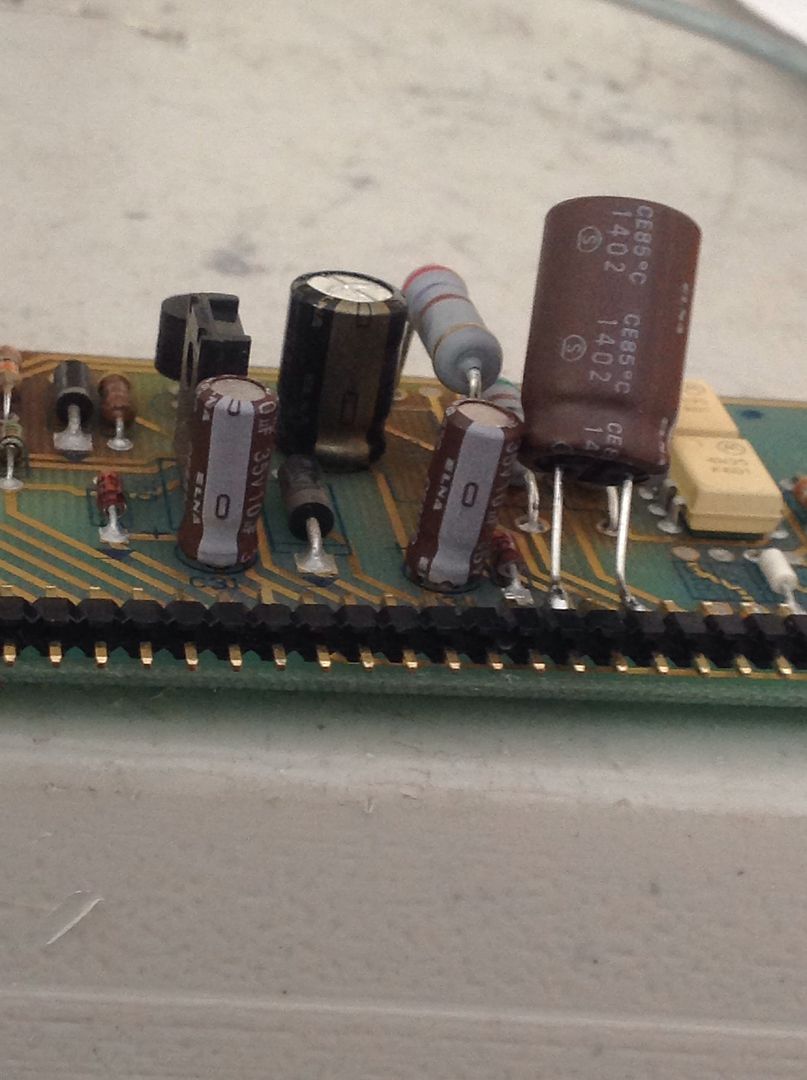
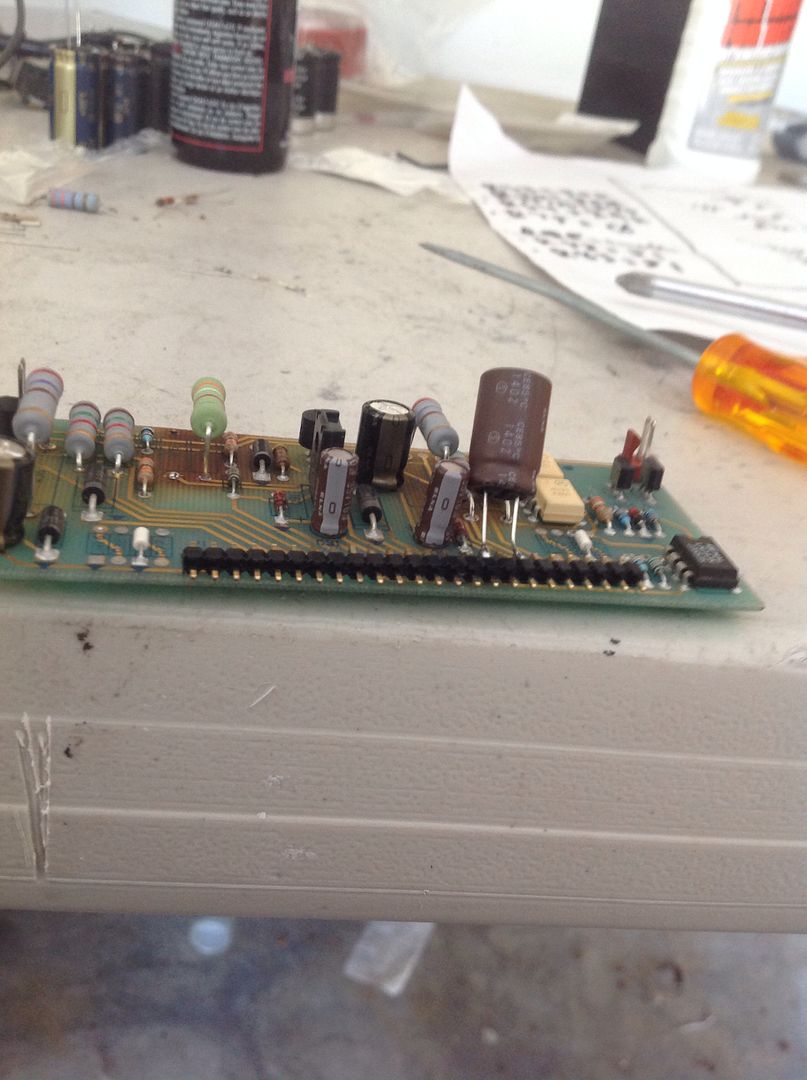
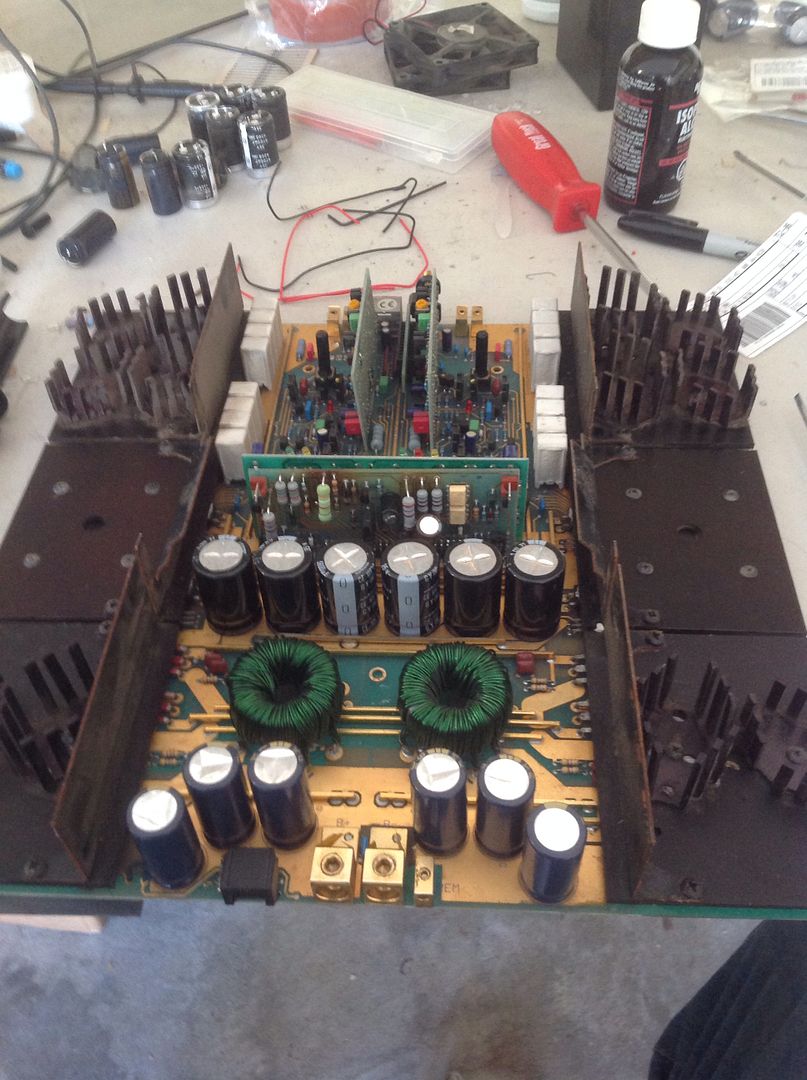
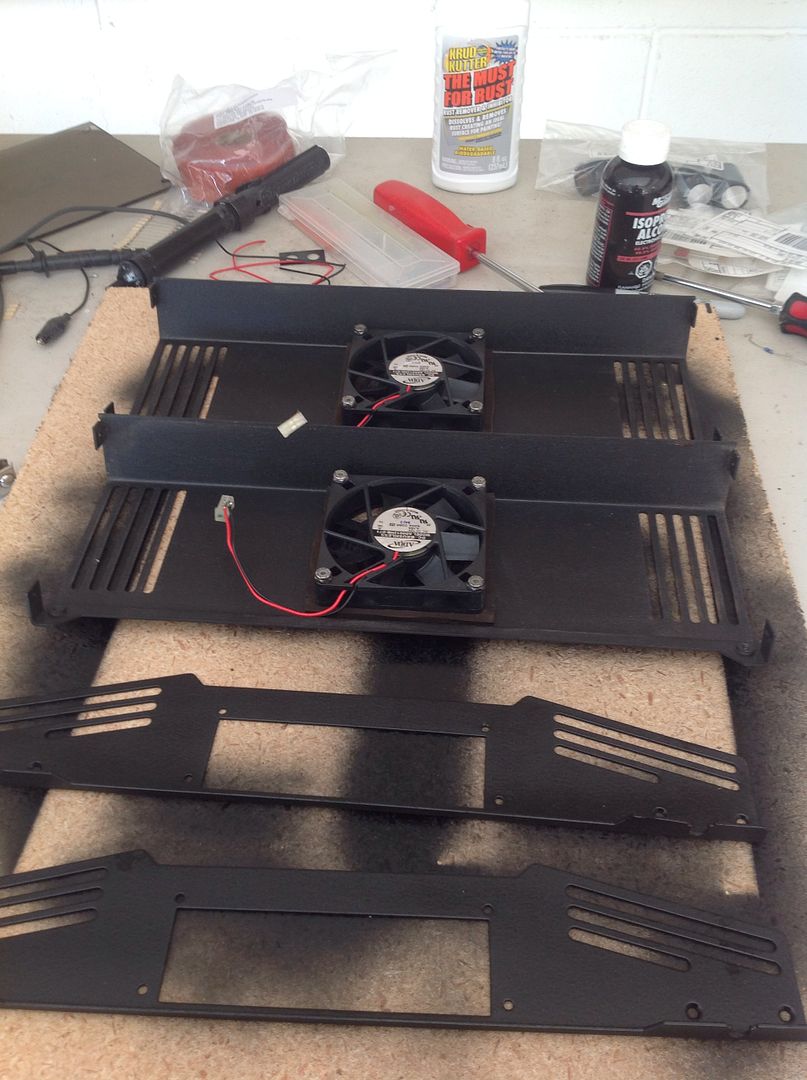
And finally installation of the caps and power supply #2 board...
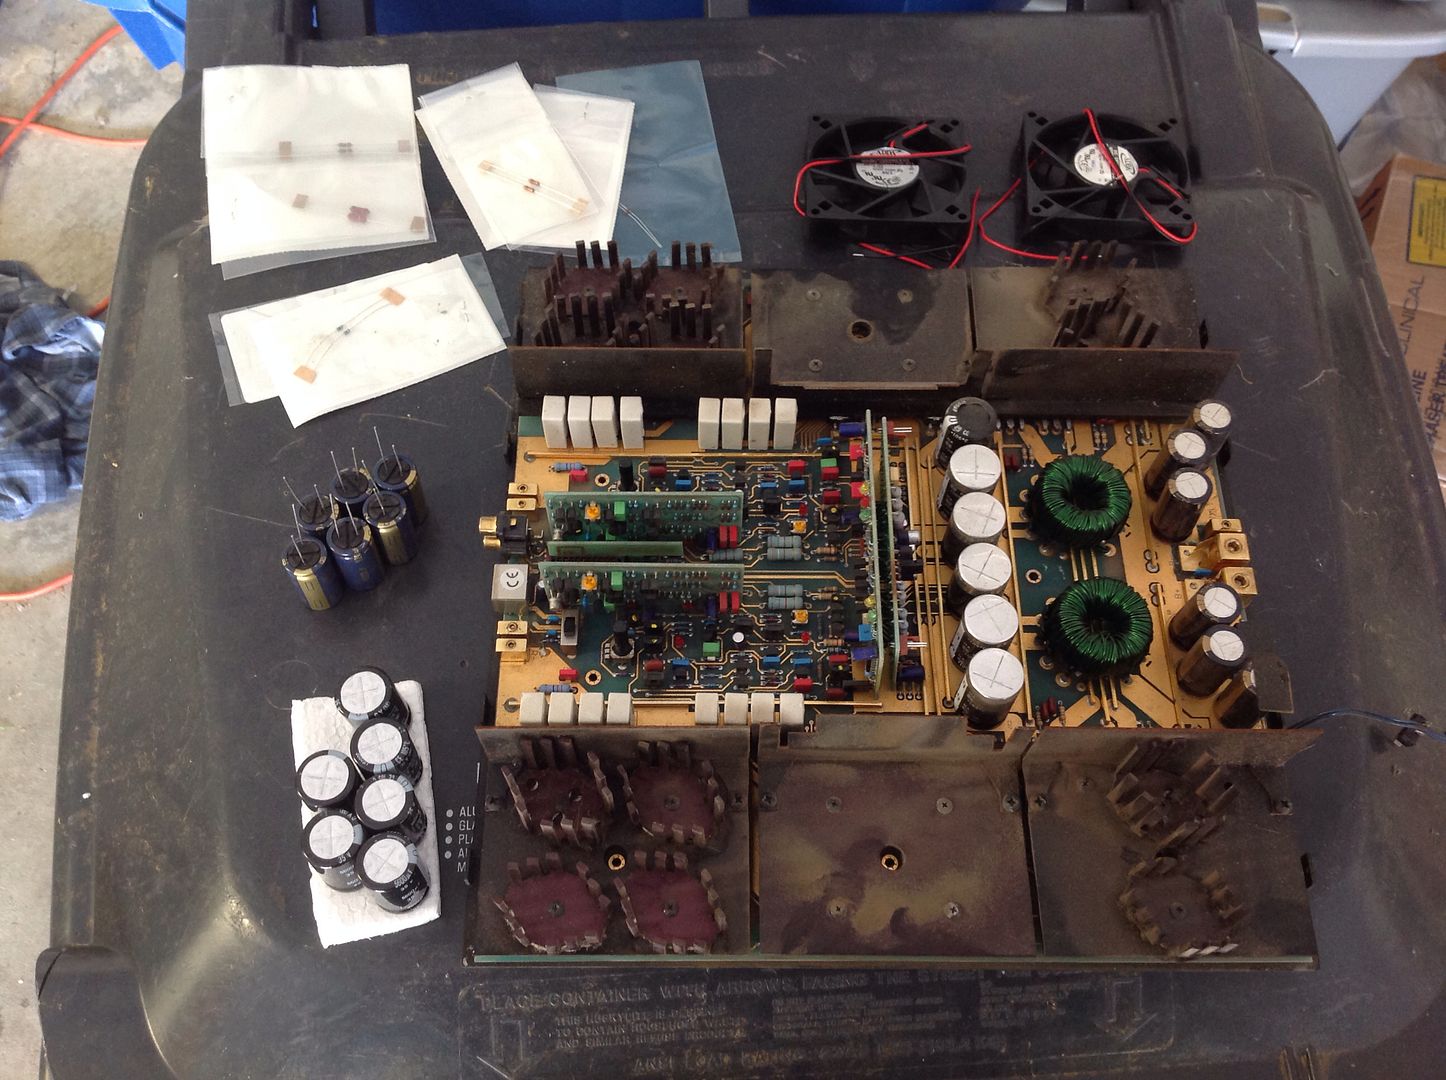
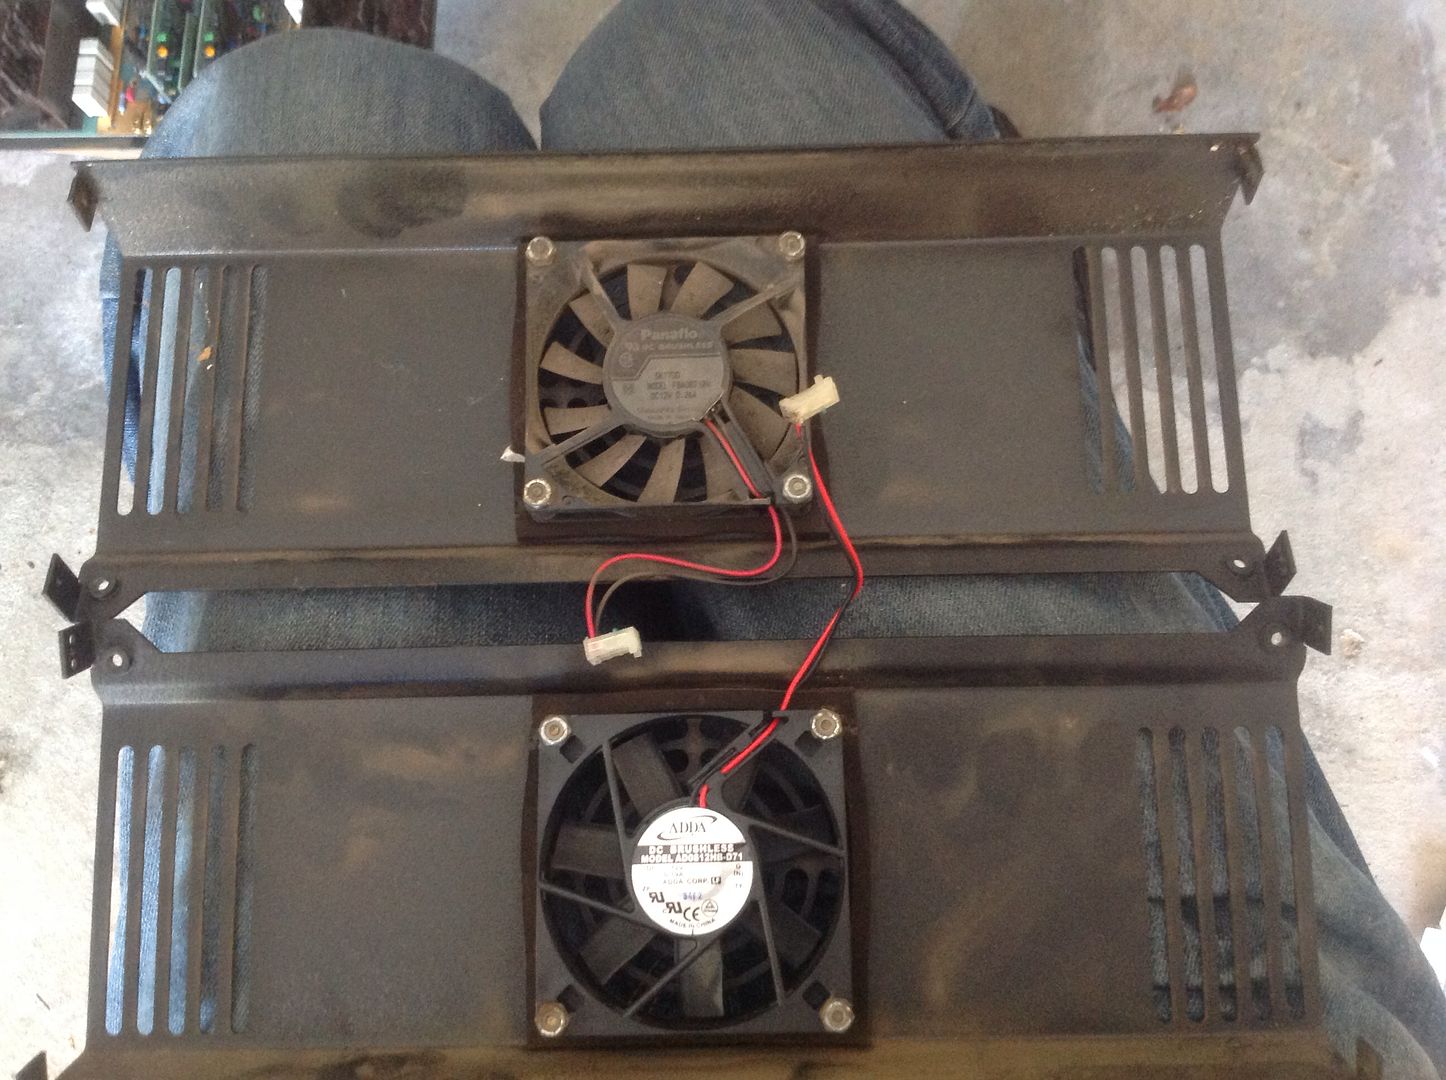
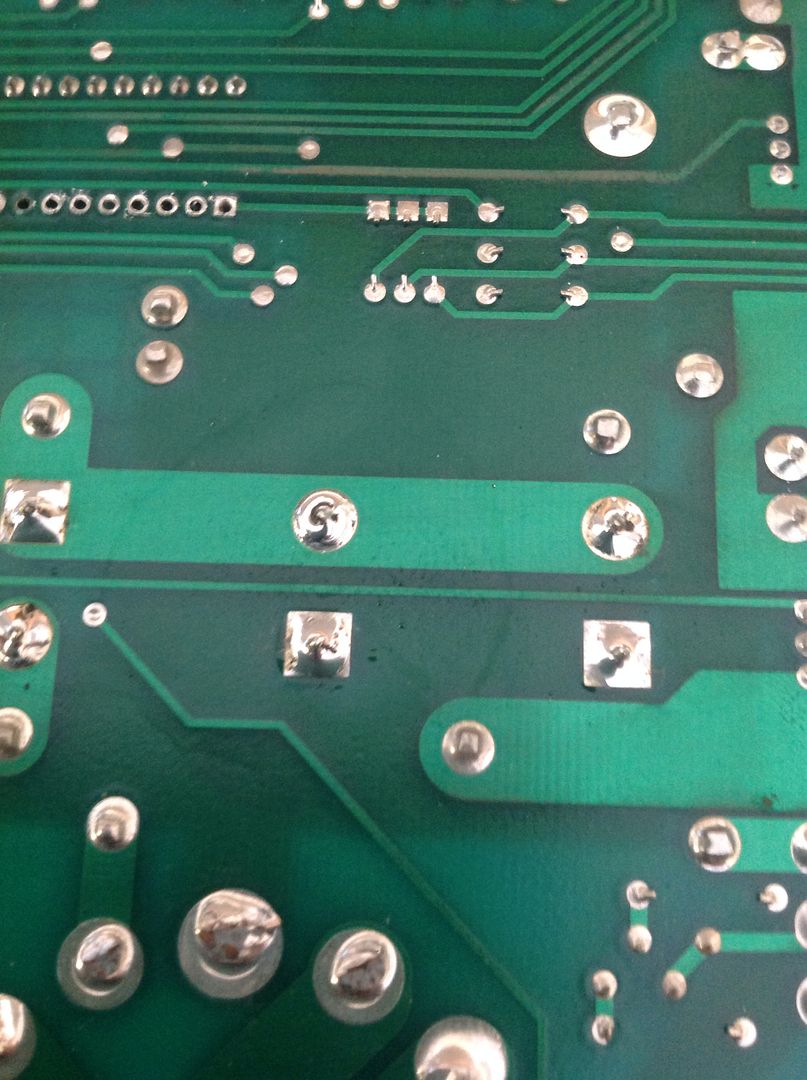
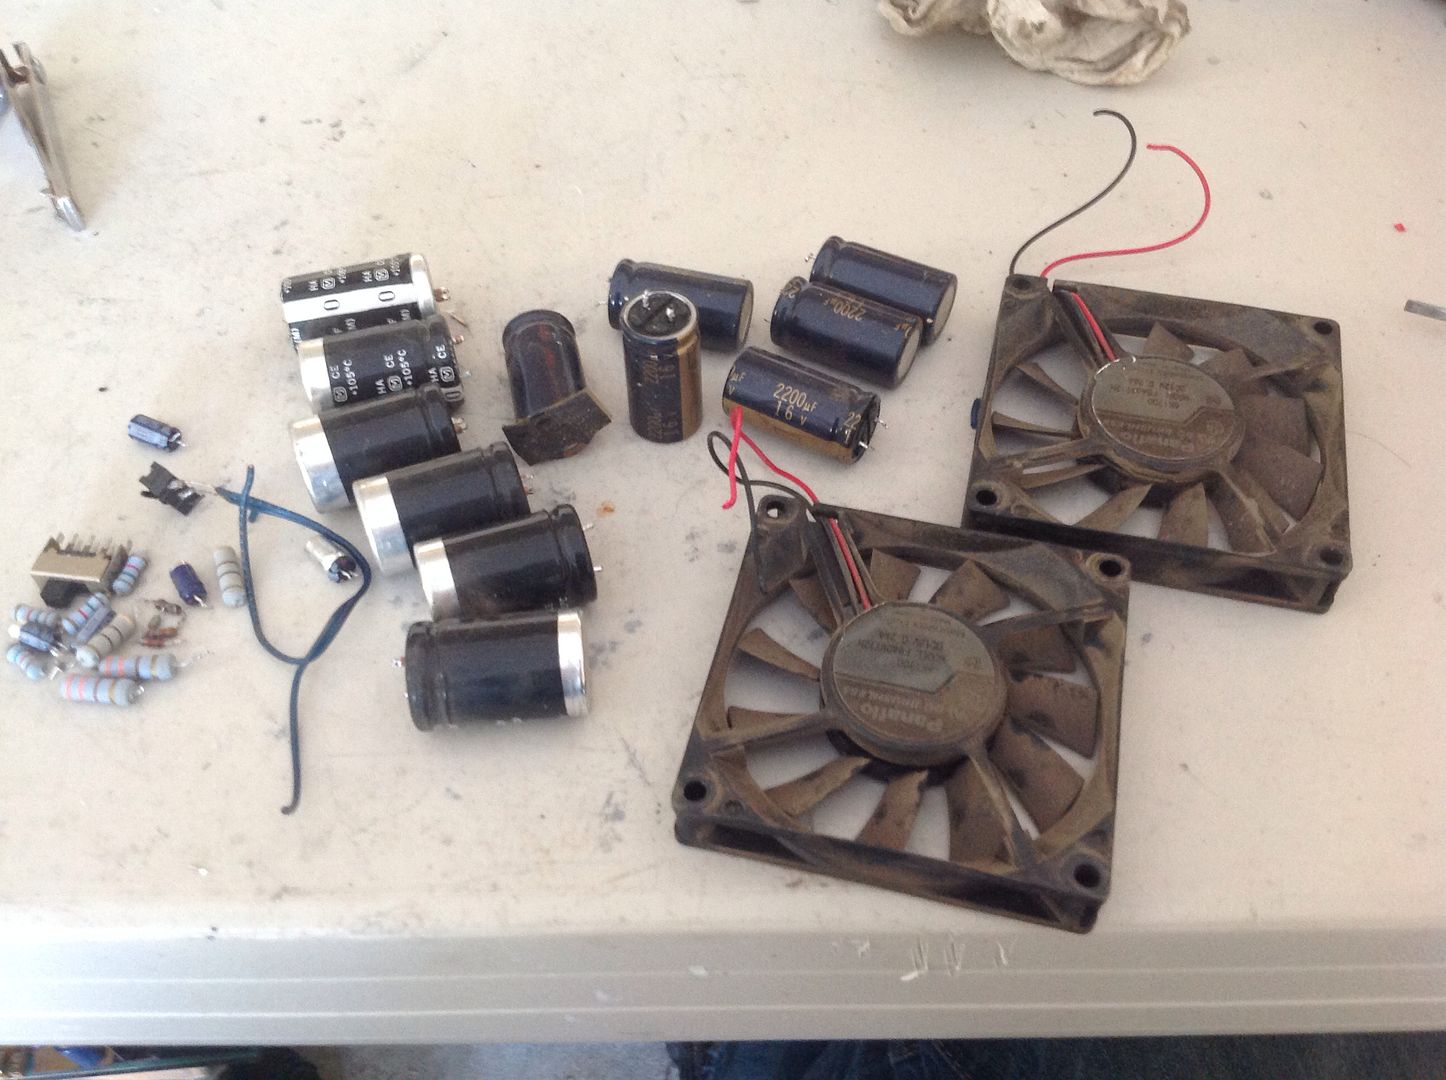
Here are all of the parts that were removed...
Some notes: on one power supply cap I did not get continuity from front to back but after soldering in the caps I had great continuity on all caps. Same went for the rail caps.
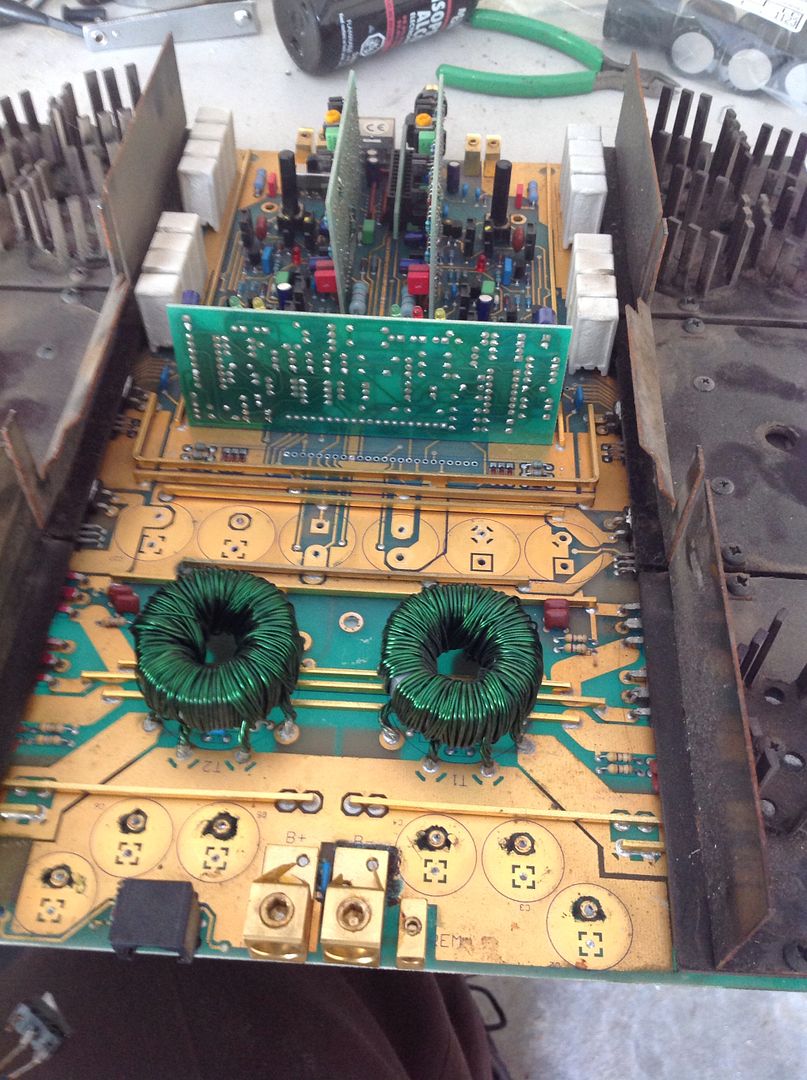
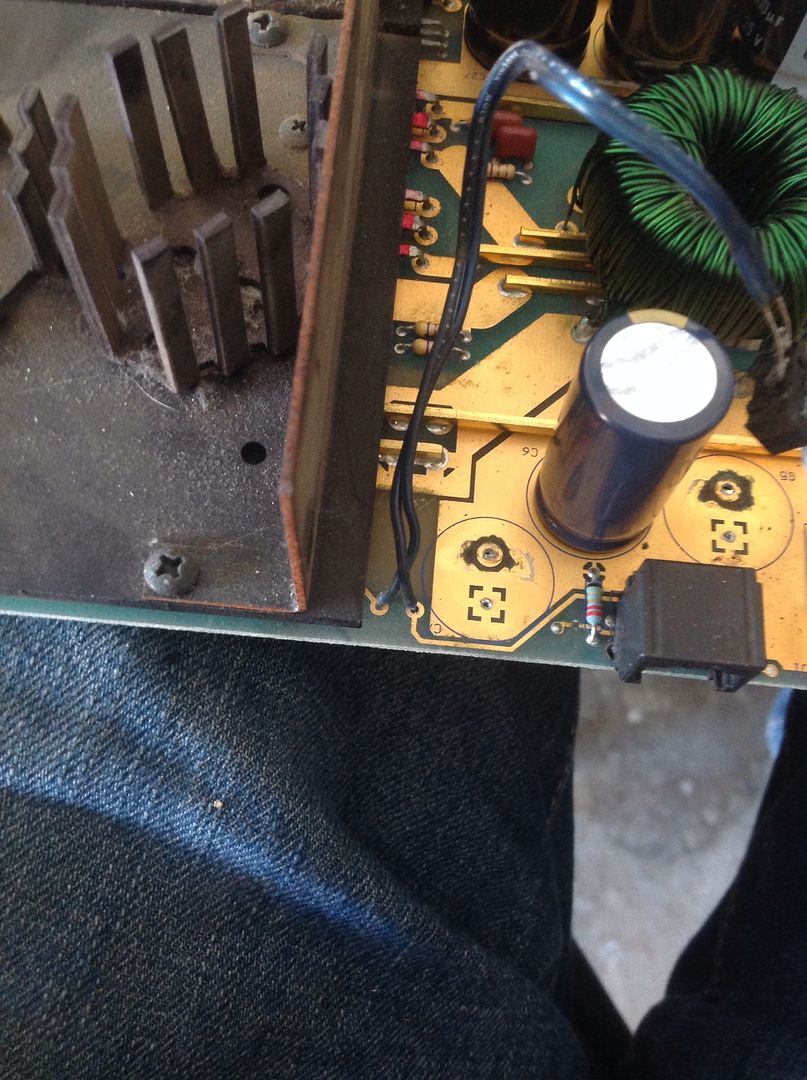
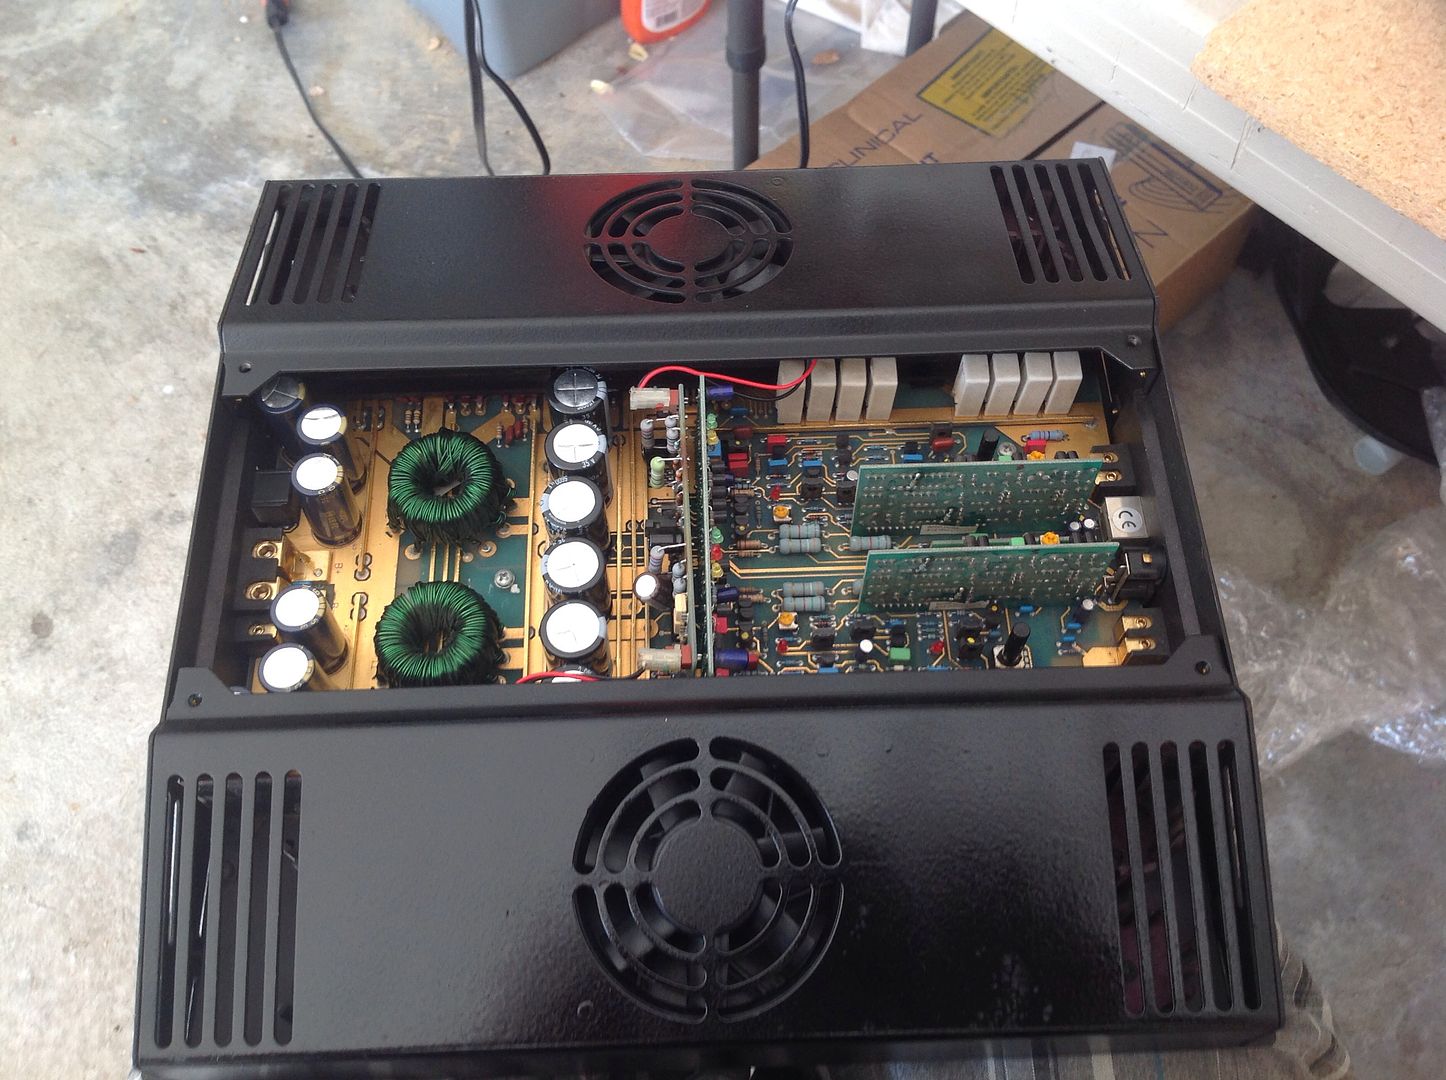
I still need to remove the heat sinks for a good cleaning, inspection of the transistors and reapplication of thermal grease.
The outer case is repainted but is still tacky so it won't get reassembled for a picture until tomorrow.
The plexi is missing a corner. I will get a new one made, but the original will do for now.
A few of these and a few of those.
Creator of www.phoenixgoldregistry.com
hit me up to add your limited edition amps.
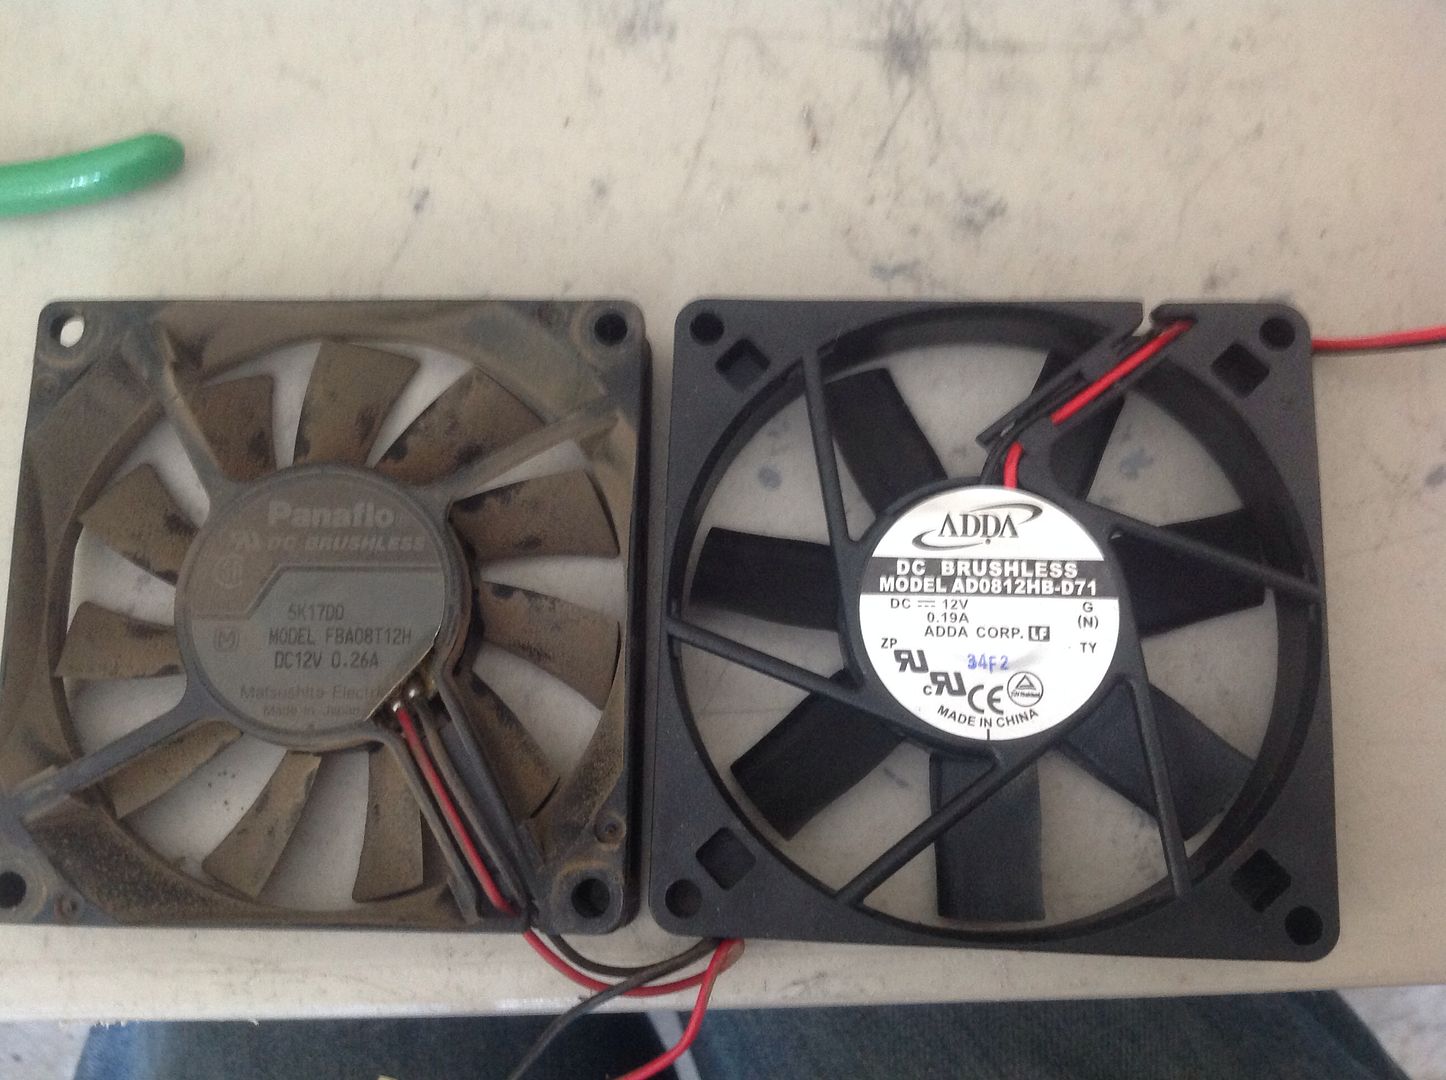
I bought a ZX350 that looked in similar condition, it also included massive amounts of caked on dust/debris and cat hair in every nook and cranny. Took me a while just to clean it up to see what I was working with, came out pristine! Swapped the caps, fan and a couple other bits and it just happens to be the amp I'm running in my daily driver powering a 90's round Kicker Solobaric.
14 PG amps from M/MS/ZX/Ti/LE and counting....the addiction continues...
kg, no it wasn't free. It was a good deal though, and I prefer to buy projects. I get them for less and I then get free reign to experiment and see what I can do to improve on the design.
I'm debating getting ELNA caps to replace the rest of the caps that I haven't changed yet. I don't expect it to be an improvement that's audible, but as long as I have it apart, why not?
BTW, the power terminals are the very old version where the wire hole goes all the way through(so you can push your wire through to the capacitors if you tried hard enough. What you all see is a tape that they used to keep that from happening. It has since dried out, torn, and is peeling.
Anyone have an idea to resolve this? PG suggests replacing them with the newer style ones, which are no longer available.
A few of these and a few of those.
Creator of www.phoenixgoldregistry.com
hit me up to add your limited edition amps.
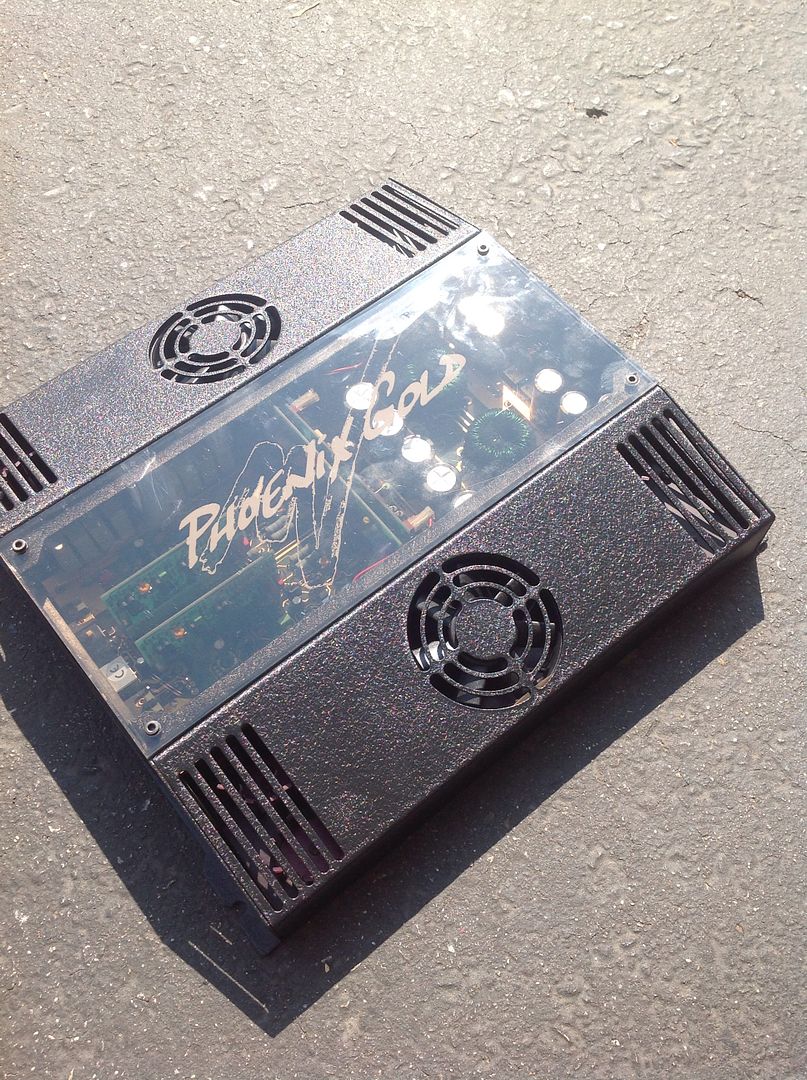
And reassembled. It's not ready for testing and I do plan to send the outer case out for professional retexturing and painting, but my touch up will work for now...
A few of these and a few of those.
Creator of www.phoenixgoldregistry.com
hit me up to add your limited edition amps.
If it were me, I would cut a small disk of brass the same diameter as the holes in the terminal block, push the disk almost all the way to the end of the block, and then solder around its edge. You can optionally polish the brass disk after the fact using a small buffing bit in a dremel tool. This would stop the issue of wires falling into the amp from the terminals, without changing the looks of the terminal blocks, or using tape.
Did you cut and replace the terminal header which connects the power supply control board to the main board? If you did, I would not think that is necessary. Cutting the leads puts a ton of strain on each via (depending on the type of cutter used), which can break them free from the board. I am making this point from experience, as I did that once with bad results. I now use ChipQuik to remove them, and it works great.
Got "schooled" by member shawn k on May 10th, 2011...
No longer really "in tune" with the audio industry, and probably have not been for some time.
Hands down the forum's most ignorant member...
Don't even know what Ohm's law is...
I didn't cut them all, I desoldered and then the one or two pins that's didn't come free I cut. I like to limit the cutting as I've noticed before that it seems to put strain on the vias.
Thanks for recognizing the quality for work zeropoint0.5 and Eric d. That suggestion seems easier than what I was going to do. My plan was to take off a block from one of my other ZPAs and make a mold of it (using a rubber mold kit). Then put each of these blocks into the mold and fill the rest with plastic resin. Then finish it off with gold flake to give it a gold finish.
Cutting brass circles and soldering them in place sounds easy. I've never soldered brass before, anything special to know (like silver solder or different temps?)
A few of these and a few of those.
Creator of www.phoenixgoldregistry.com
hit me up to add your limited edition amps.
The gold terminals are brass with gold plating. So long as it is clean, brass solders very easily. If you cut some disks, and then sand them with say 220 or 440 grit to clean off any tarnish, you can then tin them with normal electrical solder, and put them in place in the terminal. Start soldering by putting your iron on the disk and letting the heat make its way to the terminal, while you add solder to it.
Be sure to not get any solder when you don't want it on the terminal.
Got "schooled" by member shawn k on May 10th, 2011...
No longer really "in tune" with the audio industry, and probably have not been for some time.
Hands down the forum's most ignorant member...
Don't even know what Ohm's law is...
Hobby shops have sheet brass. The chain, Hobby Lobby has it too I think. You could also take a piece of copper pipe, cut off a chunk, and then split the ring and pound it flat.
Got "schooled" by member shawn k on May 10th, 2011...
No longer really "in tune" with the audio industry, and probably have not been for some time.
Hands down the forum's most ignorant member...
Don't even know what Ohm's law is...
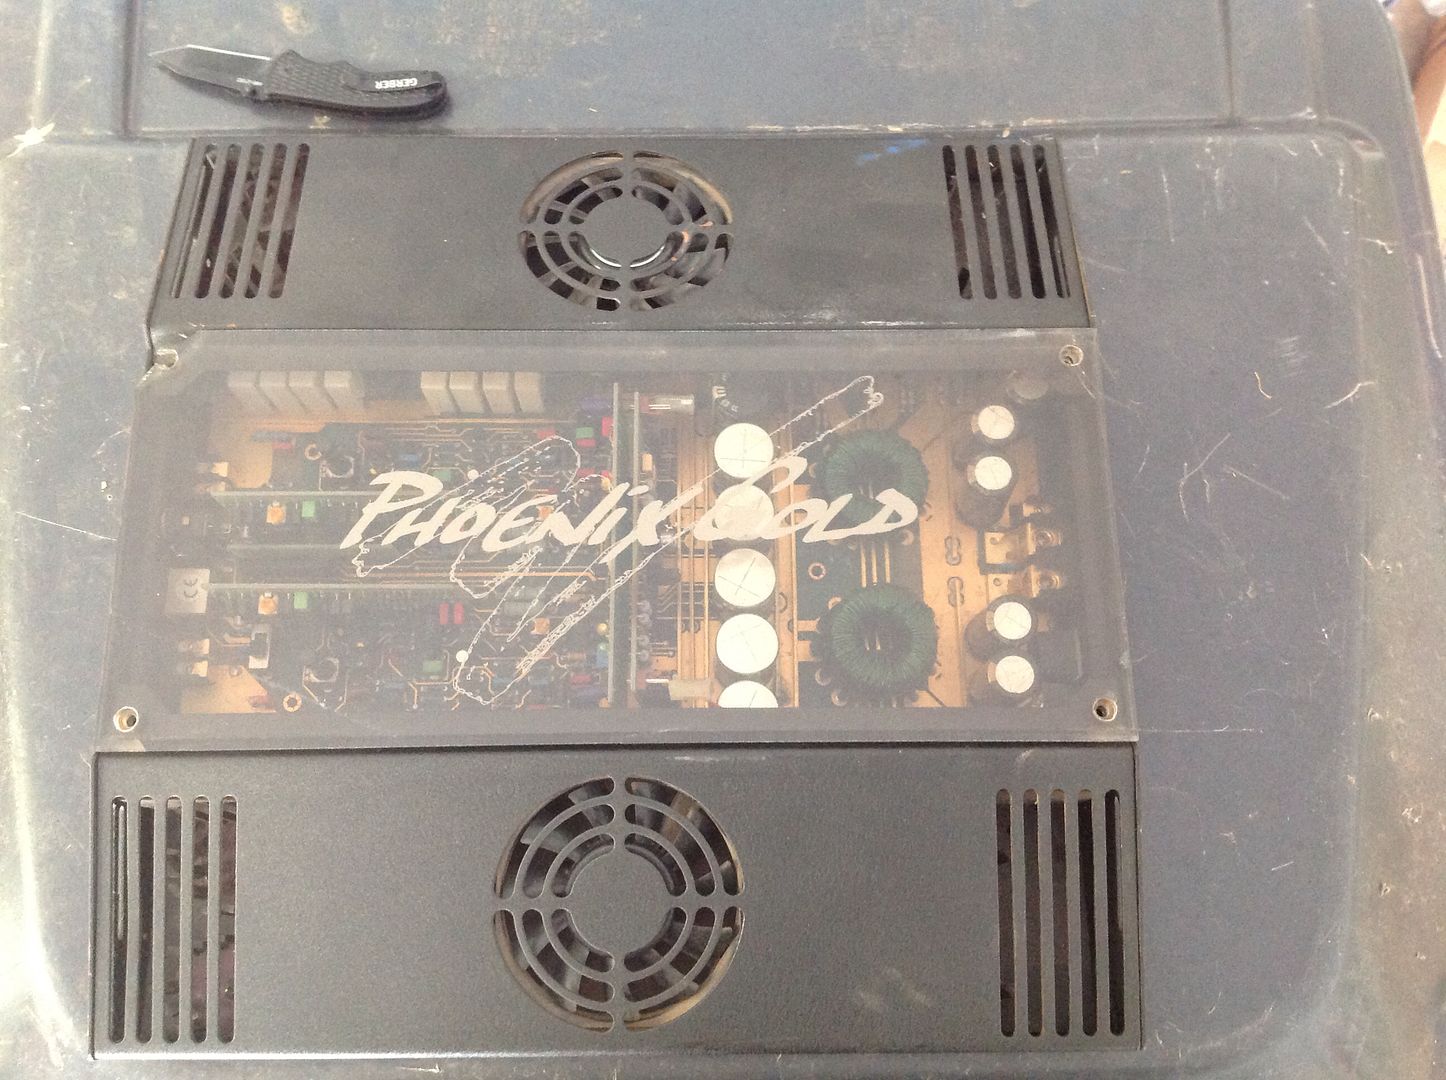
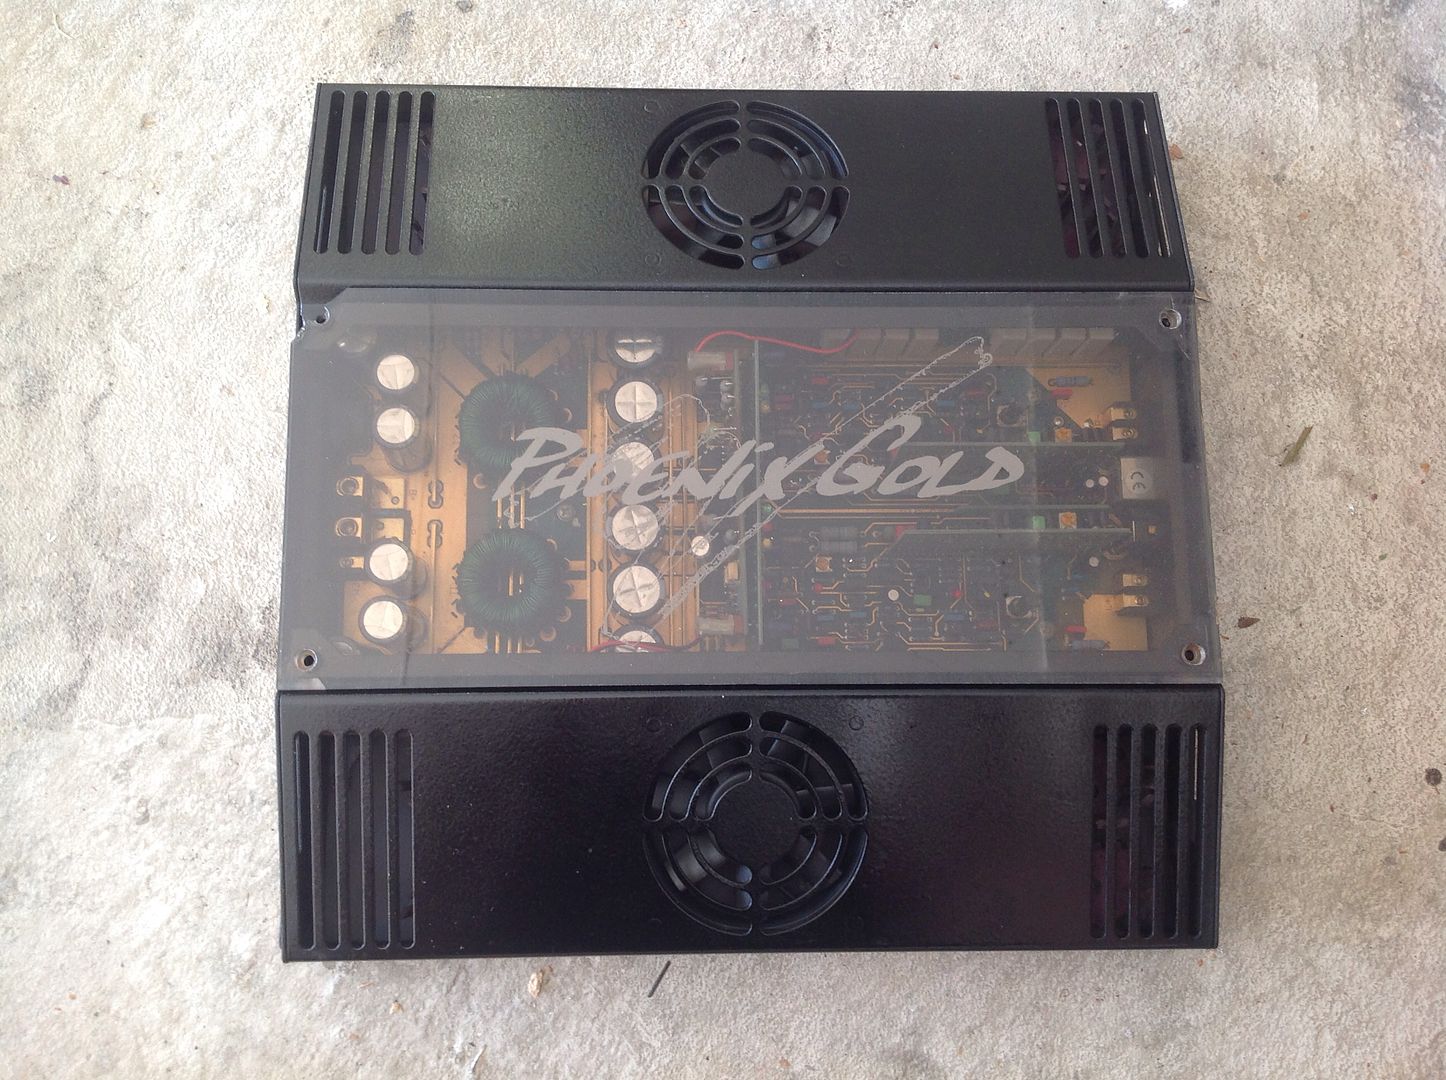
So this has been a long time coming, but the amp is finally done. I got the outer case back from powder coat and I got the plexi figured out.
A big improvement if you ask me. It not only looks good but it sounds great. I think I'll be using ELNA caps on these from now on.
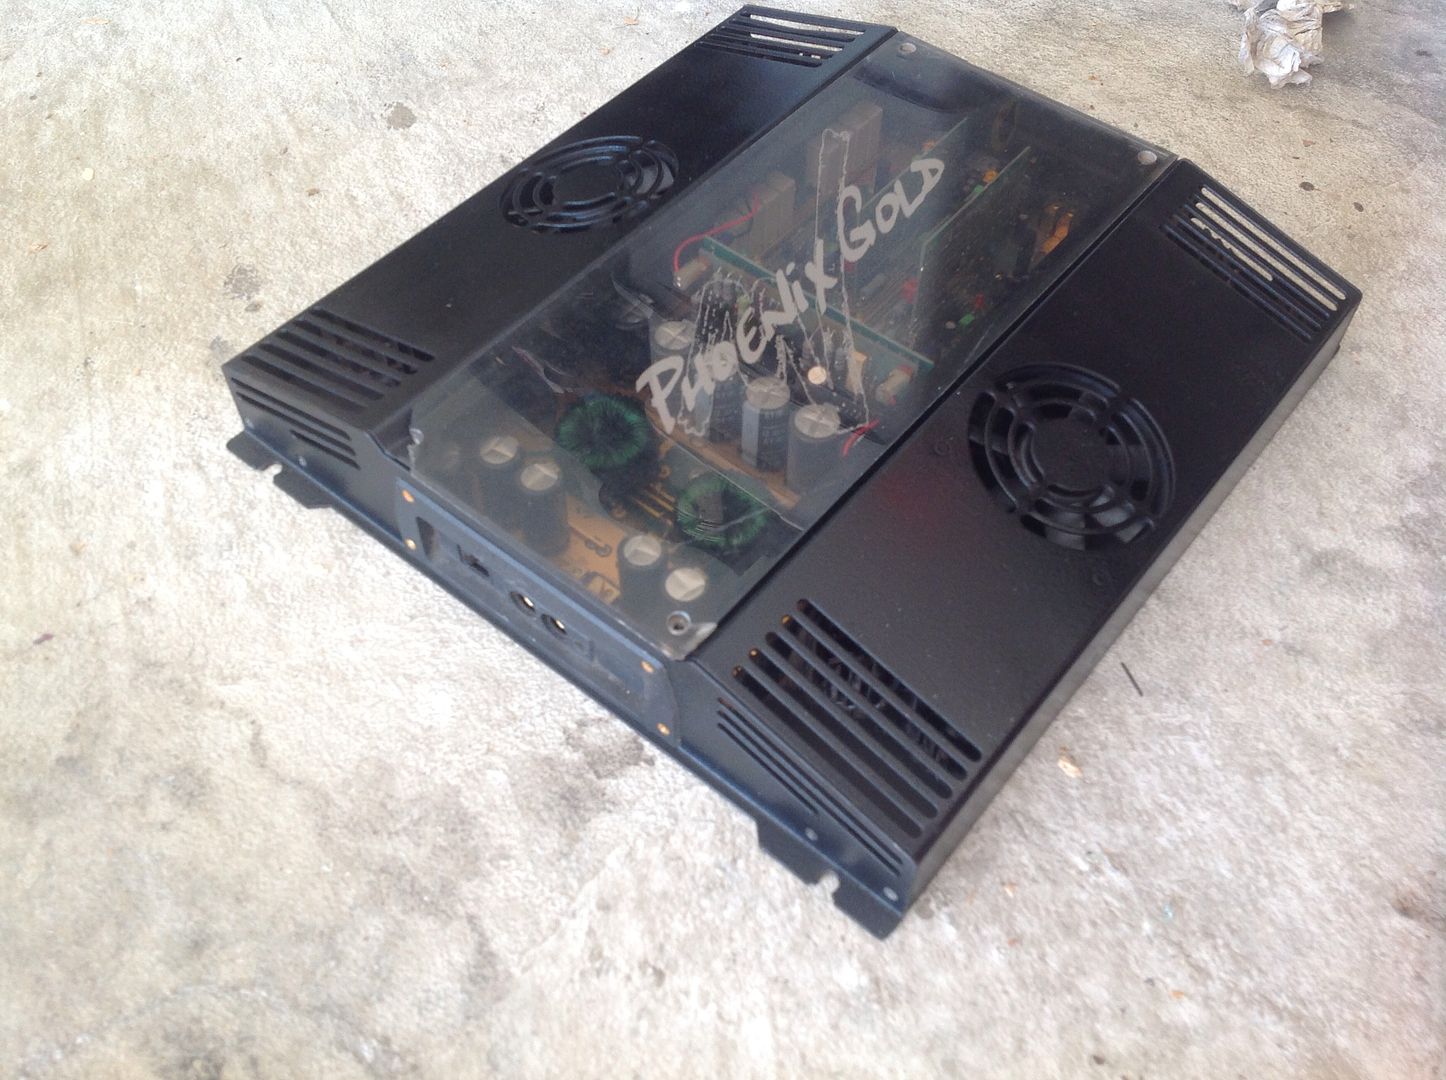
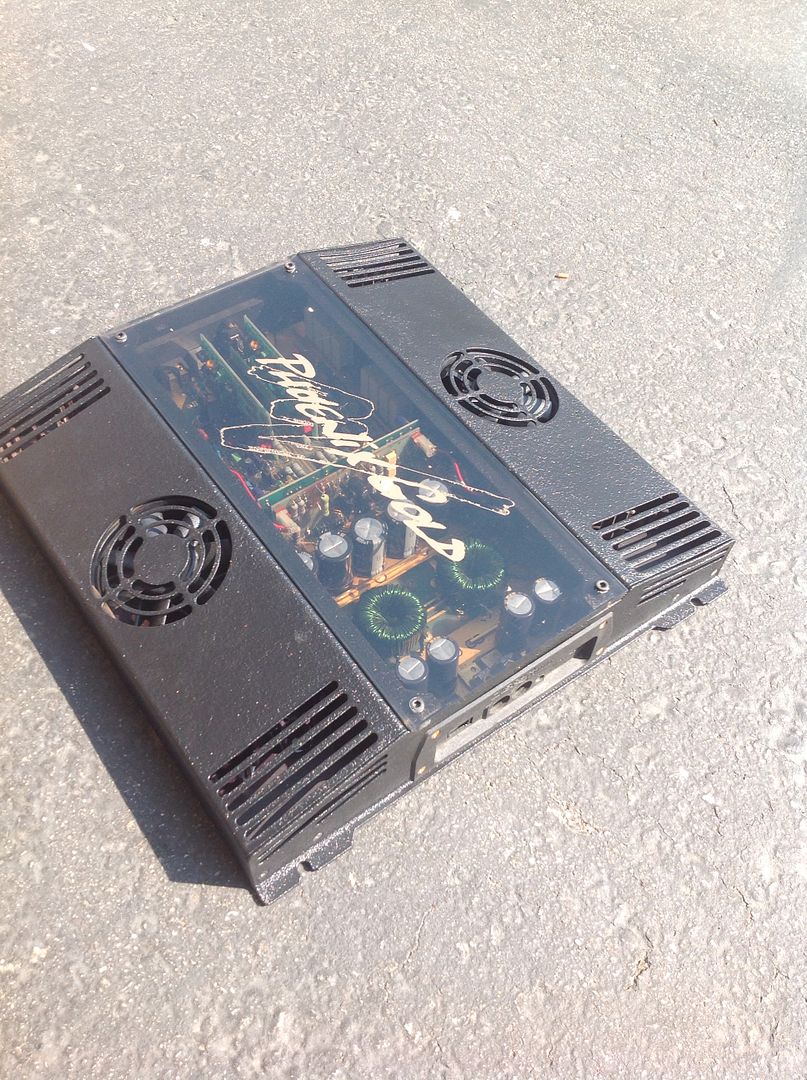
In the pictures the PG logo looks yellow or gold, it's not. It's white but since it's on the under side of tinted plexi the color looks funny, especially in the sun.
And so you don't have to go back to the top for comparison reasons, here's how it started...
A few of these and a few of those.
Creator of www.phoenixgoldregistry.com
hit me up to add your limited edition amps.