nico boom wrote: ↑Mon Jan 12, 2009 12:53 pm
This post is created to help everybody who has a cyclone subwoofer, or is thinking about buying one.
NOTE that this post is made by me with the best means I have available, combined with the original info provided by the grace of the technicians at PG ,which I thank for their time and effort to make this possible for us, here on this forum.
I have serviced several cyclones, learning all the time; now there is a simple and effective way of performing this operation yourself.
However; I do not take any responsibility for problems you might encounter while performing this operation, since there are variables in how bad the rotor is stuck inside the coil, and the degree of your own craftsmanship, as well as the availability of the tools needed.
there it is; BNIB.
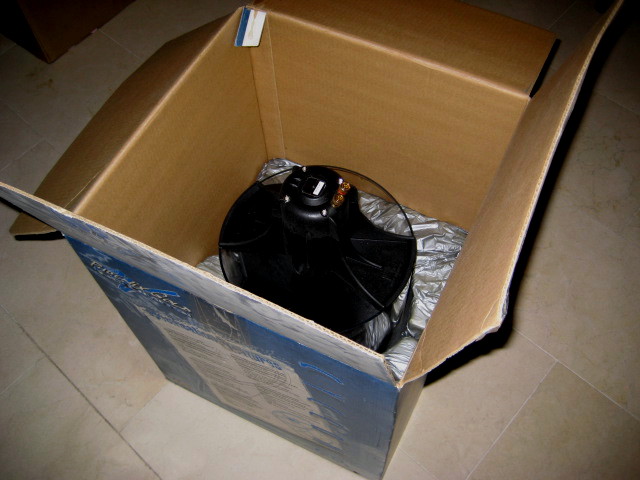
still.... it needed the servicing as seen in this post.
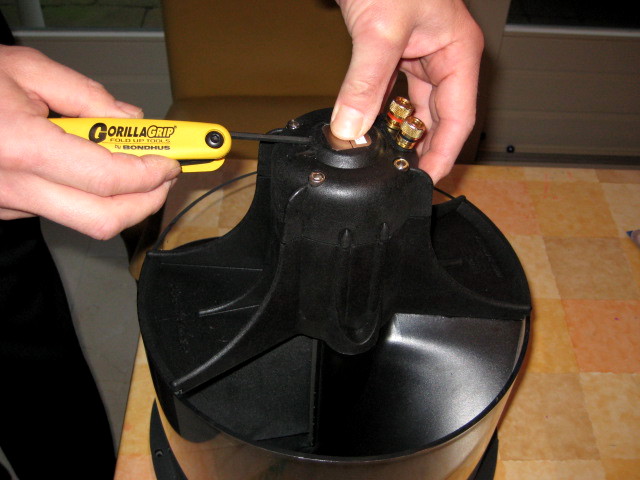
these "hidden screws" hold the clamps, in which the spring is hold to return the rotor to it's center position after each excursion.
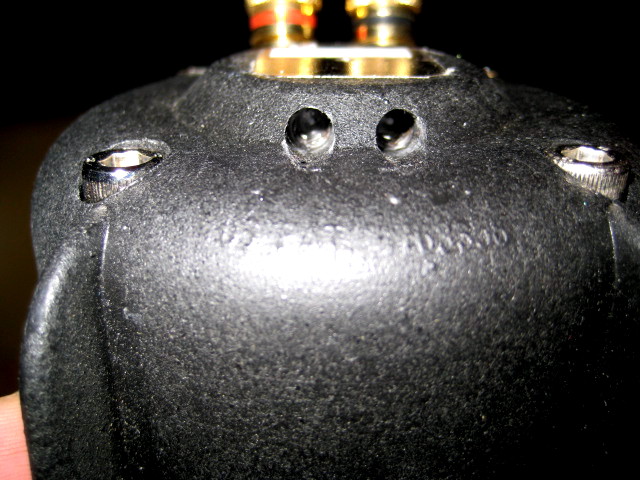
before unscrewing the hex screws, tap them gently with a lightweight hamer, to make sure the wrench is completely inserted in the screw.
these screws are TIGHT, and need quite some force to loosen.
ONLY LOOSEN ONE-TO ONE-AND-A-HALF TURN.
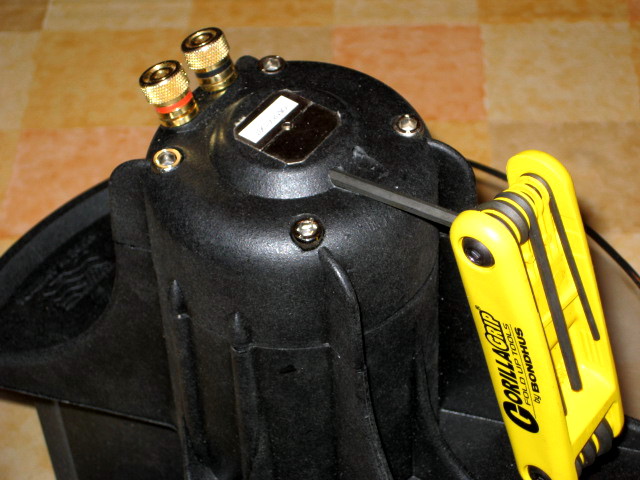
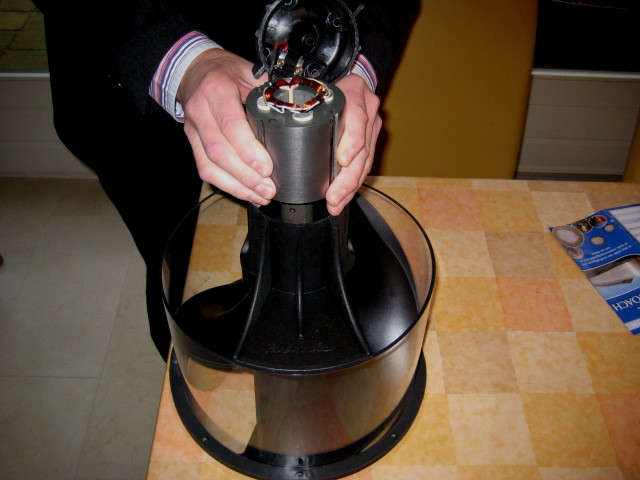
remove the four long bolts that holds the top section; observe, and maybe write down on which side the connectors are; while re-assembling, it will fit in two different ways.
carefully pry a screwdriver between the housing and the top; only on the four points where the housing is strengthened. do NOT use excessive force; by gently using the screwdriver on all sides, the top comes off easily. CAREFULL! the leads connecting the
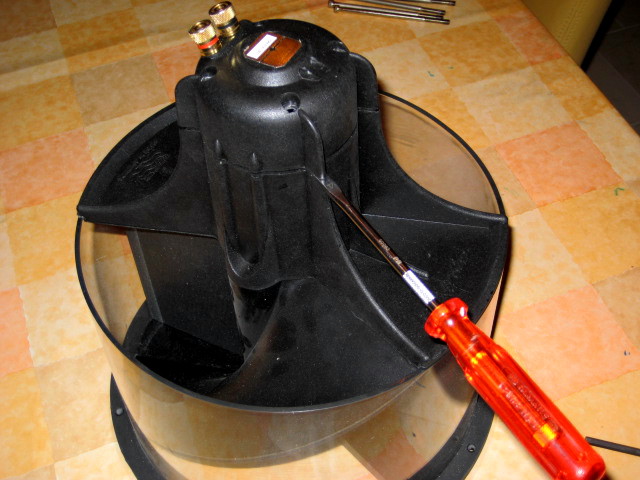
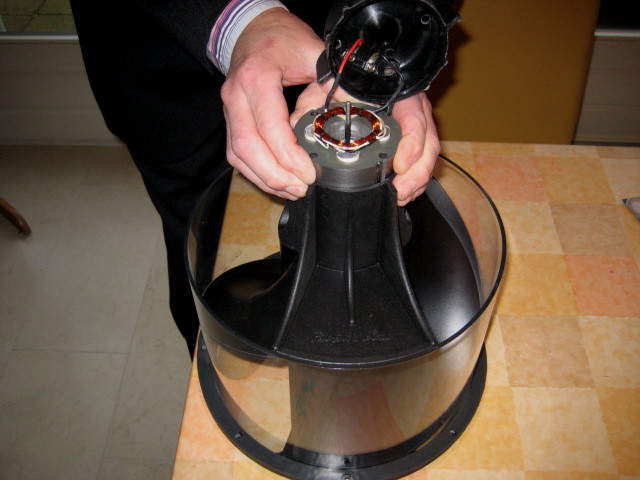
the top removed; be carefull with the leads; always move the coil around with caution, taking the coil in one- and the top in your other hand, supporting it with as little tension on the leads as possible.
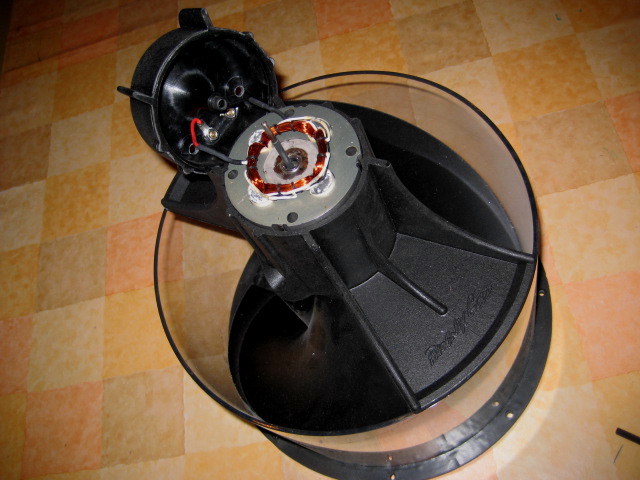
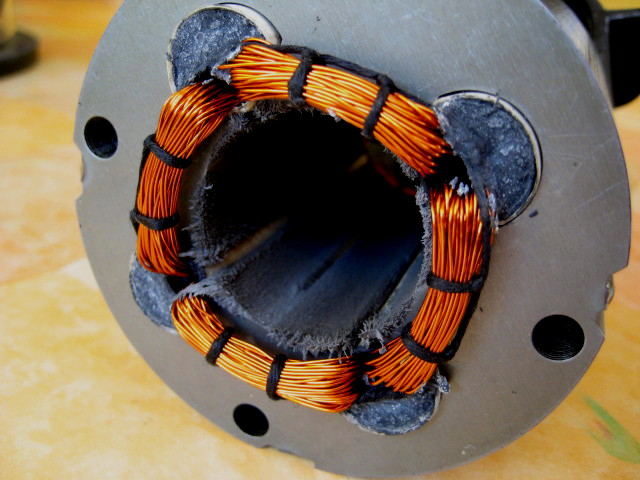
problem in full view; magnetic core stuck in the coil; putting power to it WILL DESTROY the coil due to overheating; NEVER TRY TO FIX THE PROBLEM BY PLAYING MUSIC, OR PUTTING POWER TO YOUR STUCK CYCLONE.
I tried two methods for removing the coil;
NORMAL WAY [advised by PG]
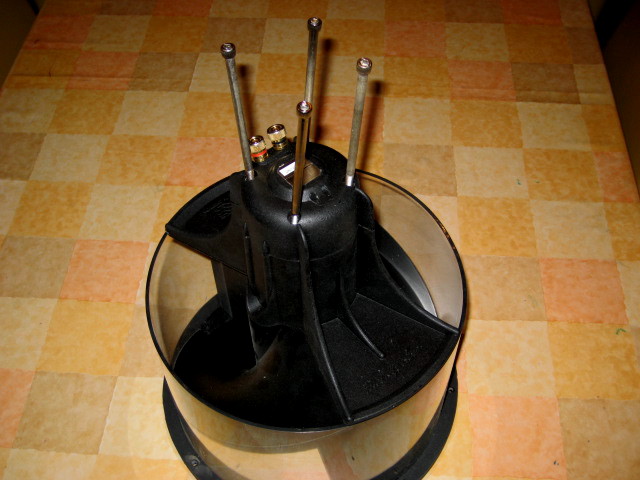
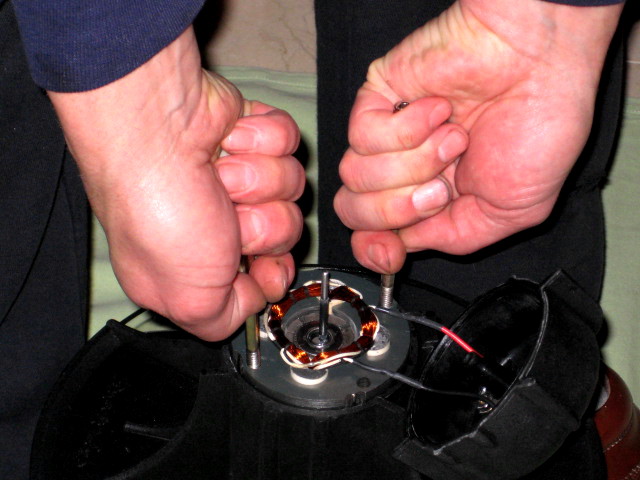
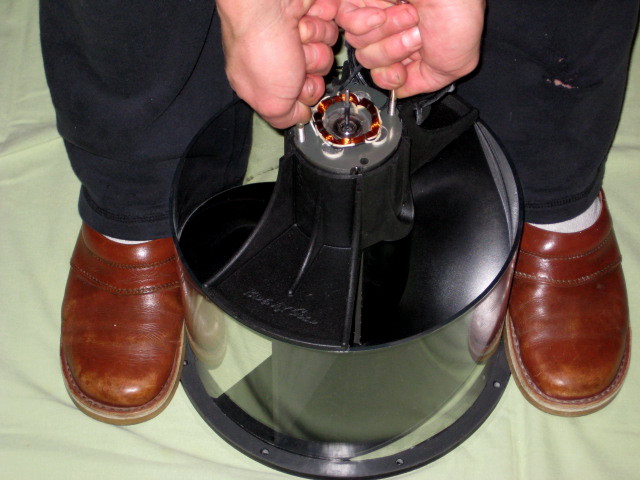
-pulling the coil out with two rods inserted halfway the thread; pull sideways and upwards, while placing your feet on both sides of the housing.
If not working; ask a friend to help you, inserting the other two rods as well, pulling at the same time [ again sideways and upwards].
the thread on the rods help to prevent slipping; insert half the length of the thread.
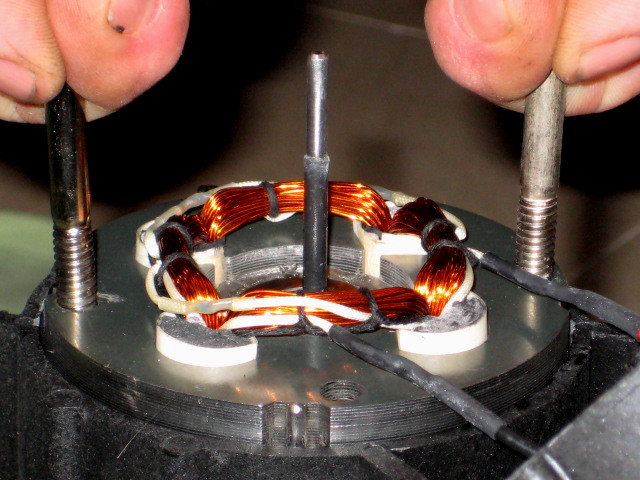
pulling out- and upwards; needs a lot of force both ways.
the correct position for first methode of pulling
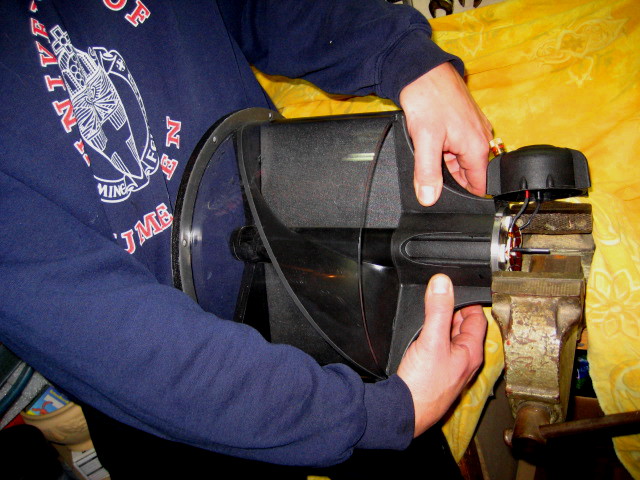
THE ROUGH WAY [last remedy, advised by me since it worked fine for my cyclone]

-carefully

place the edge of the coil in a vise, CAREFULL; make sure only to apply pressure at the points next to two of the holes, where the layers of the coil are welded together.
Also make sure the cap with the wires still attached to it rests in a way so that the wires are not under tensile stress.
Every time you pulled out about 2 cm. ; place the coil deeper into the vise, to gain grip on it.
This last remedy methode worked very well for my cyclone; the coil in it was completely stuck, so the normal way did not work.
If you have a bearing-puller that can be used, or you might find another way of removing the coil; share it with us.
I just gave you my simple methode.
pressure applied at the right points; next to the holes, where the welds are
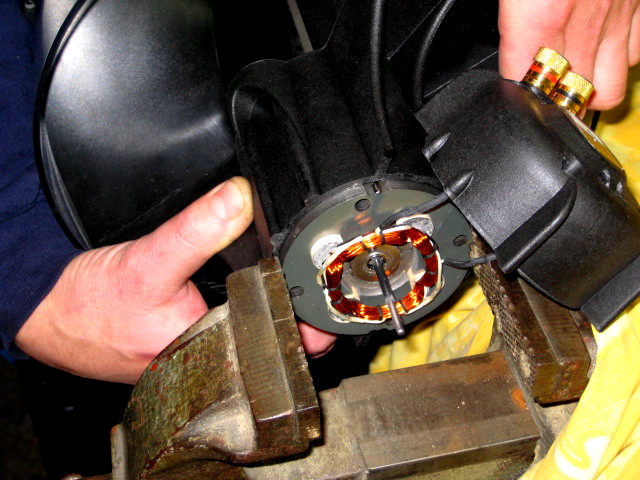
apply just enough pressure to prevent the coil from slipping out while pulling
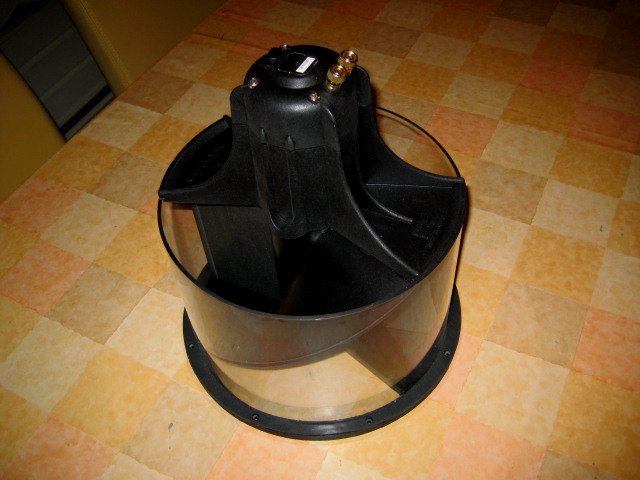
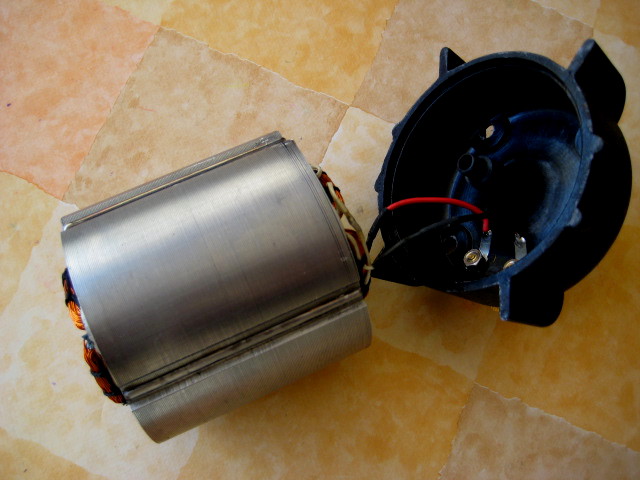
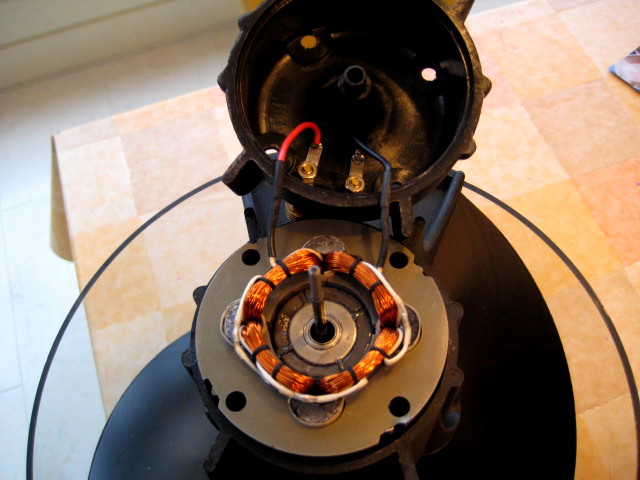
the coil with top cap. CAUTION; while putting it aside, be carefull not to damage the leads to the coil.
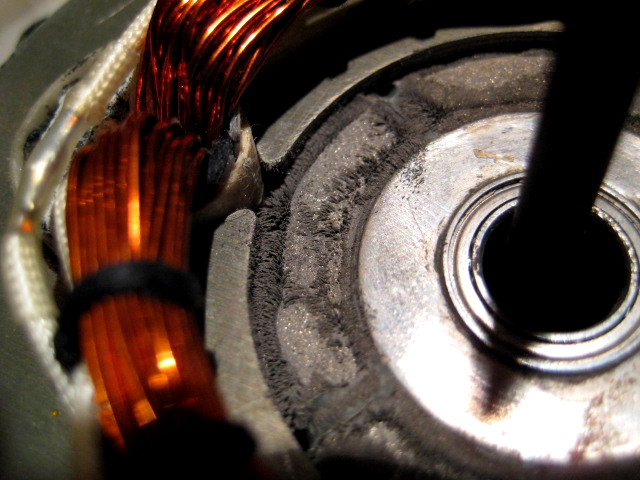
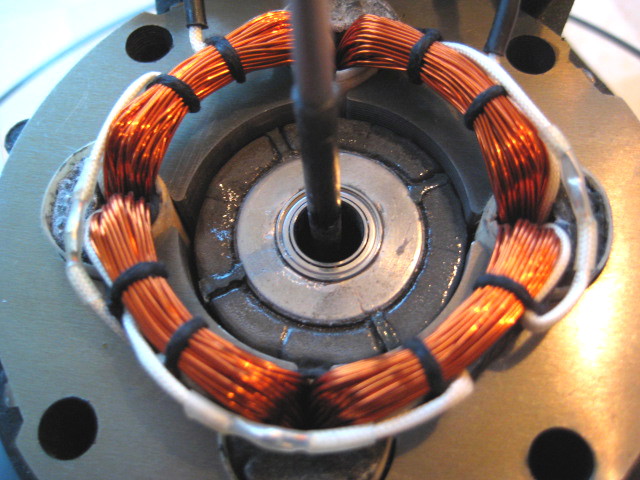
this is the problem; the magnet structure is slowly falling apart, with the debri getting stuck between the coil and the rotor. this can happen with used, AND ALSO BNIB cyclones; periodic maintenance is needed.
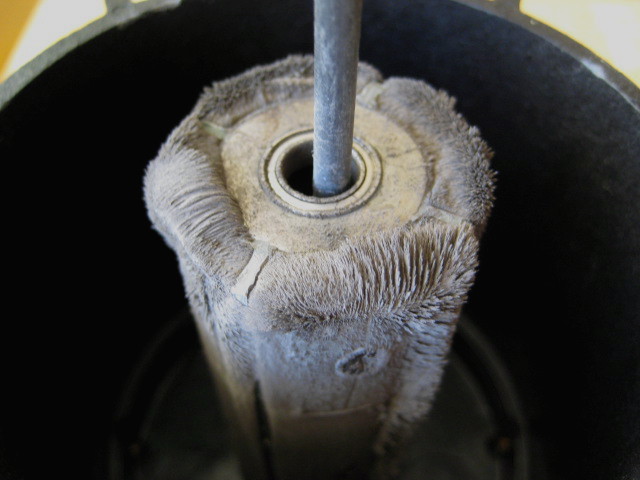
this is what the coil looks like before cleaning; this is the easy part to clean, as it does not attract the particles as strong as the magnetic core does.
BEFORE starting with the actual cleaning; TAPE THE CLONE SECURELY. reason for that is explained later.
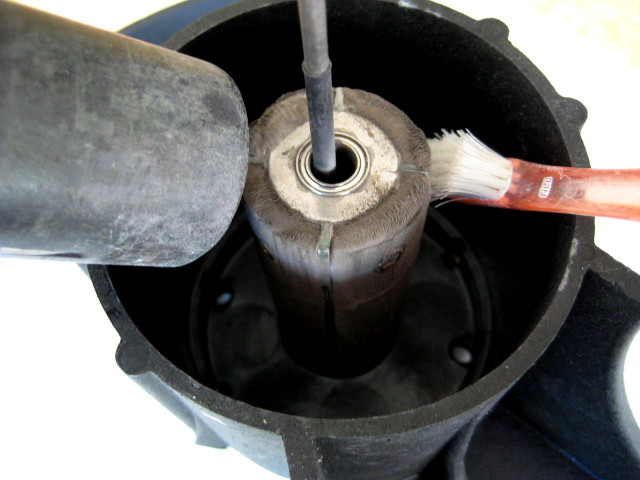
brush with a strong toothbrush while holding a vacuumcleaner close to it. CAREFULL; magnetic particles will be "catapulted "outwards.
Keep brushing upwards until the magnet is clean, then BLOW OUT WITH COMPRESSED AIR.
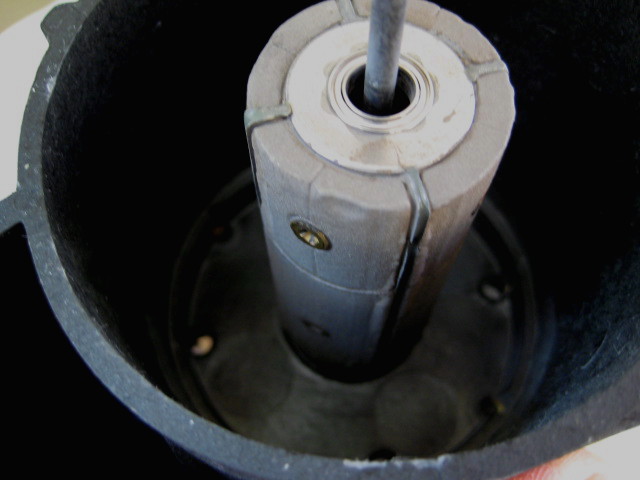
the cleaned magnet; at one point you have to decide that it's clean enough; if you keep on brushing, you will keep on loosening magnetic material.
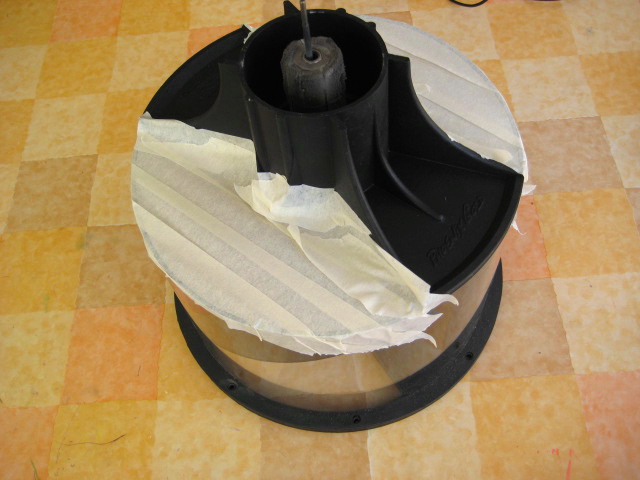
carefully tape the inside; watch the next pics for the important parts to be covered.
be sure to tape off the upper section, to prevent coating beeing sprayed on the center rod, and the top bearing in the magnet
fully taped, and covered. ATTENTION;note that I sealed the 4 holes in which the rods connect to the housing in the next pic.
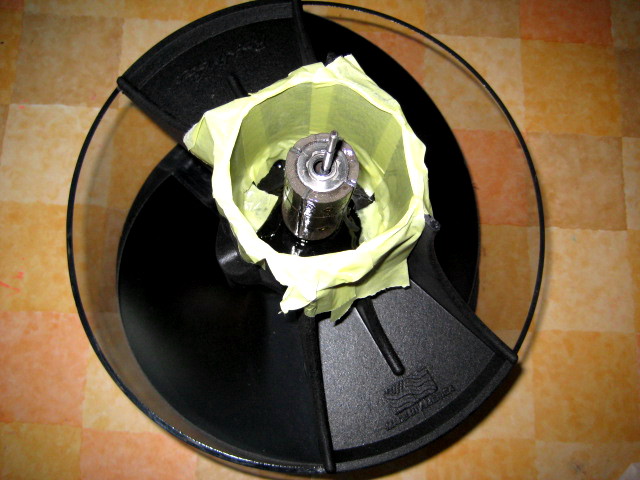
the coated magnet; leave it time enough to dry and harden completely
.
the laquer used for coating the magnet; any high temp resisting coating will do IMO.
carefully position the coil above the housing; CAUTION! the coil will be pulled down HARD by the very strong magnet, so be prepared, and put both your hands on the edge of the housing to keep control over the coil.
slowly proceed, using your fingers on each side.
align the coil with the holes in the center piece by looking through the 4 holes and rotate the coil if neccesary.
the coil in place, with the coated magnet visible; do NOT try to rotate the rotor before the top cap has been fitted in place and tightened.
pressing down the clamps while evenly tightening the halves.
the two parts of the clamps must be tightened equally, so that the gap is the same left and right.
GOOD LUCK.
Nico