How to replace your surround
Posted: Fri Mar 09, 2007 6:22 pm
Ok guys, so let's say you have an old speaker that you really like the sound of, and you'd like to use it, but the surround has dry-rotted or been torn. What are you to do?? You could buy a new speaker which could cost alot of money depending on what you have, but not always are you able to purchase this speaker any longer.
The answer:
Replace the surround yourself!!
Q: But Paul, isn't that hard to do??
A: Not really, takes a little bit of effort, but it's not like you're going to break a sweat ya wuss.
Q: But Paul, don't you need special equiptment to do this?
A: Not unless yyou consider paper special equiptment.
So anyways, first, make sure you are able to obtain a surround for your speaker. If you have a high excursion speaker (I'd say more than 10mm 1 way) it's going to be hard to locate a replacement for you. Sorry. But for those of us who have pretty average speakers in terms of size, excursion, and build material, just look over at partsexpress.com
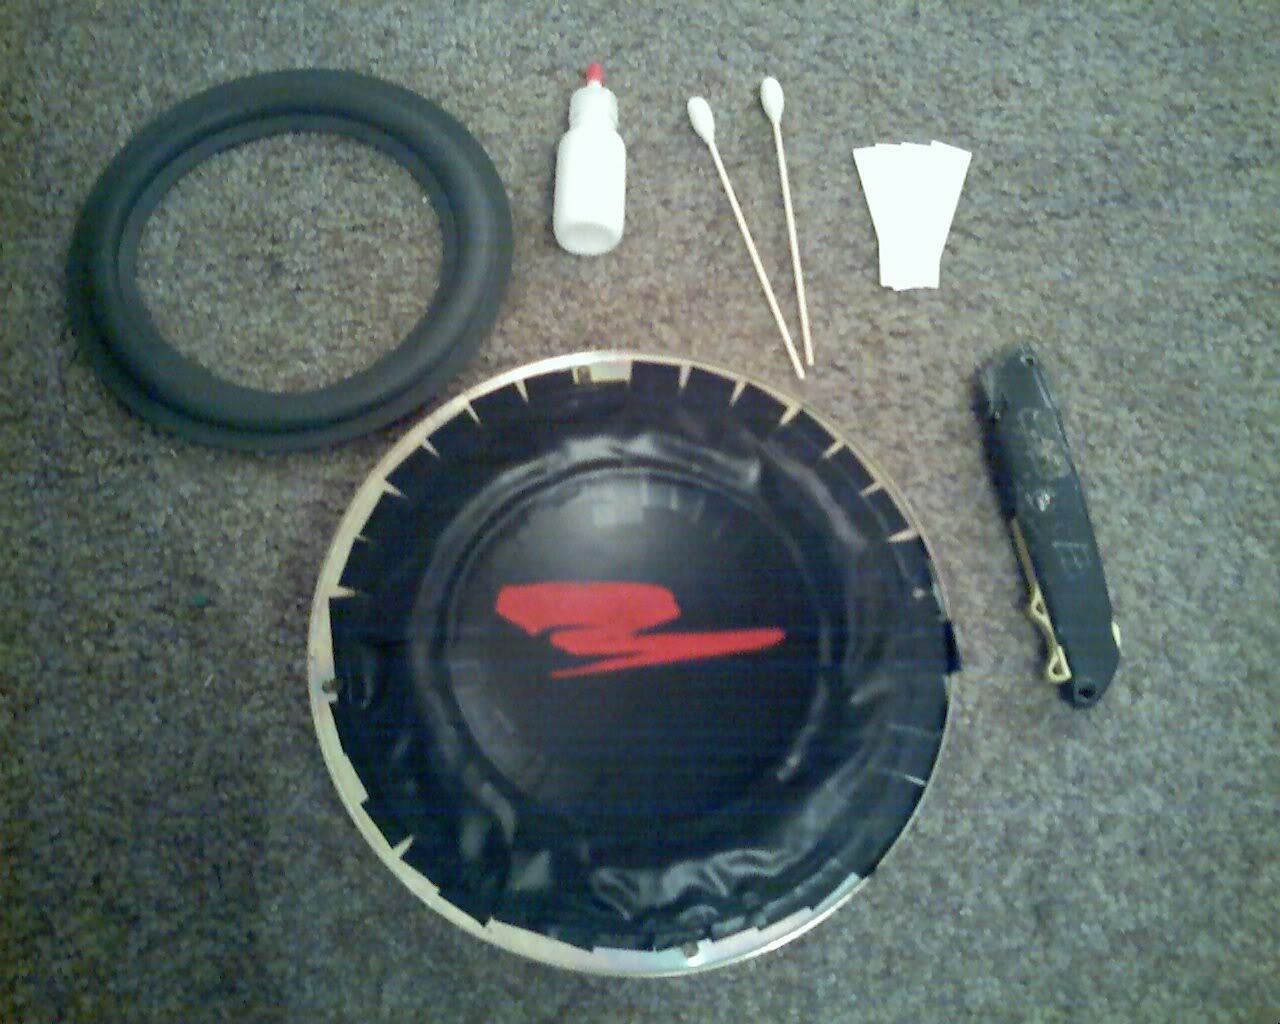
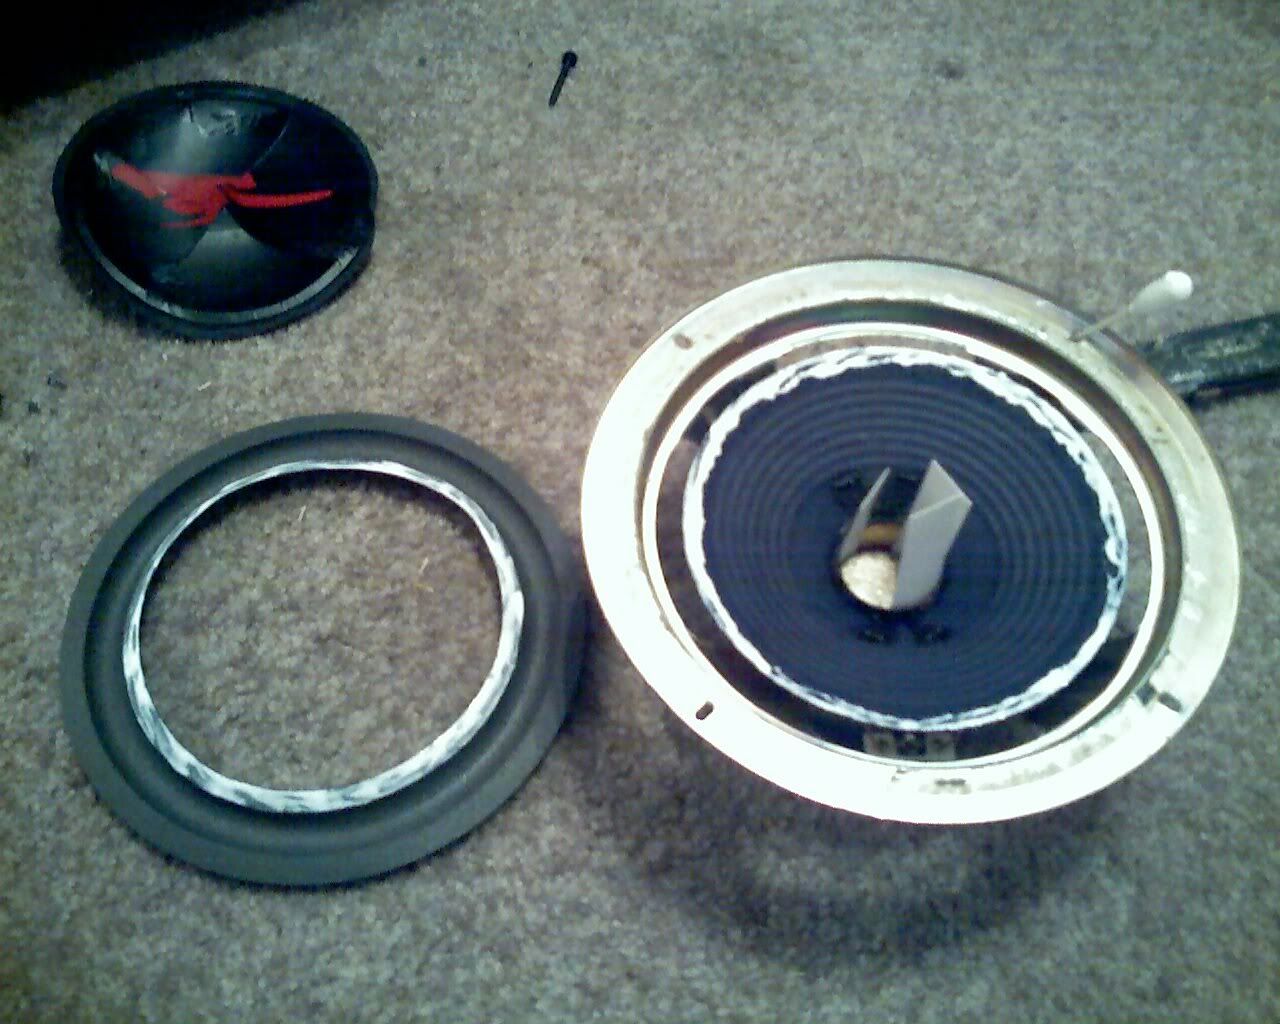
Now, on to business. The first step is to get all your material together. What we have here is:
1 crappy Kenwood speaker with a previous temperary fix with electrical tape (I don't reccomend this)
1 Replacement Surround (or 2 if your stupid and don't follow the instructions)
1 New dustcap (not pictured)
Utility knife
a few blades for the knife
some glue
some glue applicators
some voicecoil shims (AKA cardstock paper AKA a business card)
Ok, now that we've gotten everything together let's get to work. the first thing you'll need to do it to remove as much excess foam as you can (or electrical tape in my case. Again, I don't reccomend this). Be careful when pulling on the cone because you don't want to bend it or crease it or anything like that. So be careful meathands.
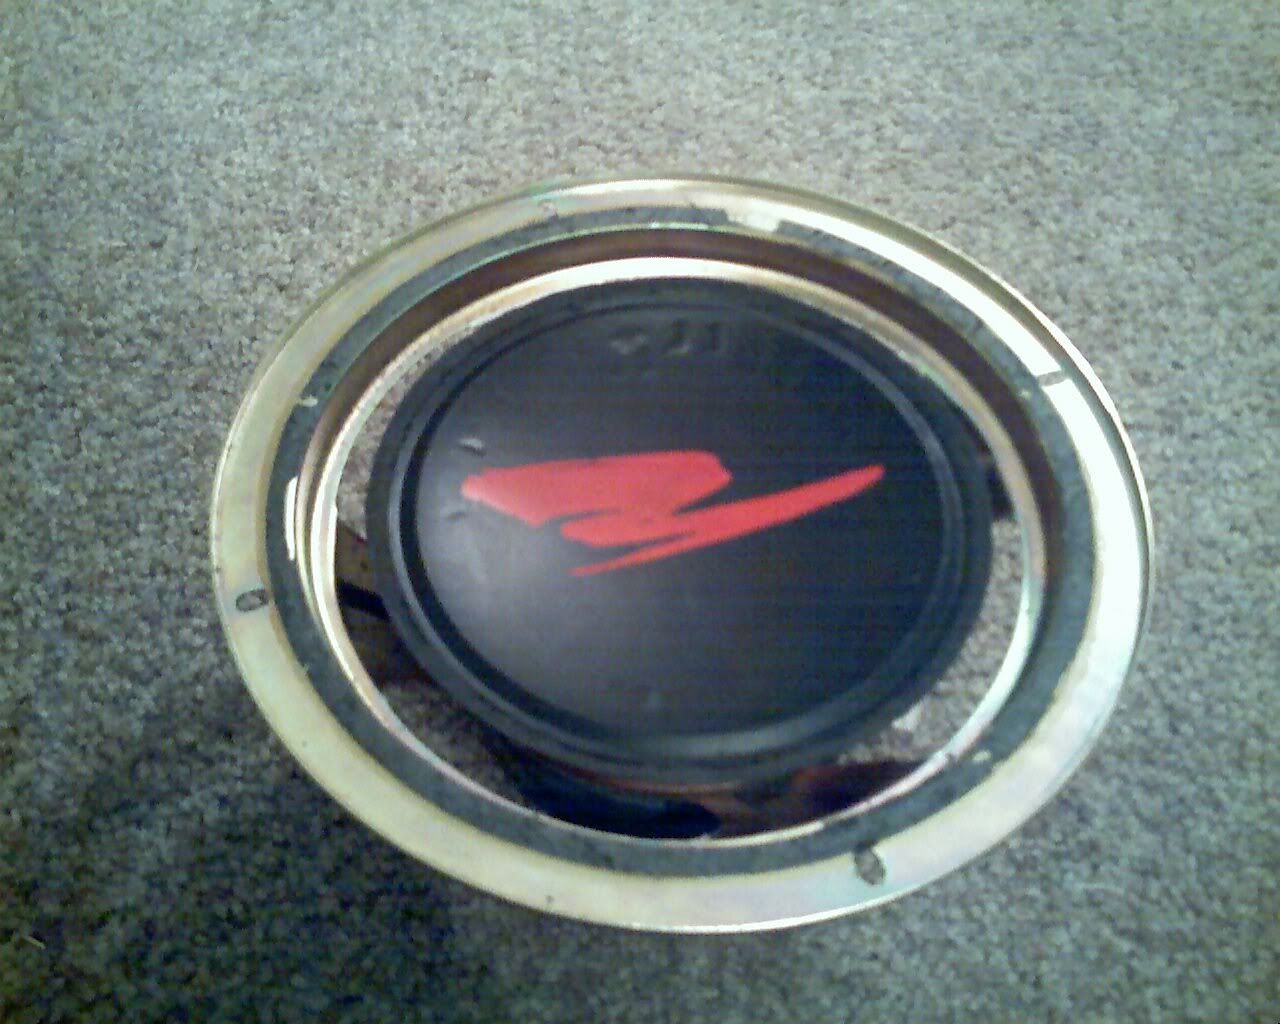
Our next step is to take that utility knife and get to work scraping the basket clean. You need to get as close to bare metal as possible, so scrape hard, that glue isn't going to get any softer. If your hand starts hurting from squeezing the utility knife real hard, then you're doing a good job.
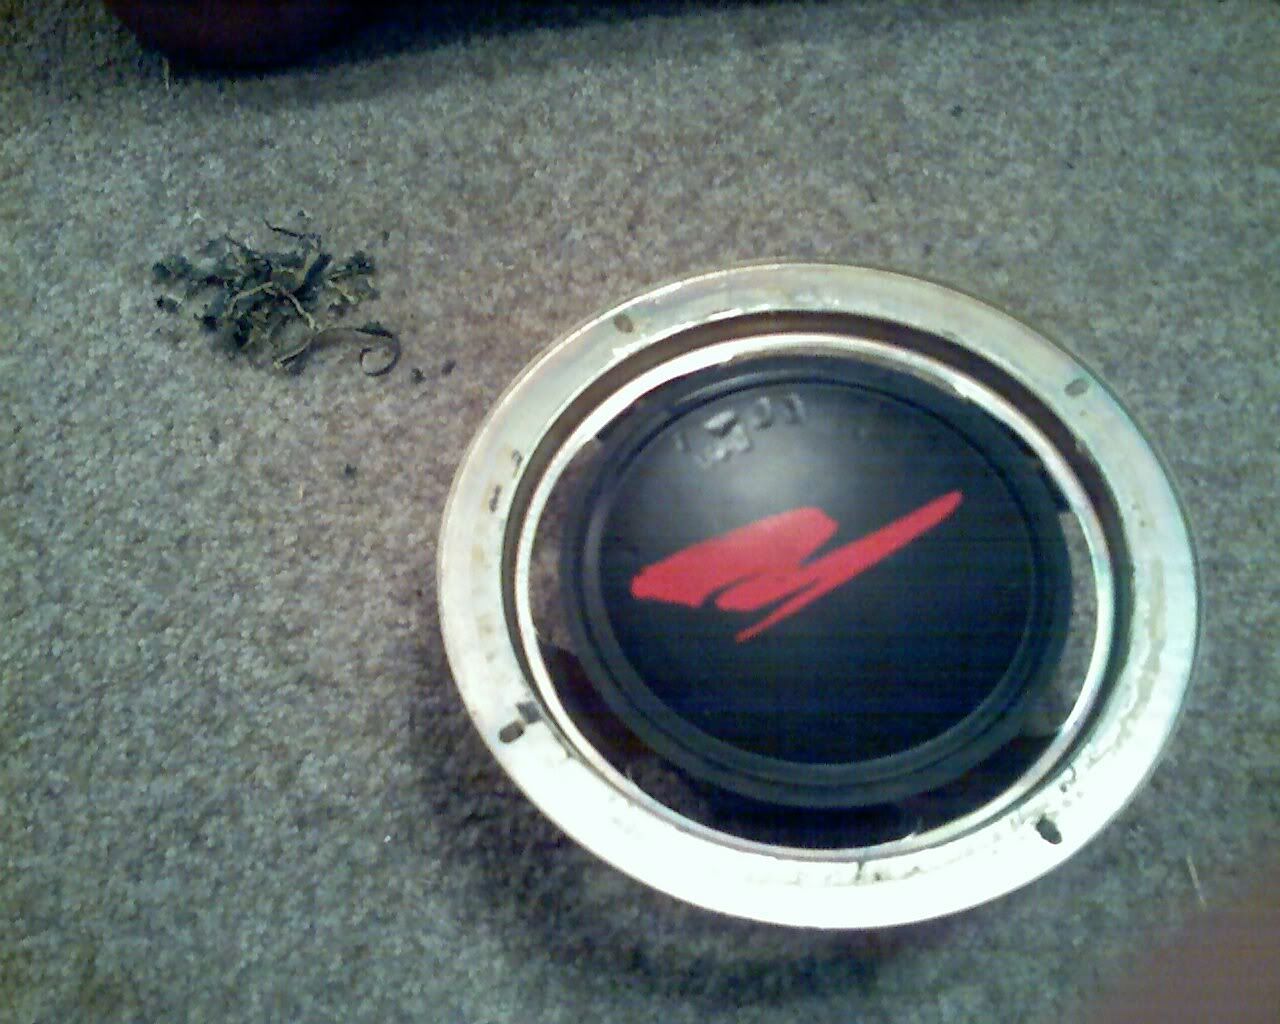
Next, you have to do the same thing, but on the cone. Again, be very careful with it and don't bend, crease, or damage the cone in any way. Also, don't but it with the knife. You know what, you and knives have never gotten along well, so put it down and rub it off between your thumb and index finger. That should get enough excess off.
After you're all done with that, you take a break.
You back??? Good.
Let's move on.
We could glue the surround on right now, but how do I know the voicecoil is goin to be centered in the gap??
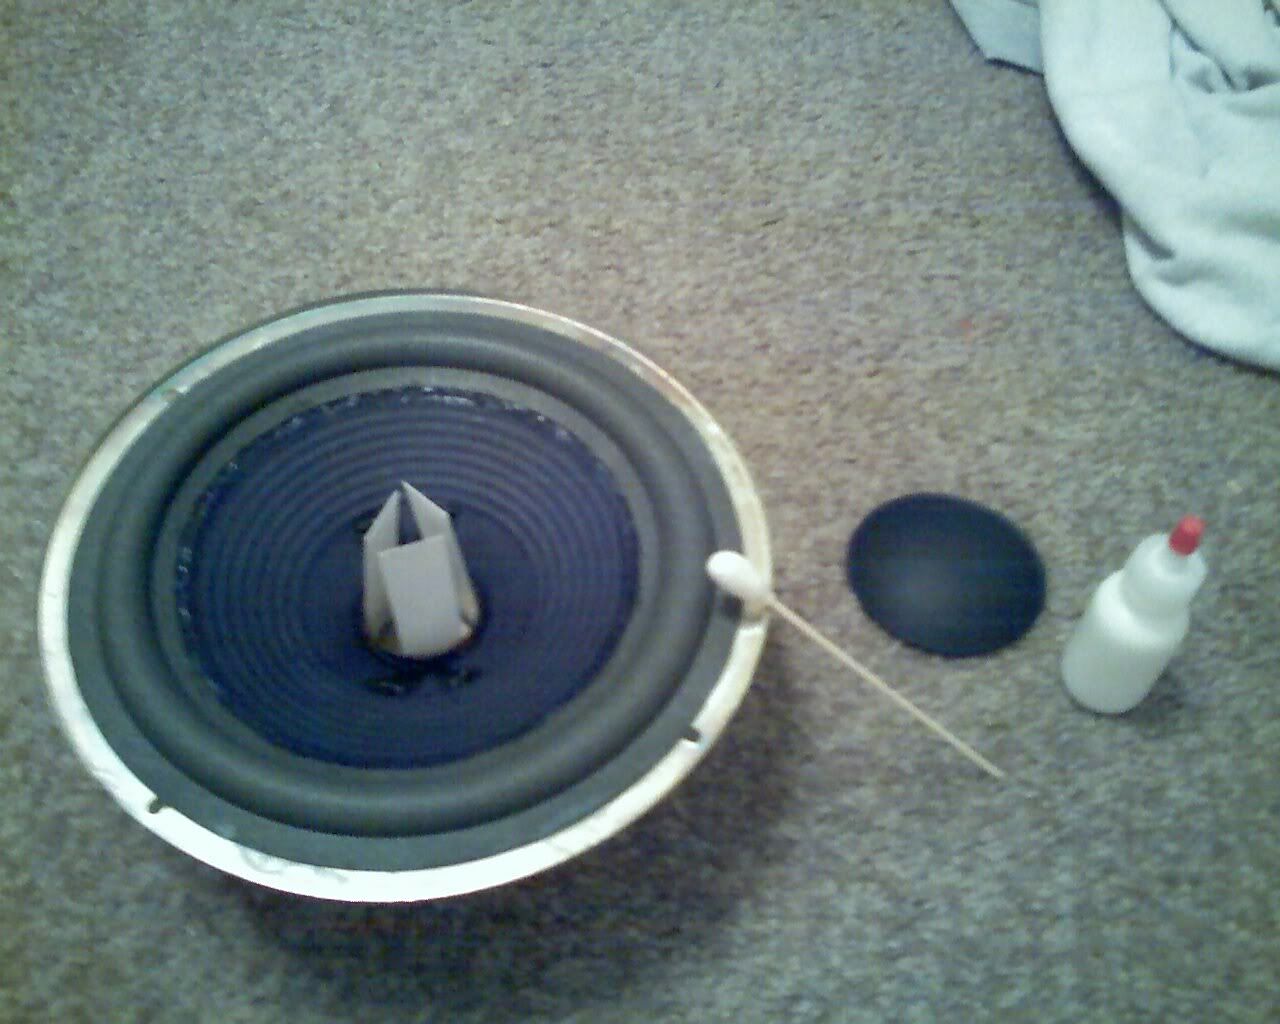
This is where the paper comes in at. You take a few strips of a business card and insert them between the former and the pole peice to keep the voicecoil from moving around. It will look like this.

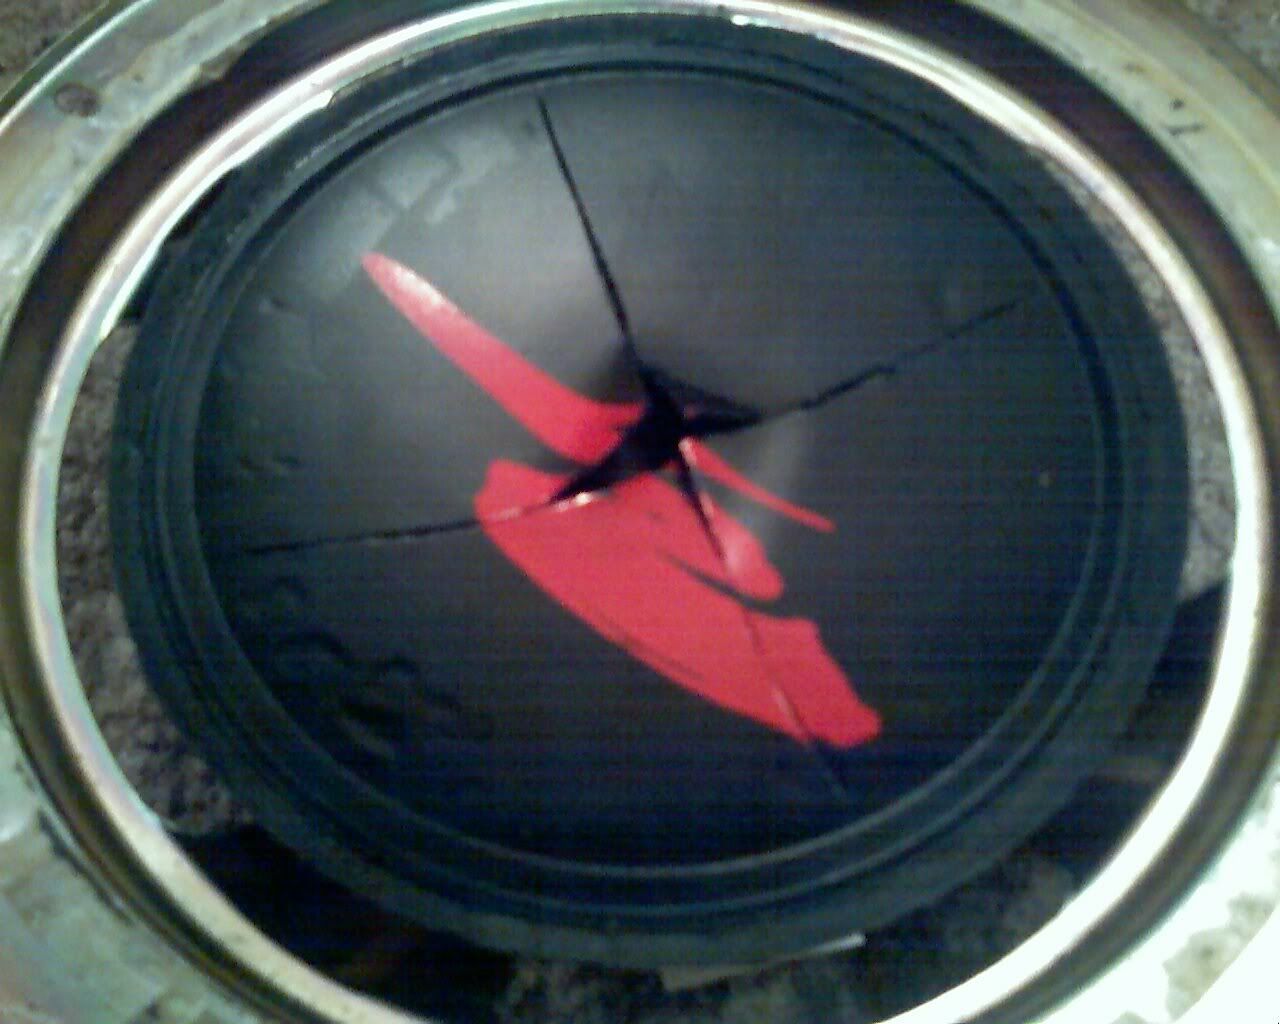
But first we need to get to that. And to do that, we need to cut off the dustcap. Don't be afraid, but don't be stupid and put your blade all the way thru the cone, or slice one of tinsil leads. Just make an X in the middle of the dustcap, and pull back the corners. Like this. Notice, my dustcap goes all the way across, your's may not.
Now, if you're lucky like me, you have a second dustcap to do this to.
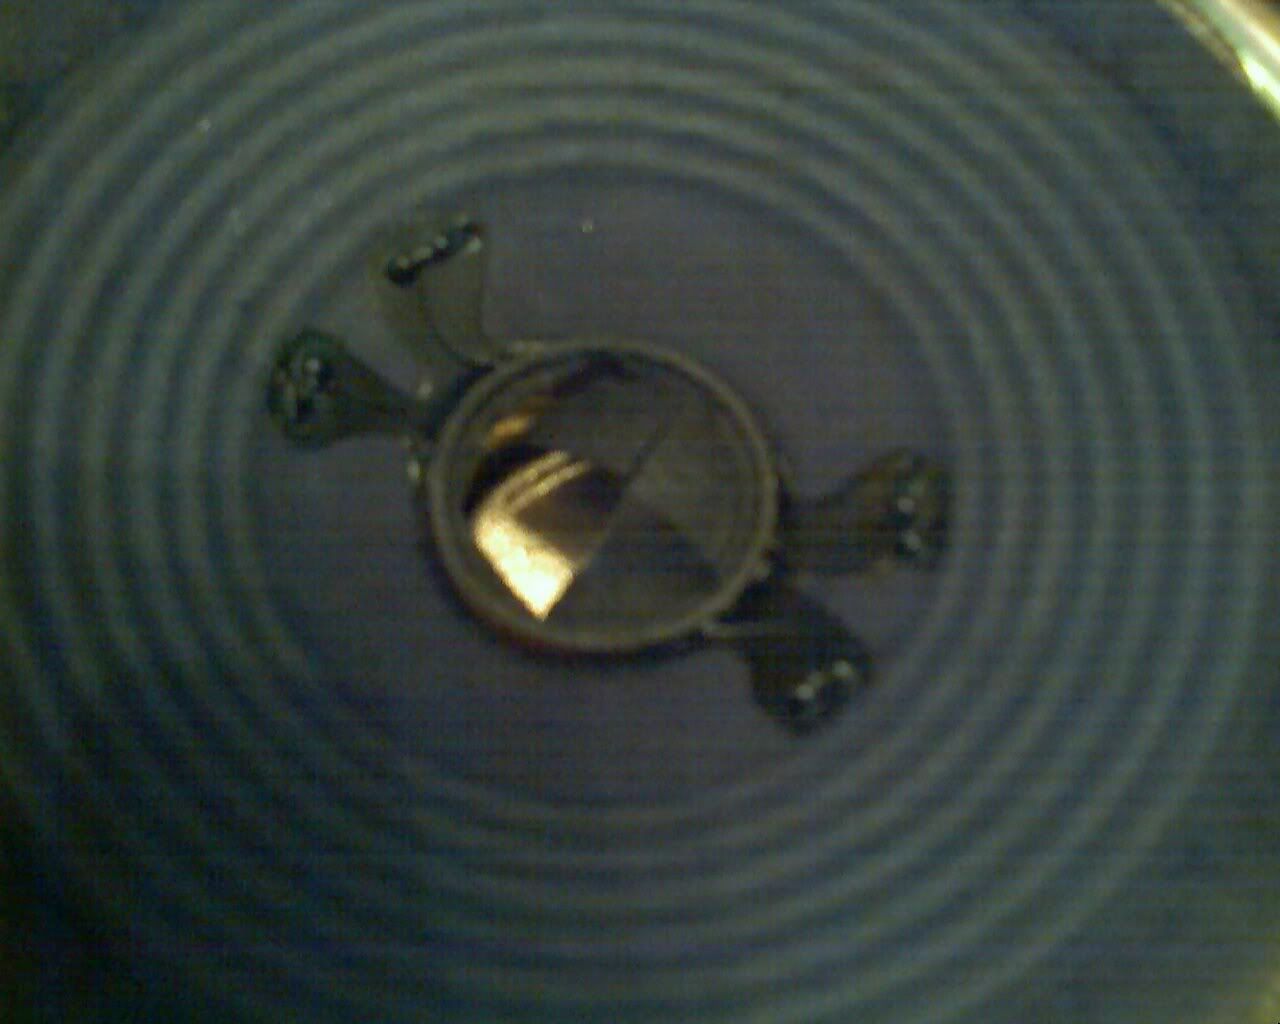
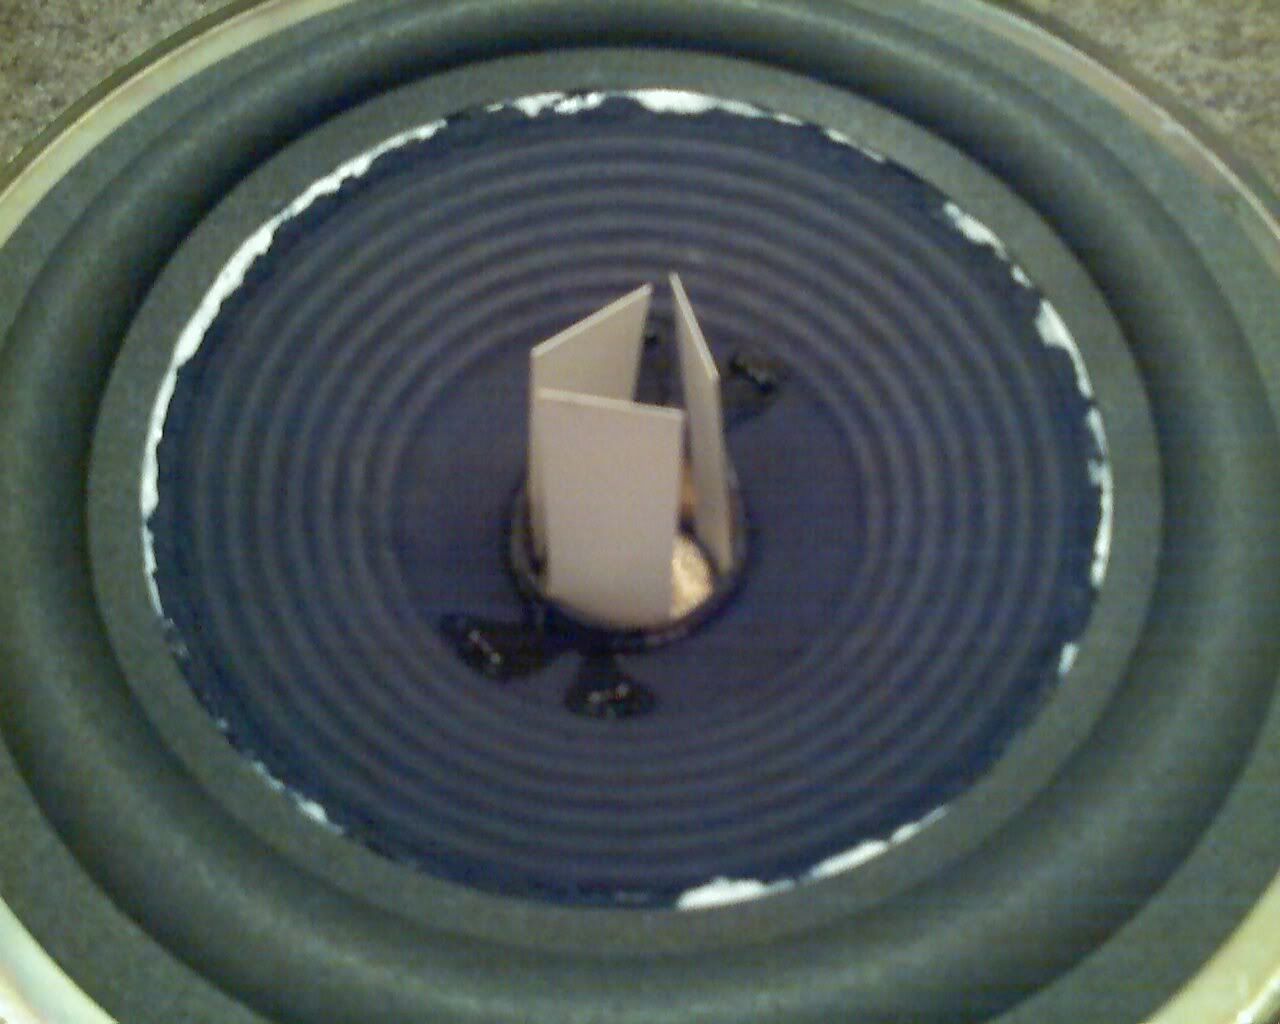
This is where we will insert the business card, from here on out called "shims". You'll want to put at least three of these in there, and try to space them as evenly as possible. You'll notice that they can be difficult to insert, but there nothing to damage on this side of the voicecoil, so go ahead and push them down in there.
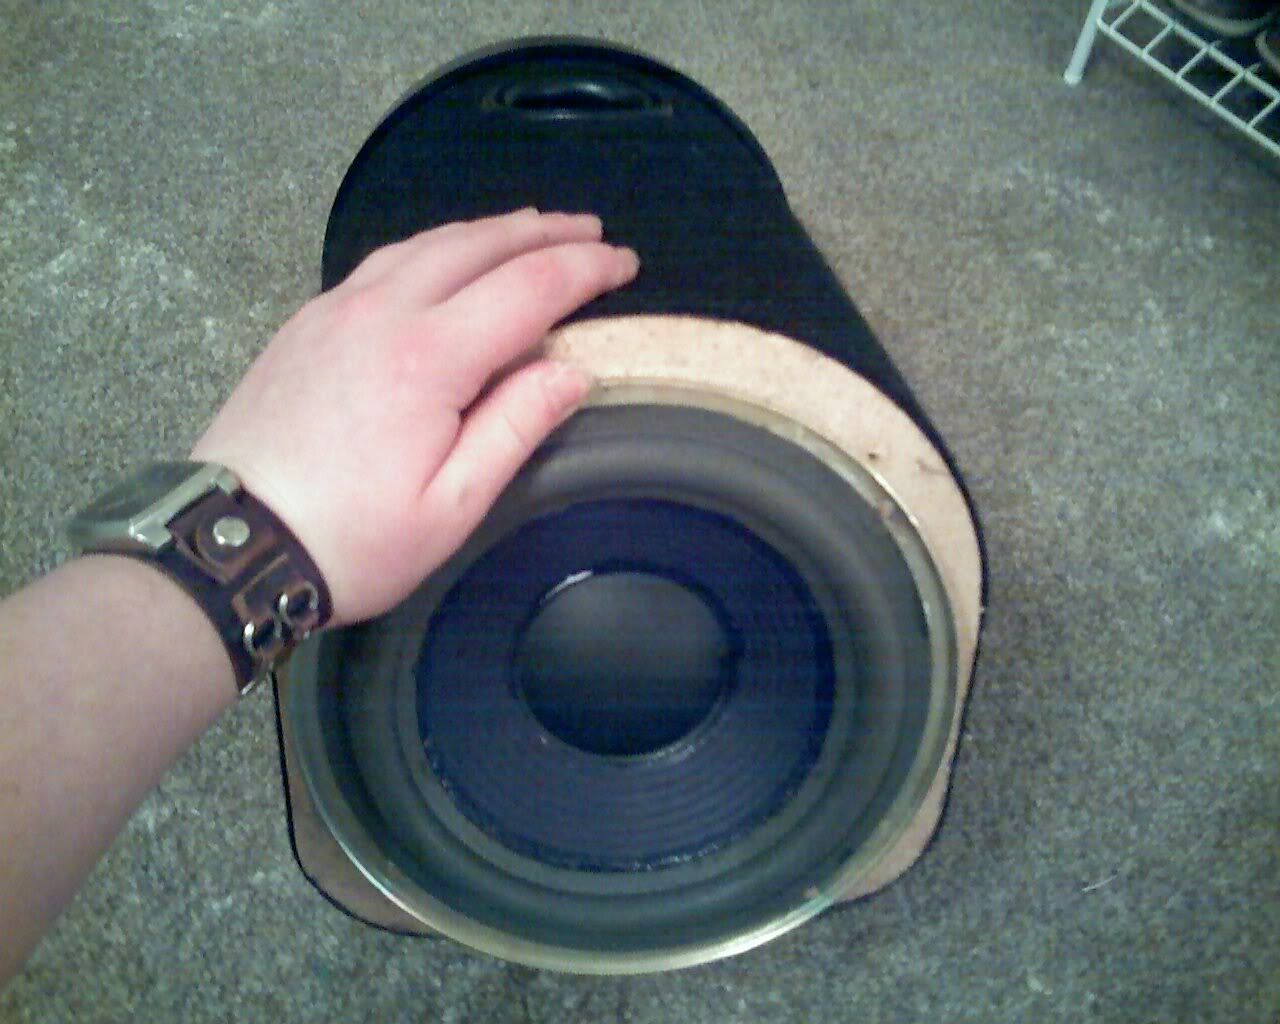
After you get them suckers in there, you want to move the cont to be at the same height as the basket. So what you'll do is just push up on the cone from the bottom until the look even. The shims should hold the cone in place, so don't worry about it falling.
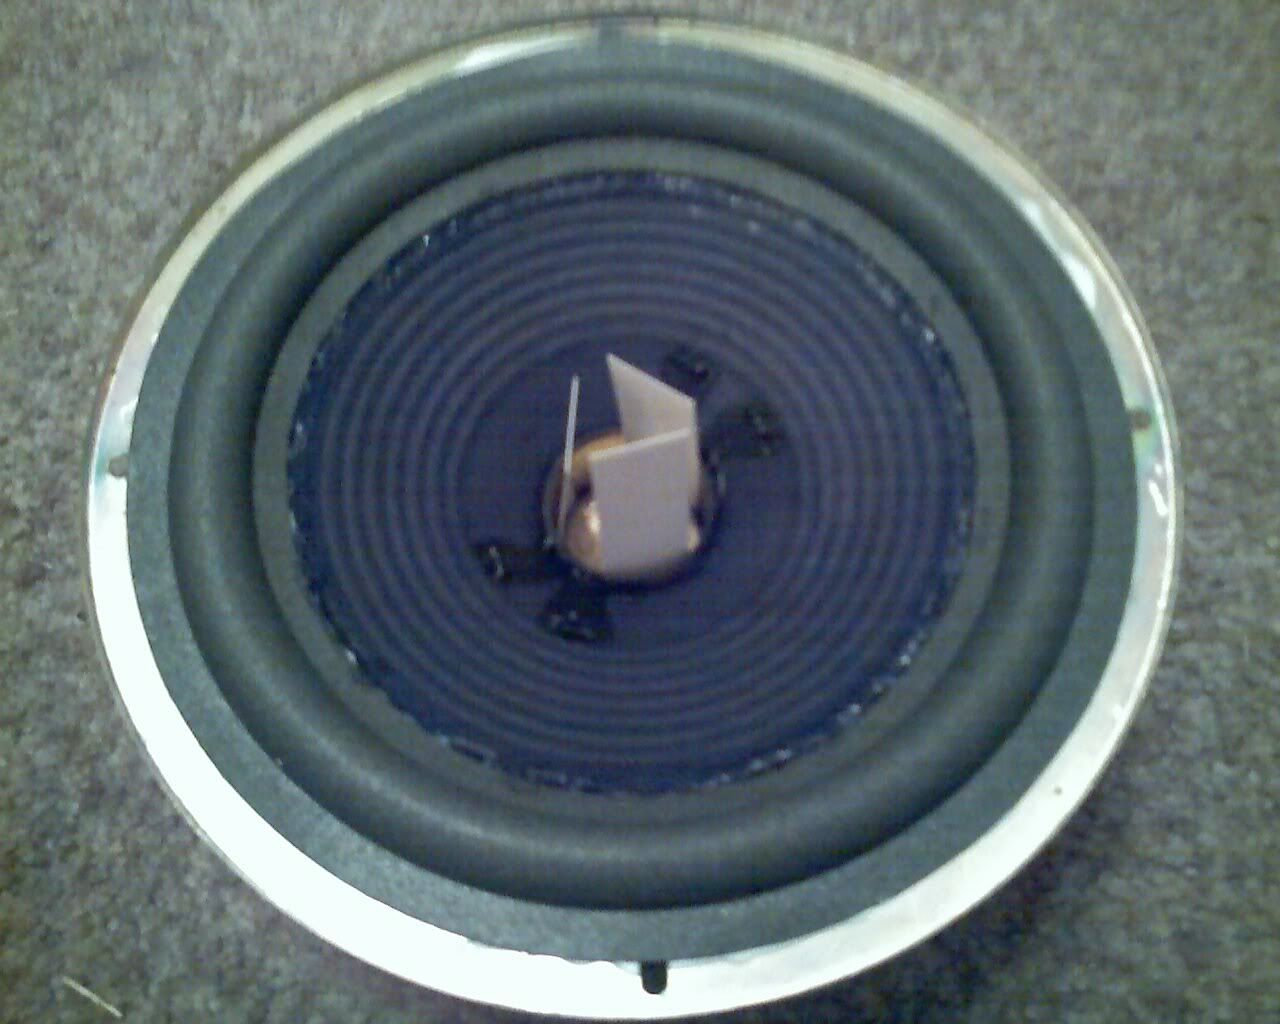
Now the glue comes into play. You want to take some glue and spread it on the inside ring of the new surround and on the outside edge of the cone. It dosen't have to be a thick layer, but don't spread it to thin. Let this sit and become tacky before you attempt to put them together, so go smoke a cigarette or something and come back in five.
Where the fudge were you?? I said five, not twenty minutes!! *Sigh* Oh well, the glue's REALLY tacky now. Lets put them together. You'll want to try and make it as centered as possible, so don't just slap them together and let it dry. Squeeze them together between your thumb and index finger to make sure the get good and bonded.
Now let it dry for an hour before you go any further. Capish??
Ok, welcome back. You're doing fairly well so far, you've only stabbed thru the cone twice, you're not bleeding anymore, and we finally got that glue stick off the cat's tail.
You're next step is to apply glue to the underside ot the surround and on the basket. Again, not to much, but not to little. You can apply light amounts to the basket since it's non-pourous. Then you'll let this set for five minutes to become tacky.

Now that it's ready to go, let's attach the surround to the basket and get the dustcap ready. Apply glue to the edge of it and allow it sot set for a few minutes before attaching it to the cone. It should be fairly self explanatory, but if I don't say it someone's not going to do it and then I'll have to answer more questions. Remove the shims.
Allow this to dry overnight and then you're good to go. Put it back where you got it from, and enjoy.
The answer:
Replace the surround yourself!!
Q: But Paul, isn't that hard to do??
A: Not really, takes a little bit of effort, but it's not like you're going to break a sweat ya wuss.
Q: But Paul, don't you need special equiptment to do this?
A: Not unless yyou consider paper special equiptment.
So anyways, first, make sure you are able to obtain a surround for your speaker. If you have a high excursion speaker (I'd say more than 10mm 1 way) it's going to be hard to locate a replacement for you. Sorry. But for those of us who have pretty average speakers in terms of size, excursion, and build material, just look over at partsexpress.com
Now, on to business. The first step is to get all your material together. What we have here is:
1 crappy Kenwood speaker with a previous temperary fix with electrical tape (I don't reccomend this)
1 Replacement Surround (or 2 if your stupid and don't follow the instructions)
1 New dustcap (not pictured)
Utility knife
a few blades for the knife
some glue
some glue applicators
some voicecoil shims (AKA cardstock paper AKA a business card)
Ok, now that we've gotten everything together let's get to work. the first thing you'll need to do it to remove as much excess foam as you can (or electrical tape in my case. Again, I don't reccomend this). Be careful when pulling on the cone because you don't want to bend it or crease it or anything like that. So be careful meathands.
Our next step is to take that utility knife and get to work scraping the basket clean. You need to get as close to bare metal as possible, so scrape hard, that glue isn't going to get any softer. If your hand starts hurting from squeezing the utility knife real hard, then you're doing a good job.
Next, you have to do the same thing, but on the cone. Again, be very careful with it and don't bend, crease, or damage the cone in any way. Also, don't but it with the knife. You know what, you and knives have never gotten along well, so put it down and rub it off between your thumb and index finger. That should get enough excess off.
After you're all done with that, you take a break.
You back??? Good.
Let's move on.
We could glue the surround on right now, but how do I know the voicecoil is goin to be centered in the gap??
This is where the paper comes in at. You take a few strips of a business card and insert them between the former and the pole peice to keep the voicecoil from moving around. It will look like this.
But first we need to get to that. And to do that, we need to cut off the dustcap. Don't be afraid, but don't be stupid and put your blade all the way thru the cone, or slice one of tinsil leads. Just make an X in the middle of the dustcap, and pull back the corners. Like this. Notice, my dustcap goes all the way across, your's may not.
Now, if you're lucky like me, you have a second dustcap to do this to.
This is where we will insert the business card, from here on out called "shims". You'll want to put at least three of these in there, and try to space them as evenly as possible. You'll notice that they can be difficult to insert, but there nothing to damage on this side of the voicecoil, so go ahead and push them down in there.
After you get them suckers in there, you want to move the cont to be at the same height as the basket. So what you'll do is just push up on the cone from the bottom until the look even. The shims should hold the cone in place, so don't worry about it falling.
Now the glue comes into play. You want to take some glue and spread it on the inside ring of the new surround and on the outside edge of the cone. It dosen't have to be a thick layer, but don't spread it to thin. Let this sit and become tacky before you attempt to put them together, so go smoke a cigarette or something and come back in five.
Where the fudge were you?? I said five, not twenty minutes!! *Sigh* Oh well, the glue's REALLY tacky now. Lets put them together. You'll want to try and make it as centered as possible, so don't just slap them together and let it dry. Squeeze them together between your thumb and index finger to make sure the get good and bonded.
Now let it dry for an hour before you go any further. Capish??
Ok, welcome back. You're doing fairly well so far, you've only stabbed thru the cone twice, you're not bleeding anymore, and we finally got that glue stick off the cat's tail.
You're next step is to apply glue to the underside ot the surround and on the basket. Again, not to much, but not to little. You can apply light amounts to the basket since it's non-pourous. Then you'll let this set for five minutes to become tacky.
Now that it's ready to go, let's attach the surround to the basket and get the dustcap ready. Apply glue to the edge of it and allow it sot set for a few minutes before attaching it to the cone. It should be fairly self explanatory, but if I don't say it someone's not going to do it and then I'll have to answer more questions. Remove the shims.
Allow this to dry overnight and then you're good to go. Put it back where you got it from, and enjoy.