I recently finished (well almost) this install for a good friend of mine, Charlie. He has a solid car audio background and once was an installer for Mike McNae. He now works for a home theater company doing very high end systems (like million dollar systems
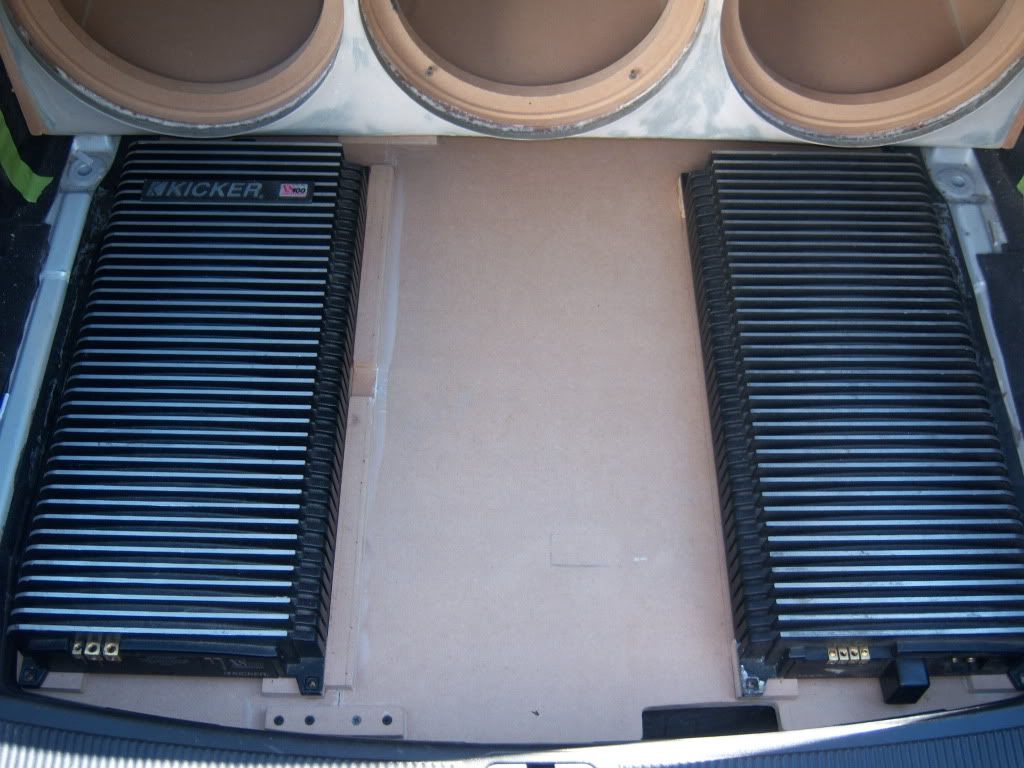
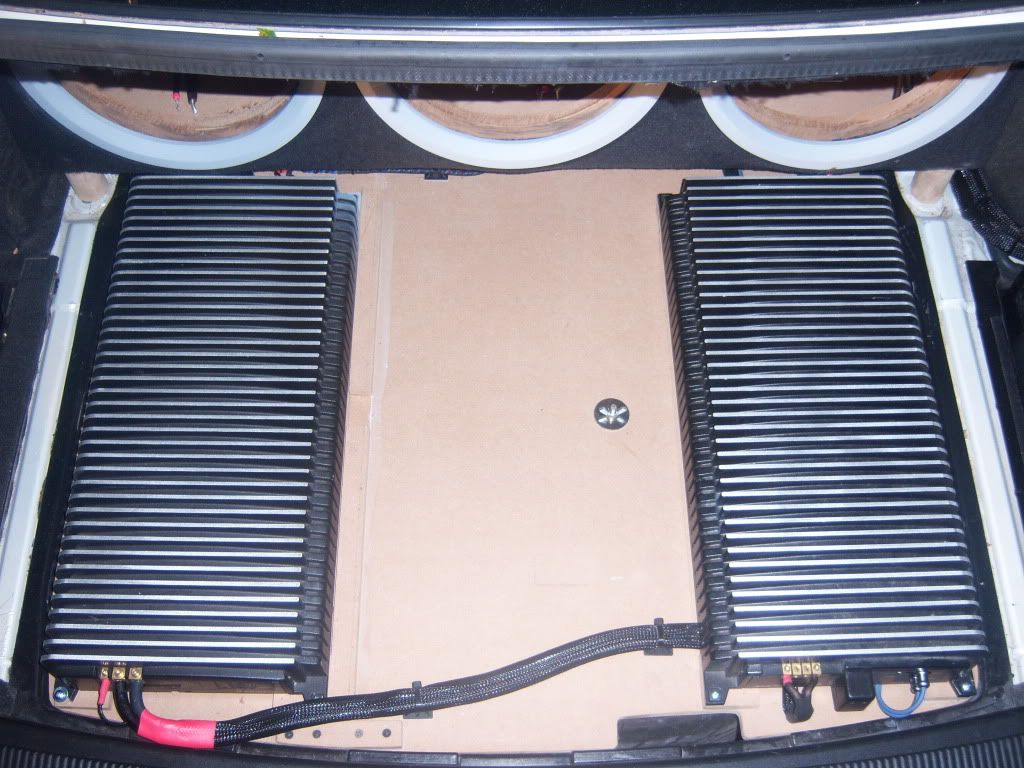
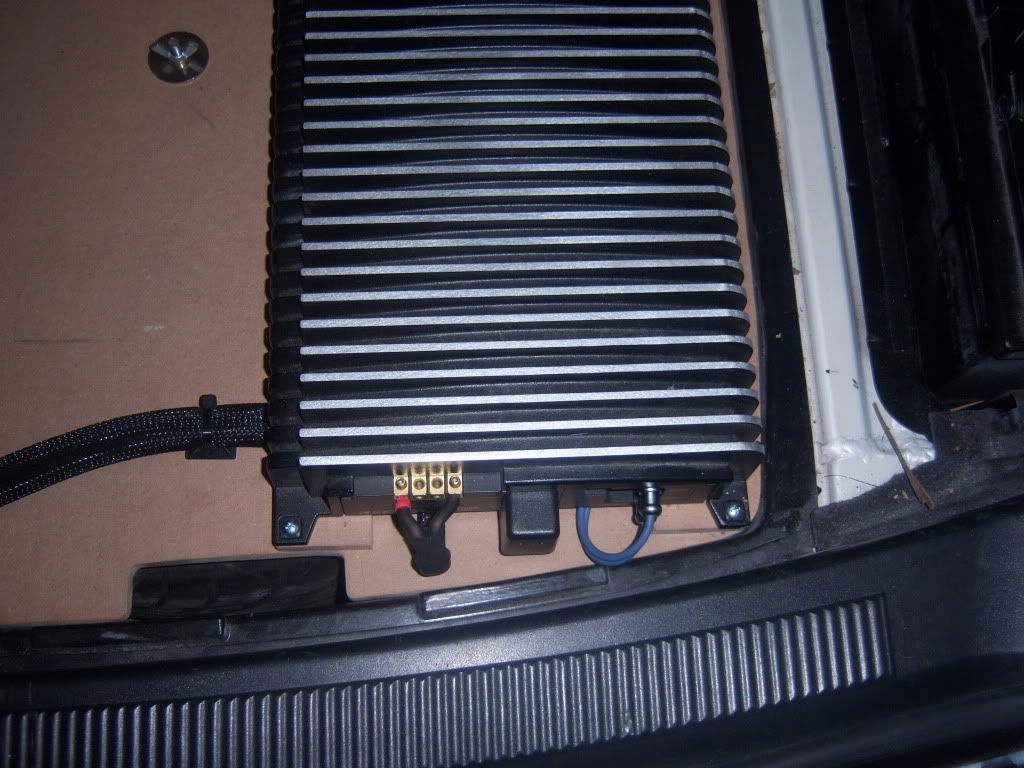
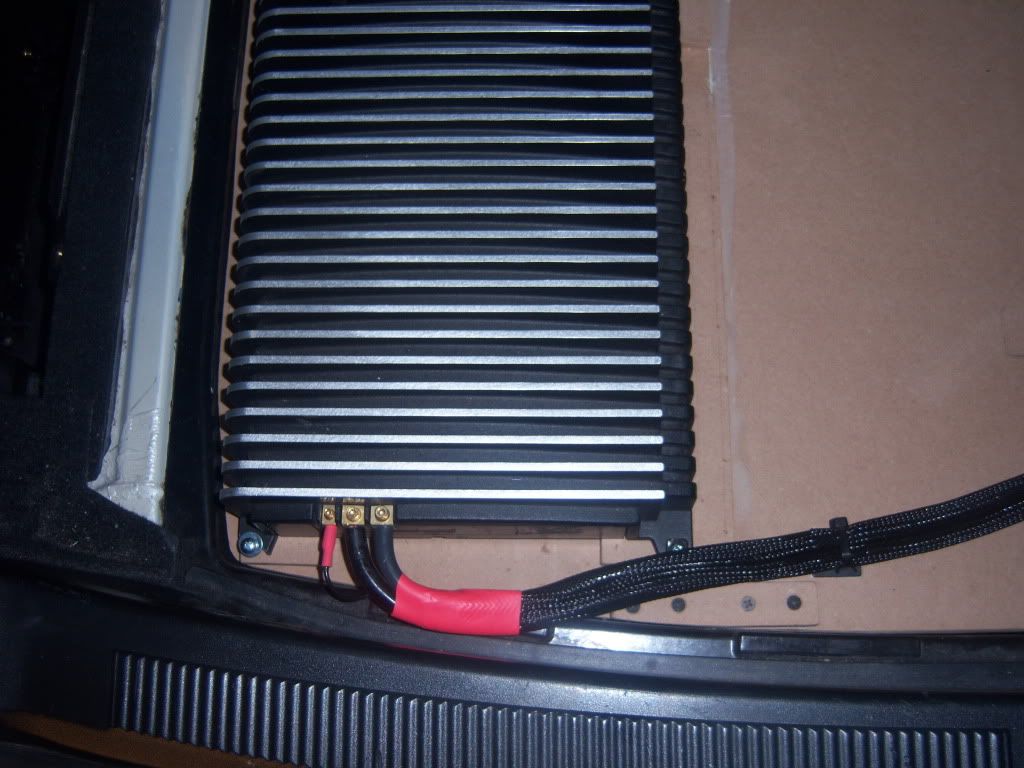
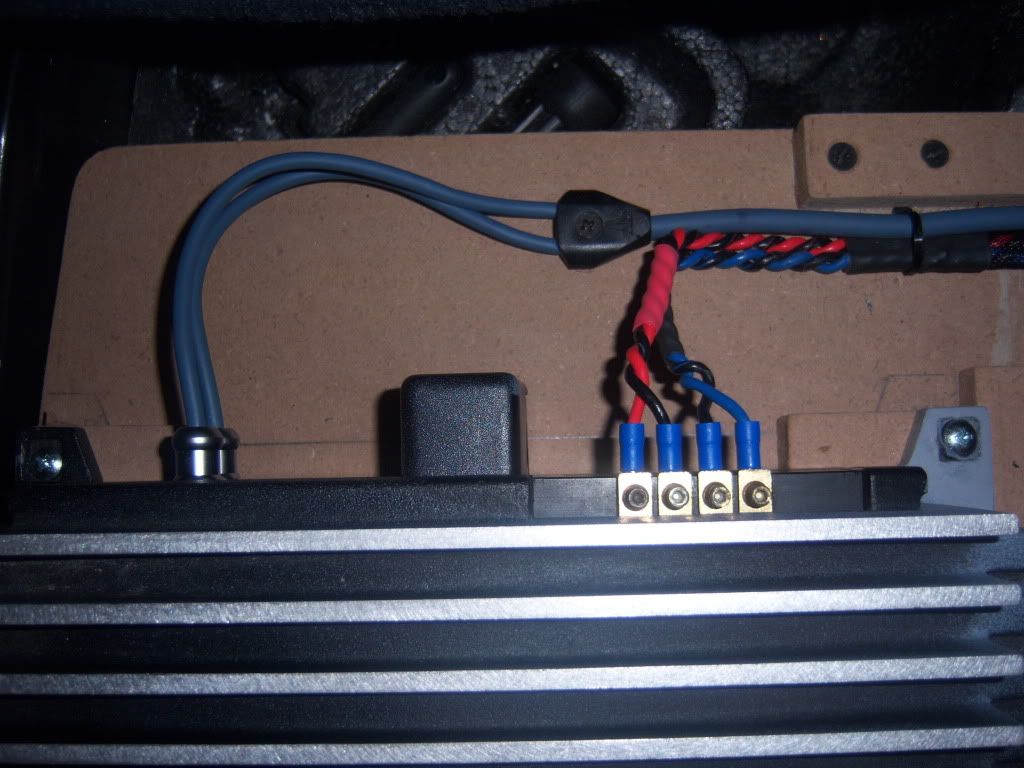
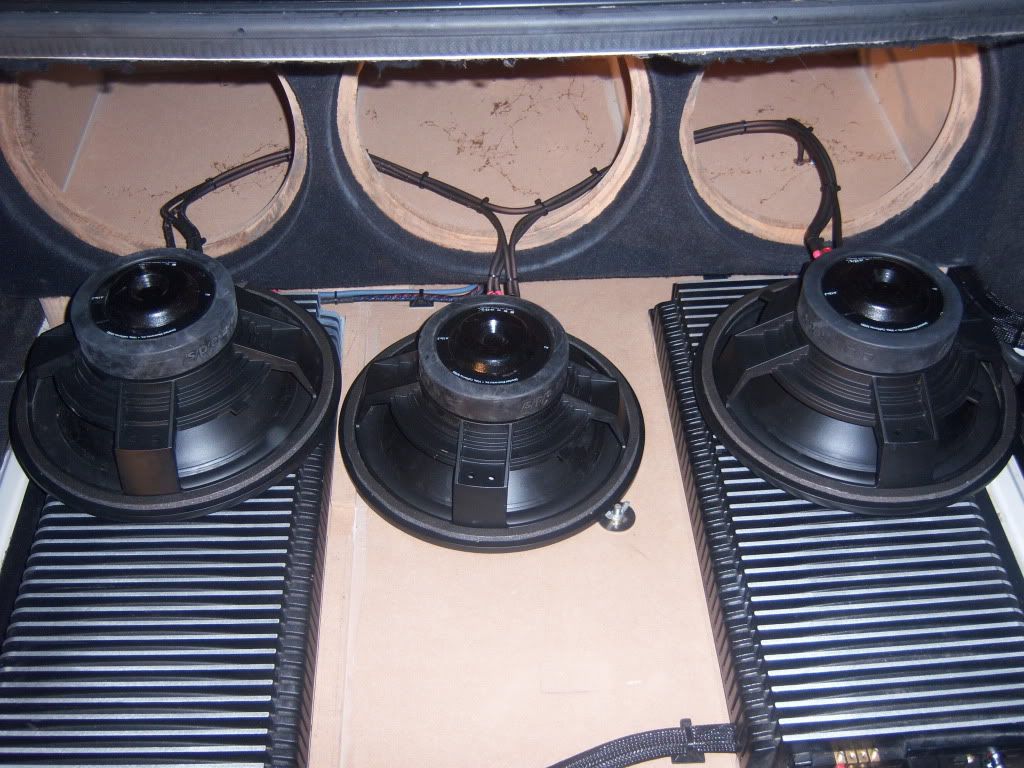
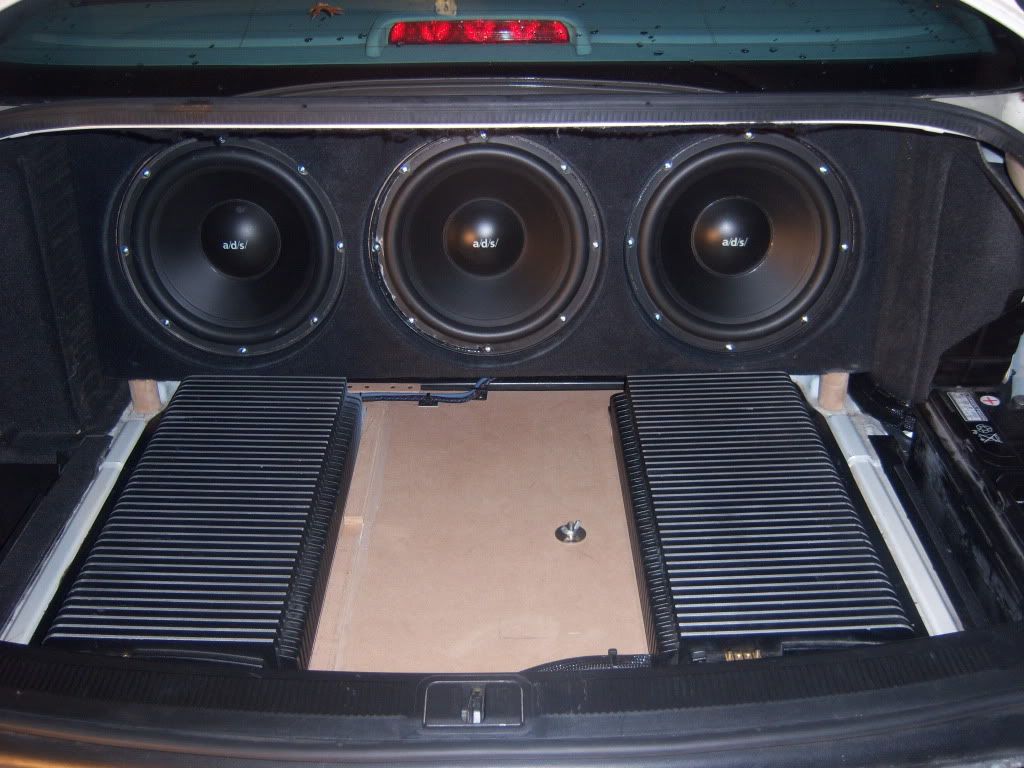
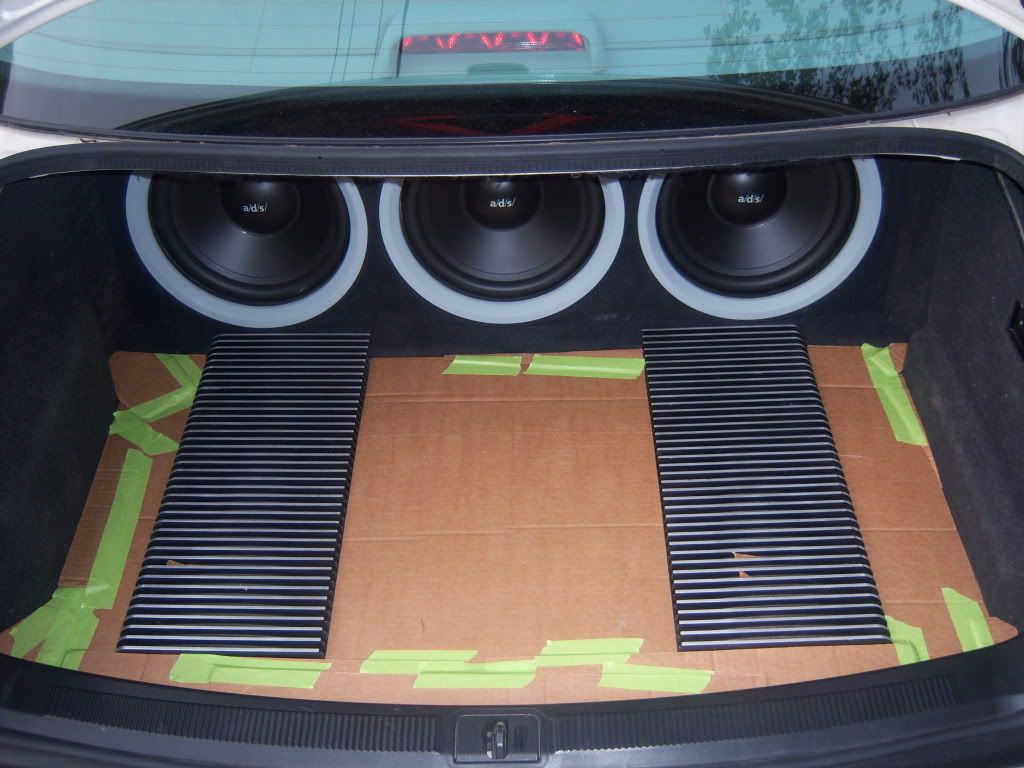
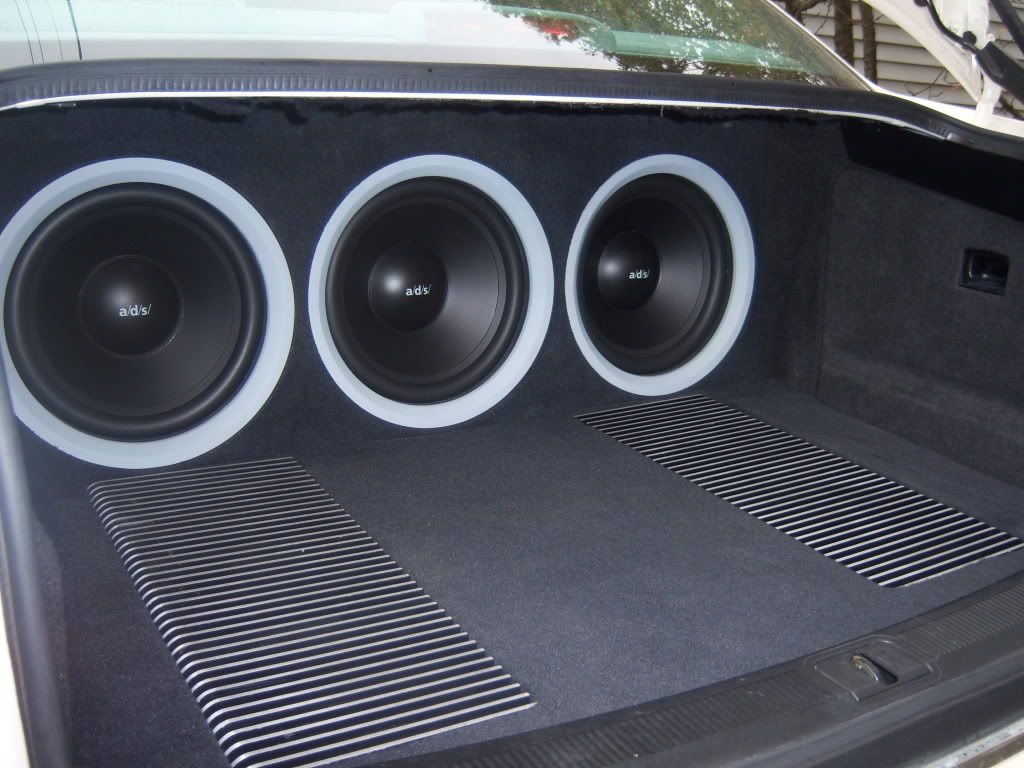
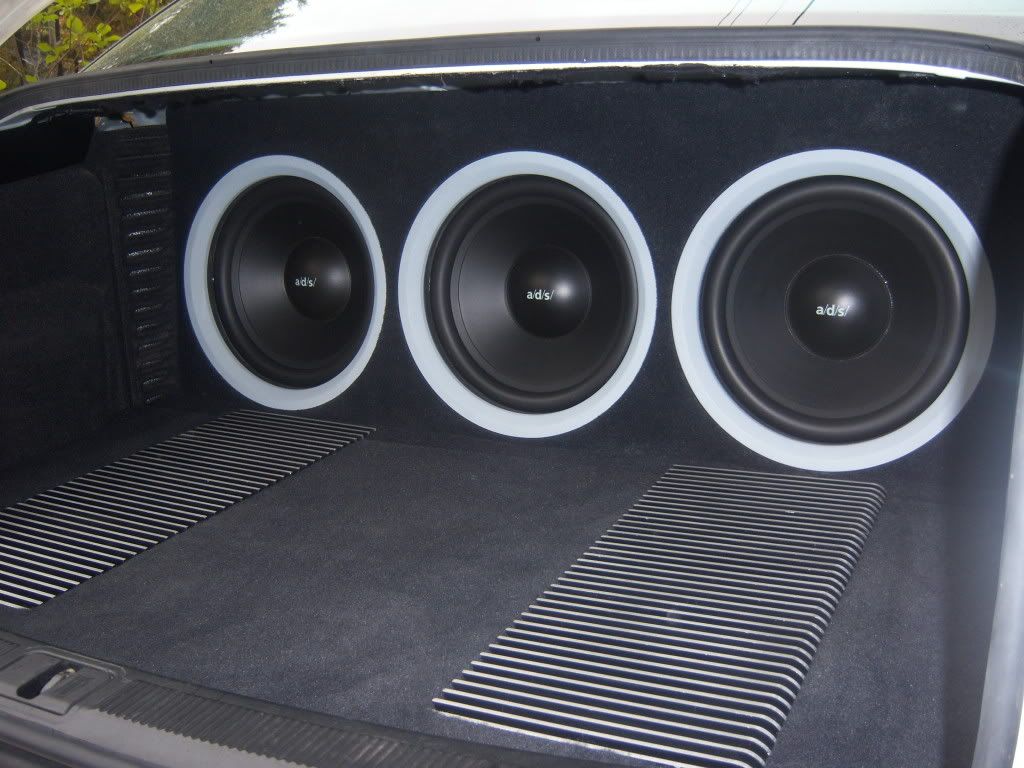
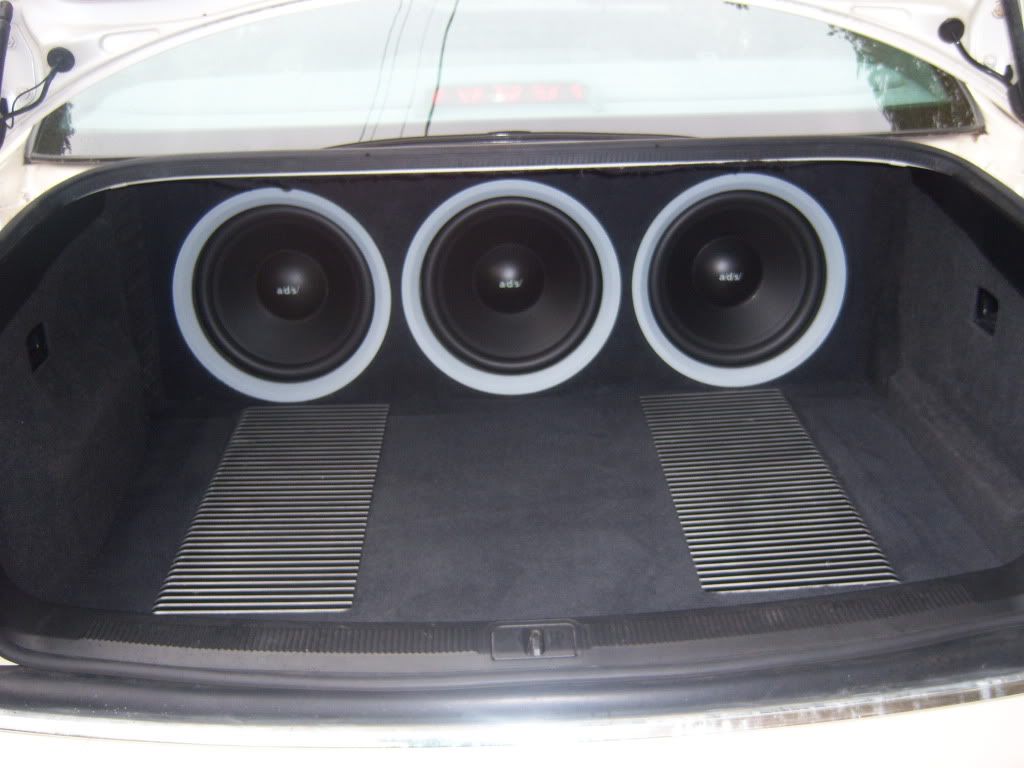
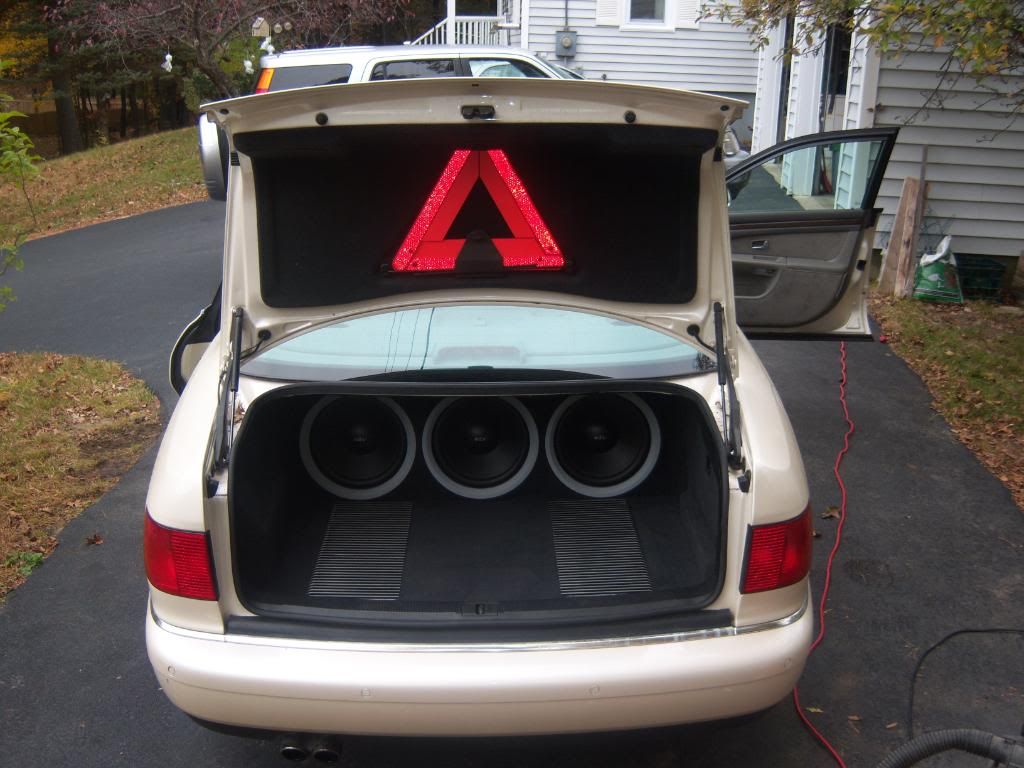
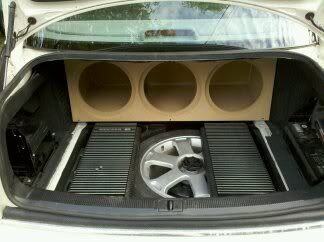
The later proved to be a challenge as I decided to go with 3-12's and two very large amplifiers. I had the car for three weeks, but was only able to really work on it for about ten days total. I wish I could have done a little more custom work, but the Audi had many obstacles of it's own that really limited and challenged me for time. The end result has what I like to call a "90's" feel to it, which is exactly what Charlie wanted and I'm glad he's happy with the outcome
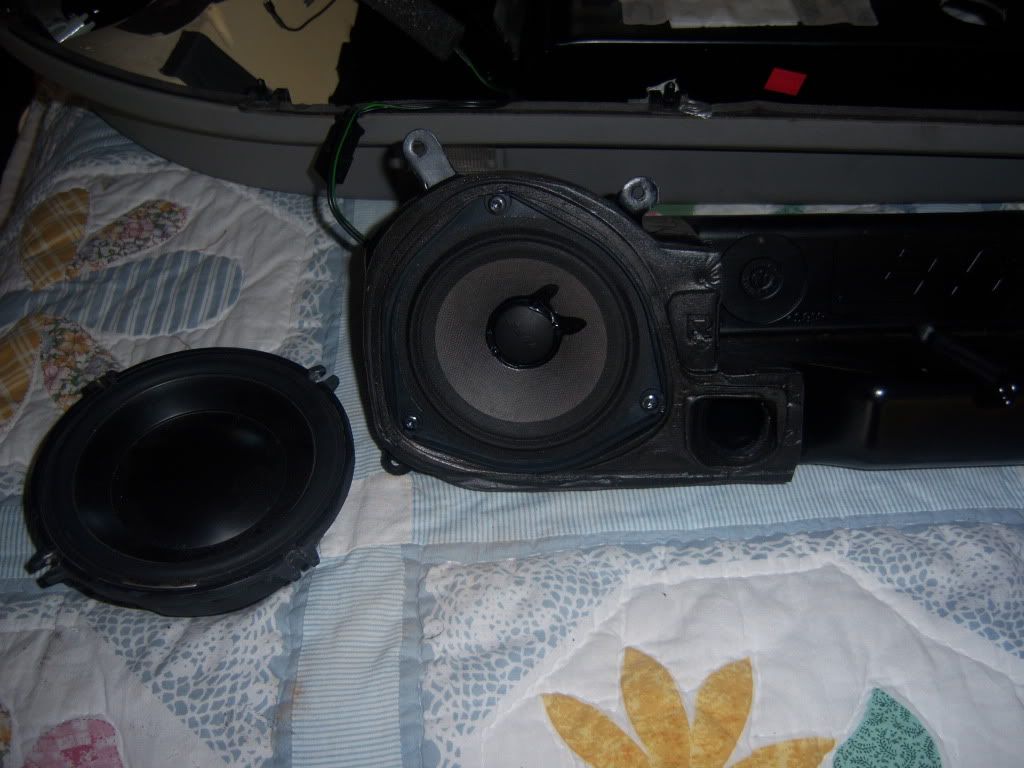
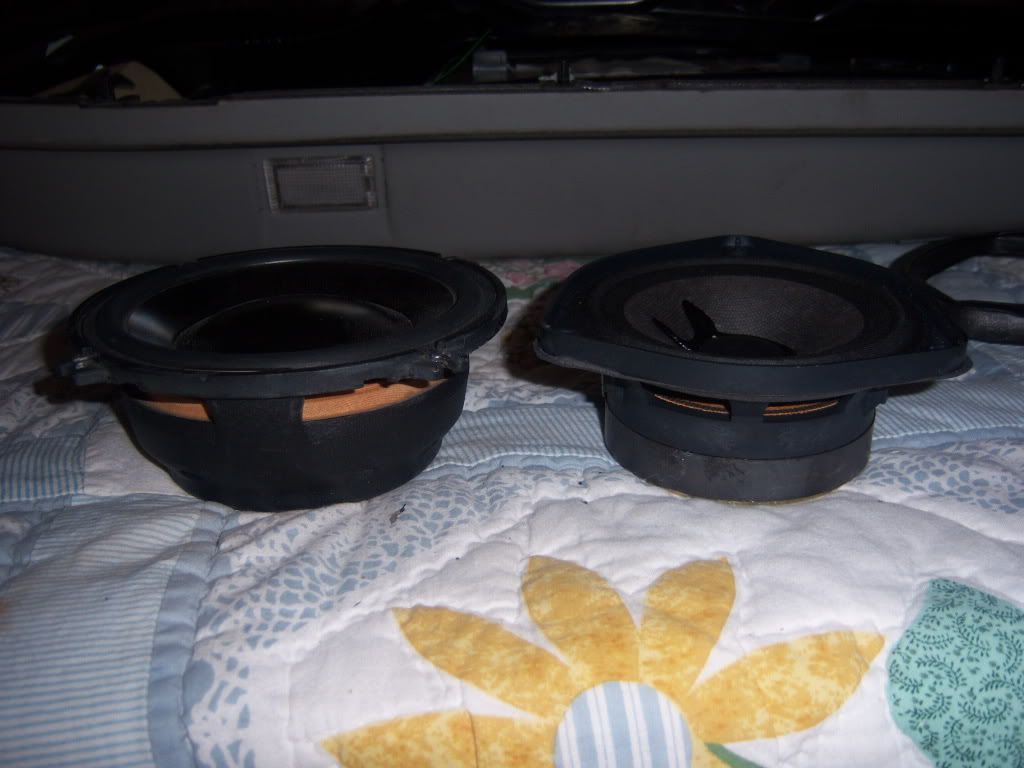
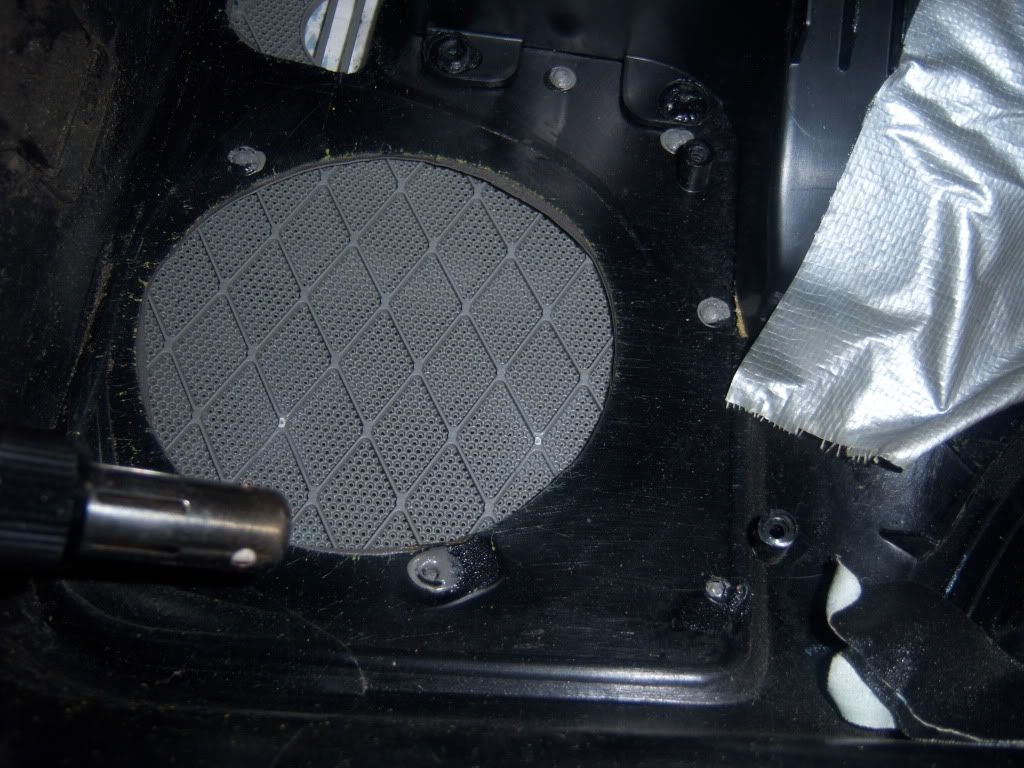
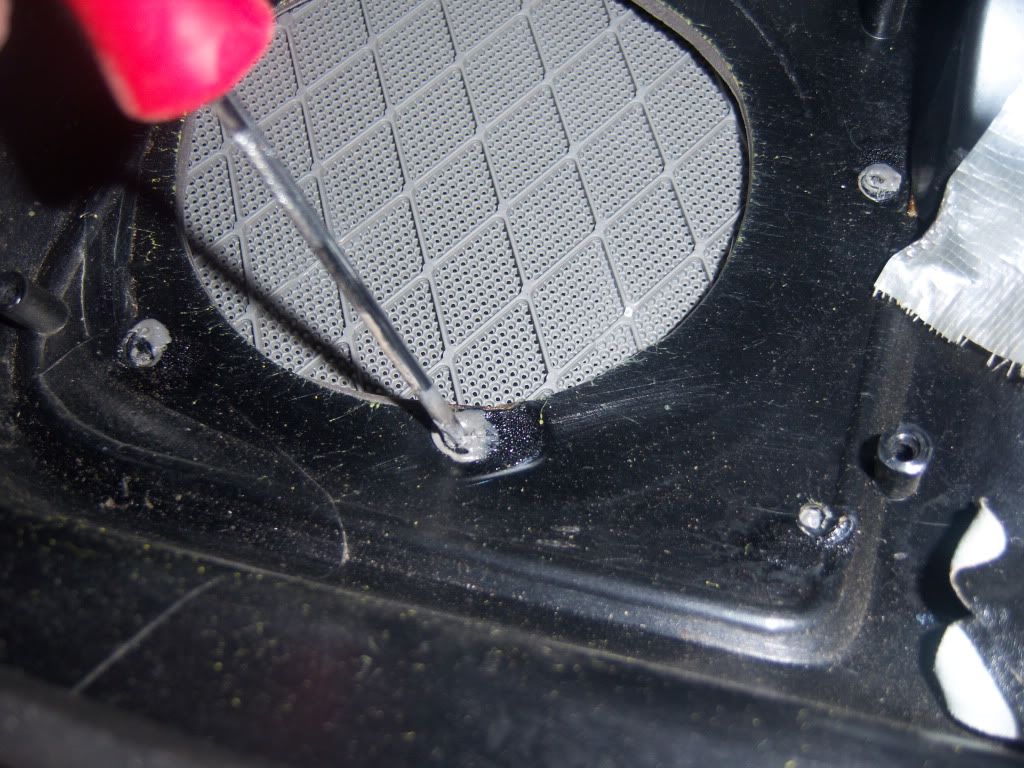
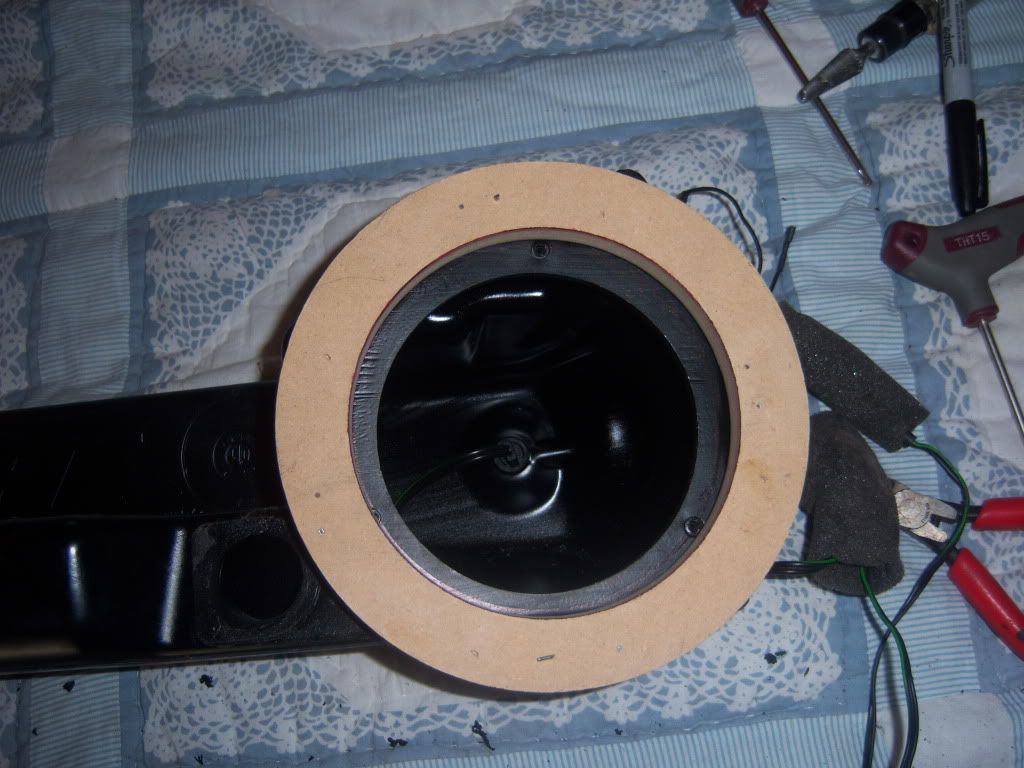
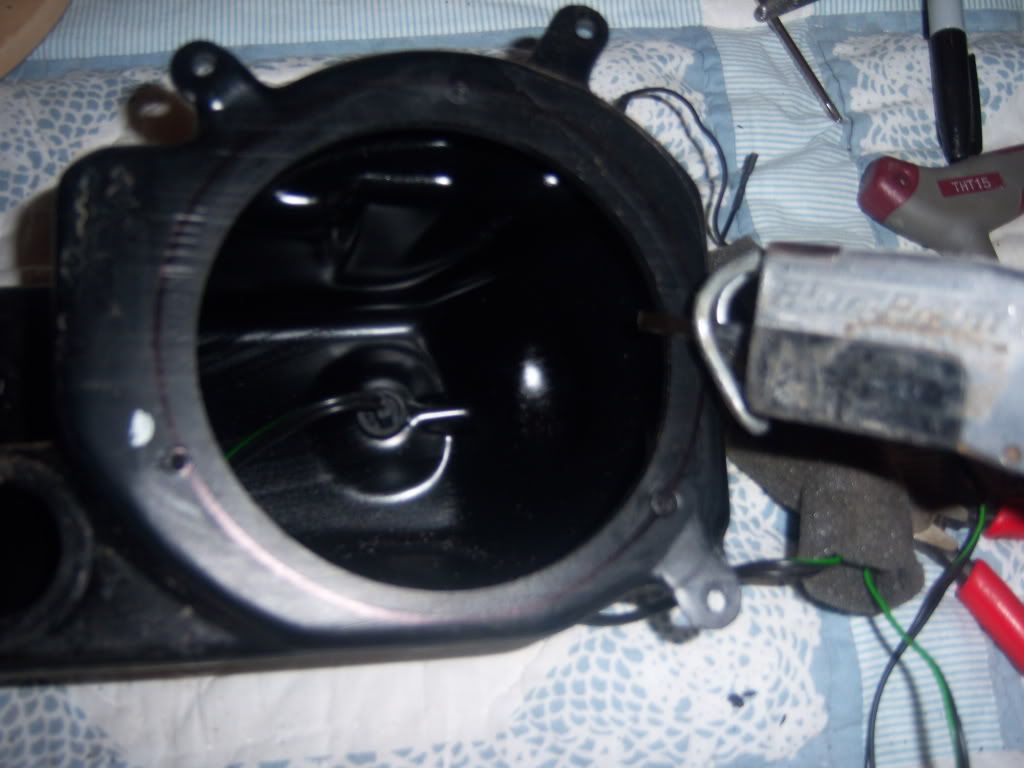
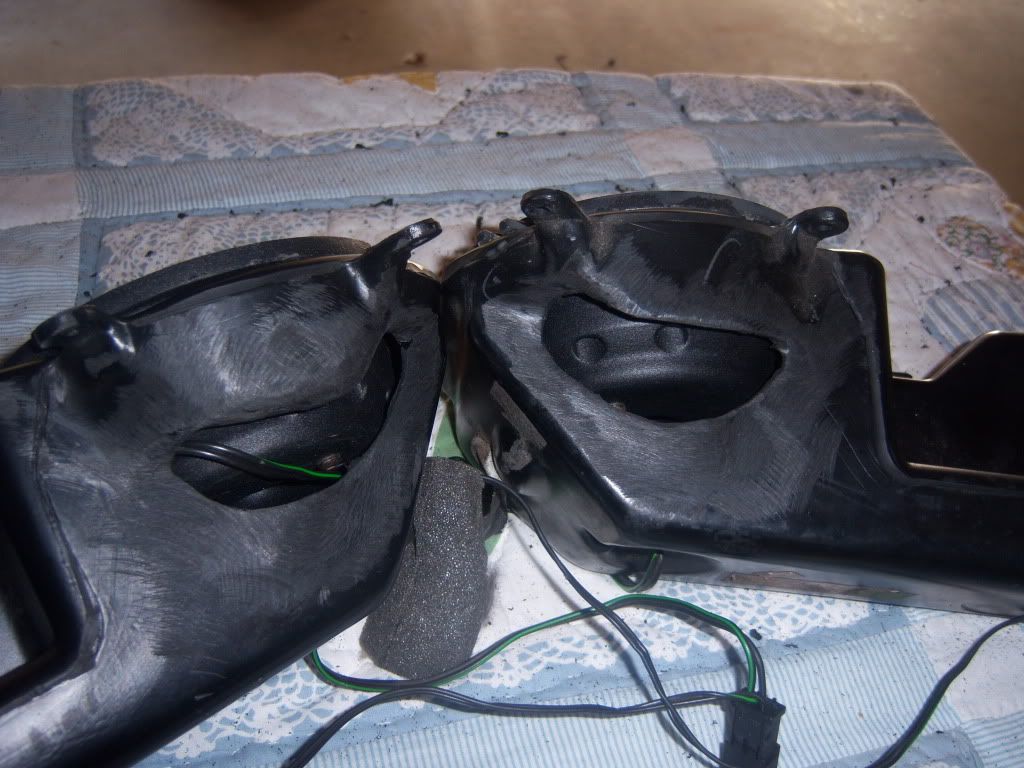
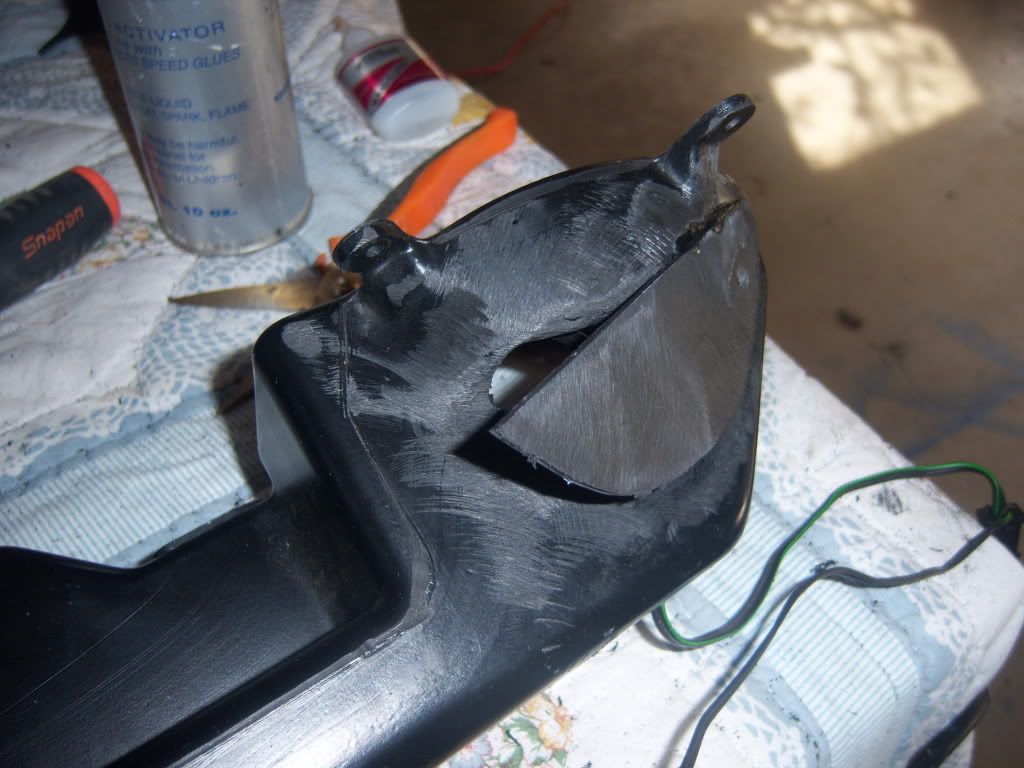
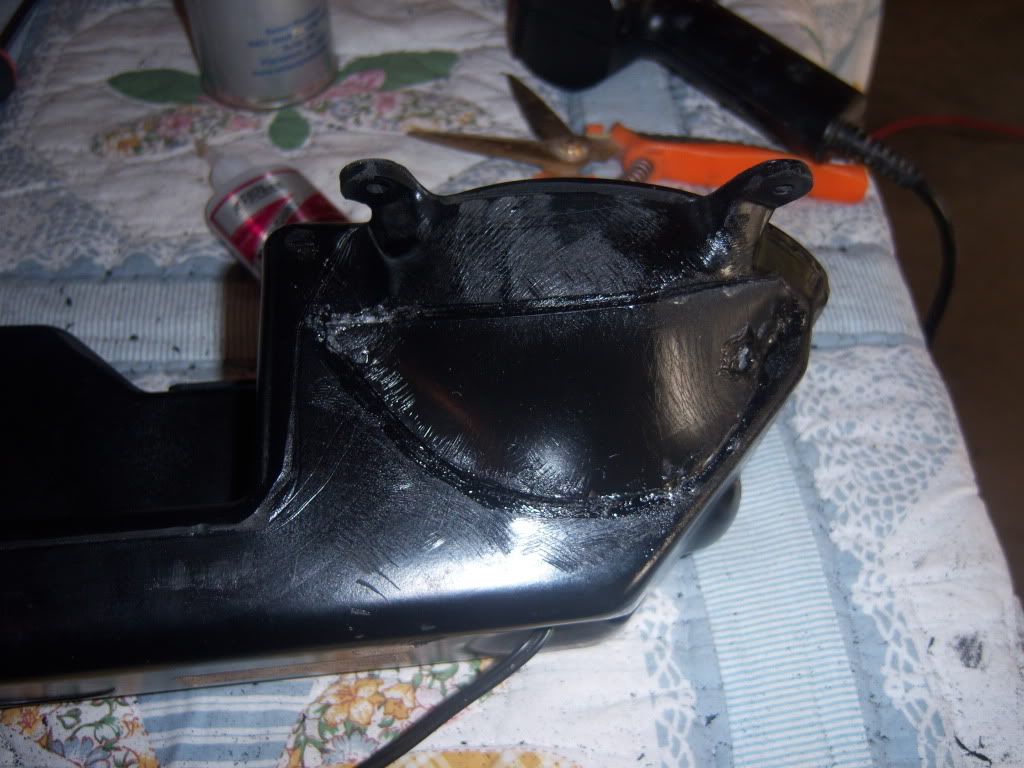
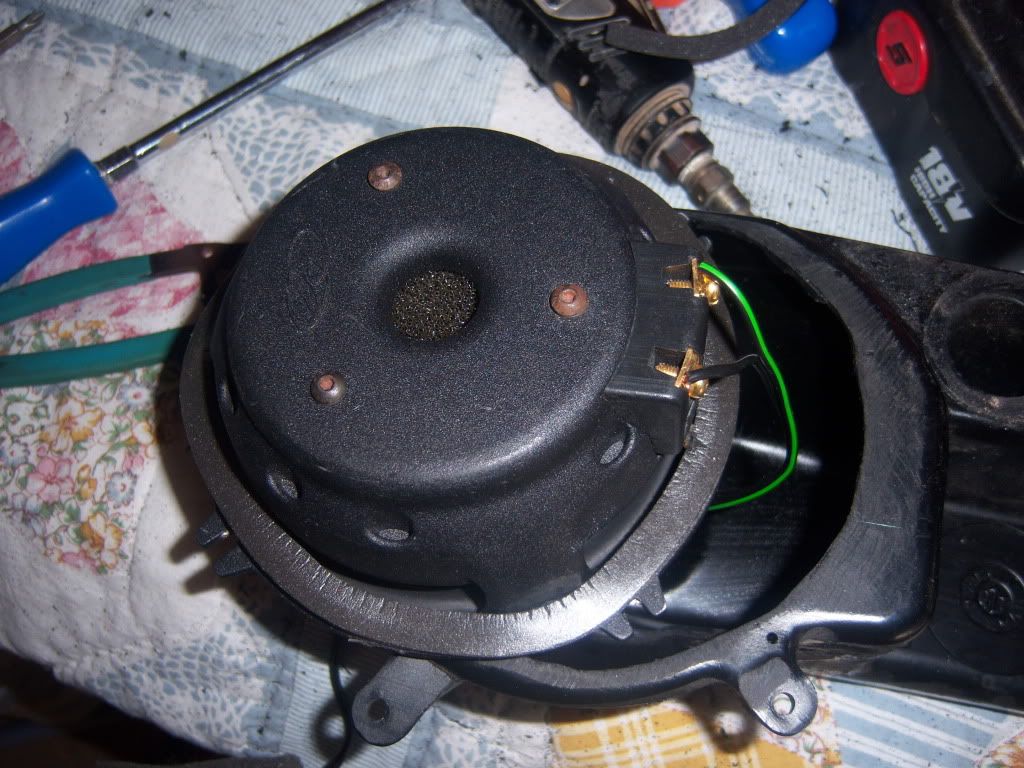
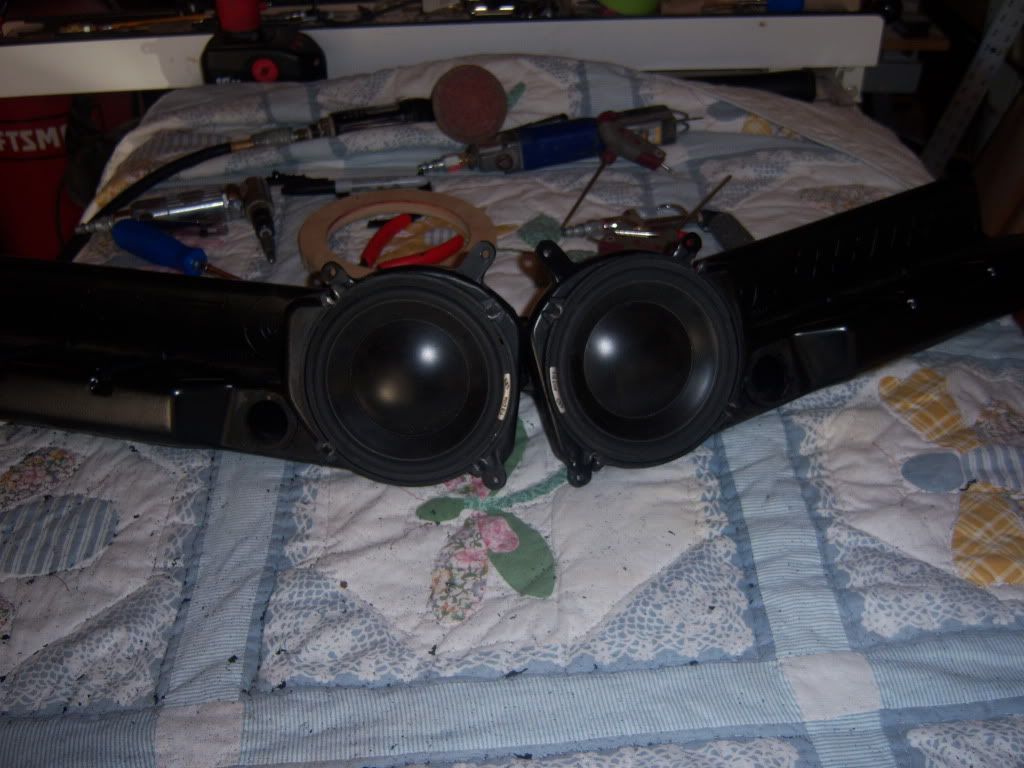
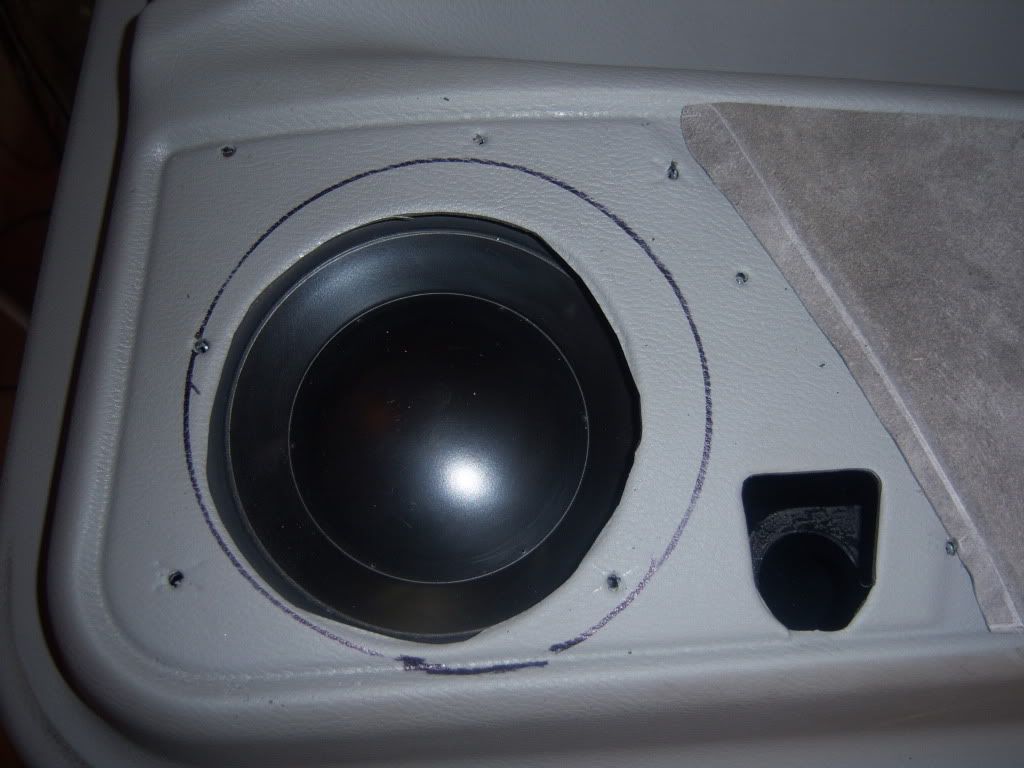
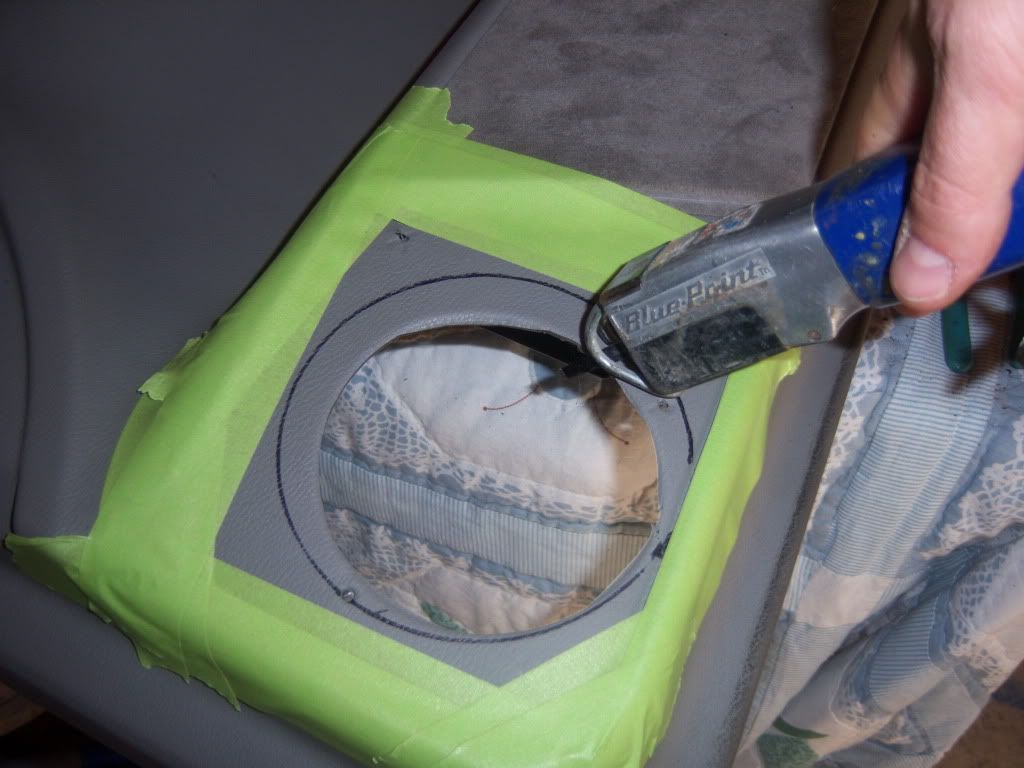
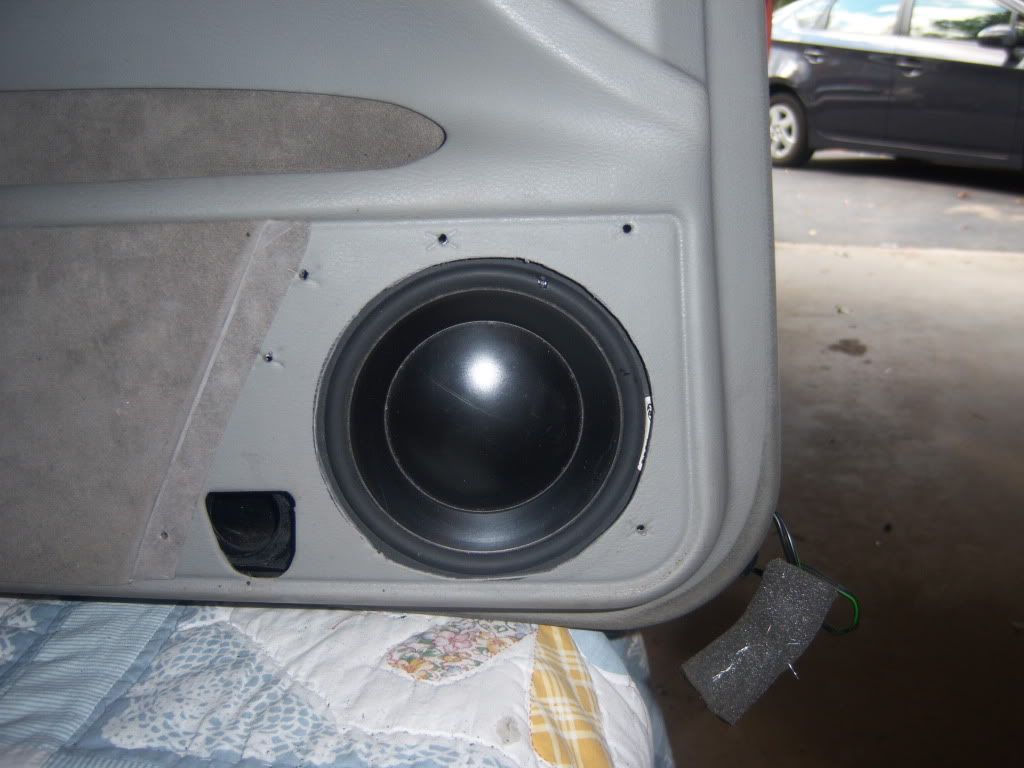
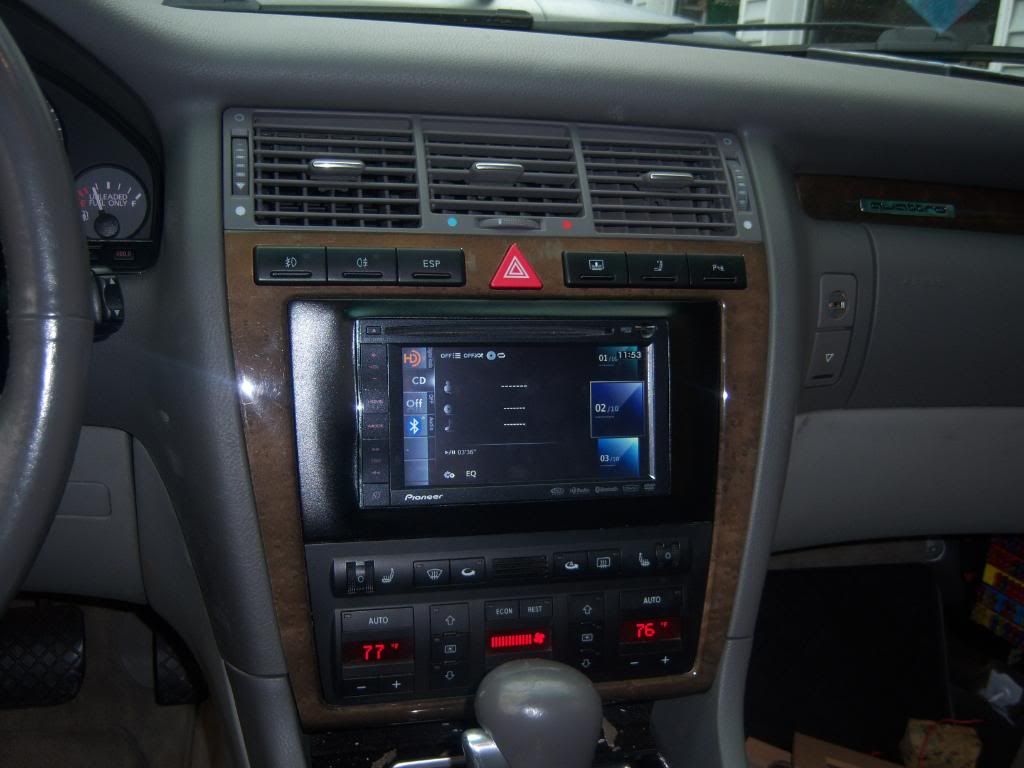
Well enough babling.. on to some pics
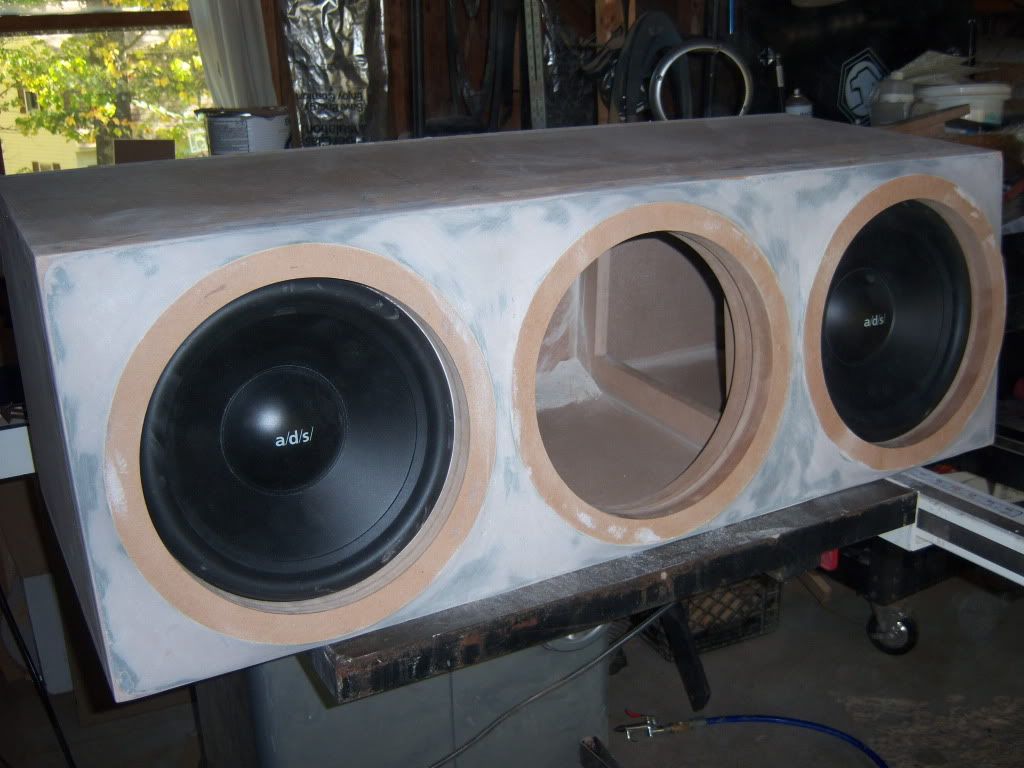
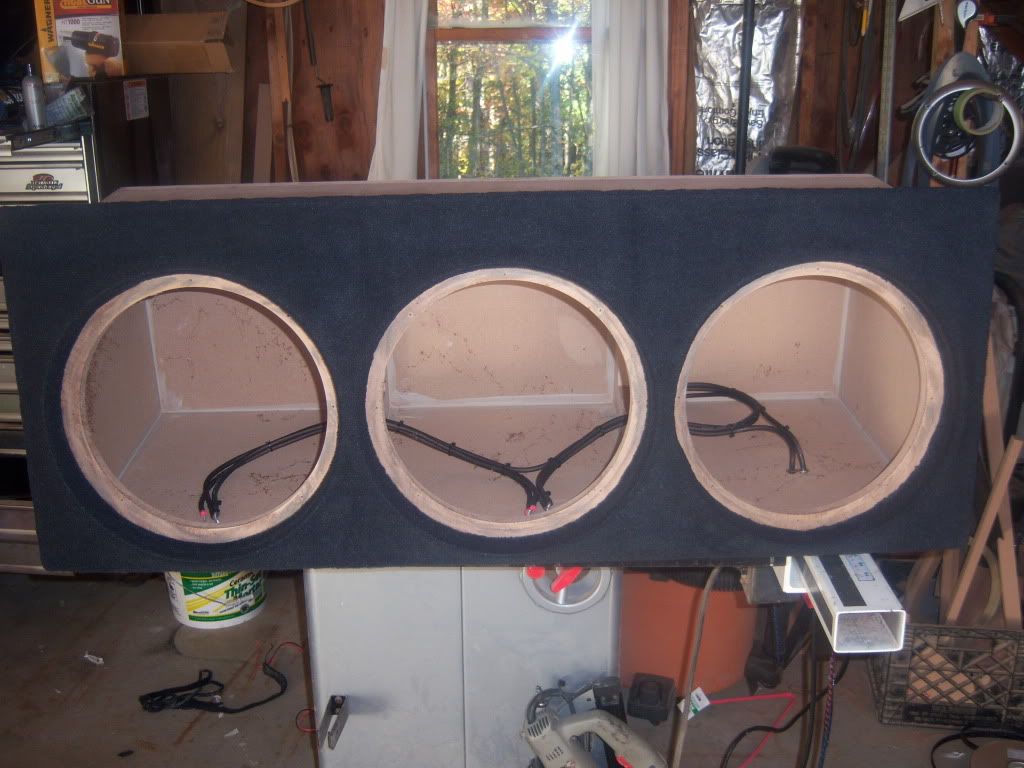
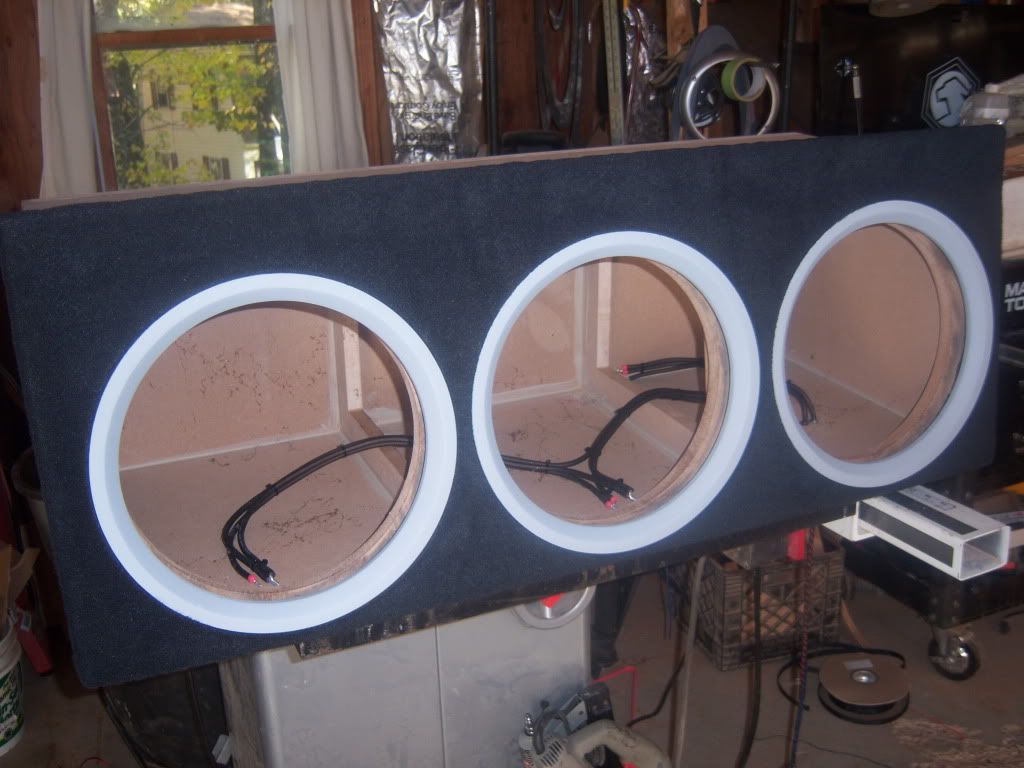
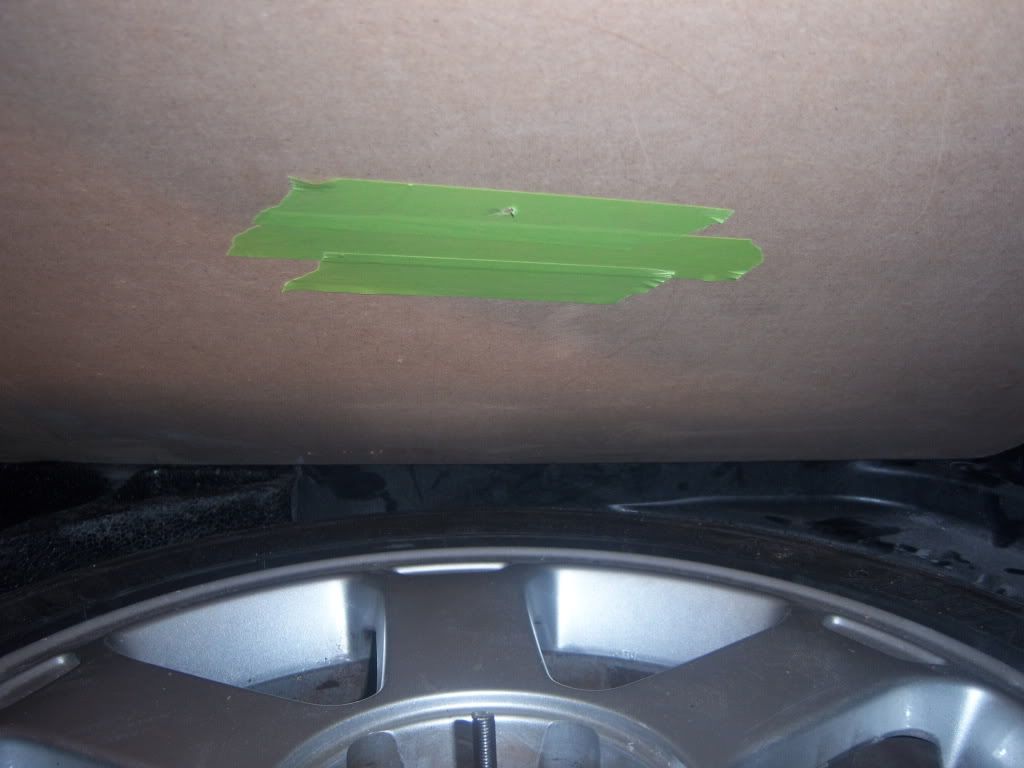
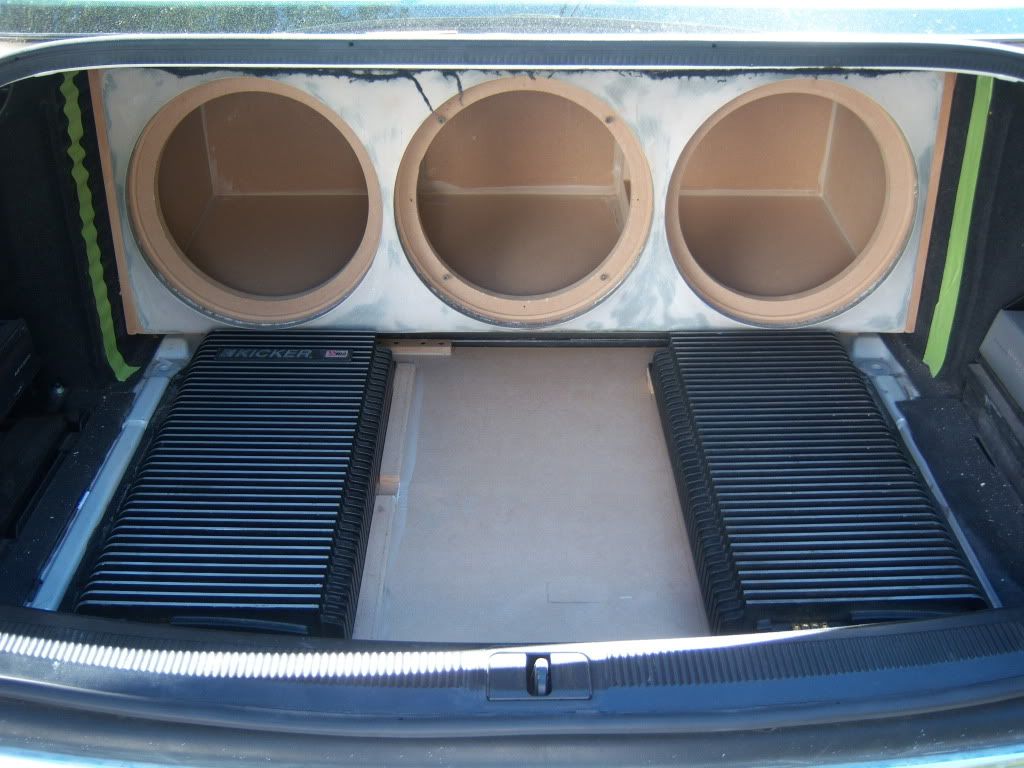
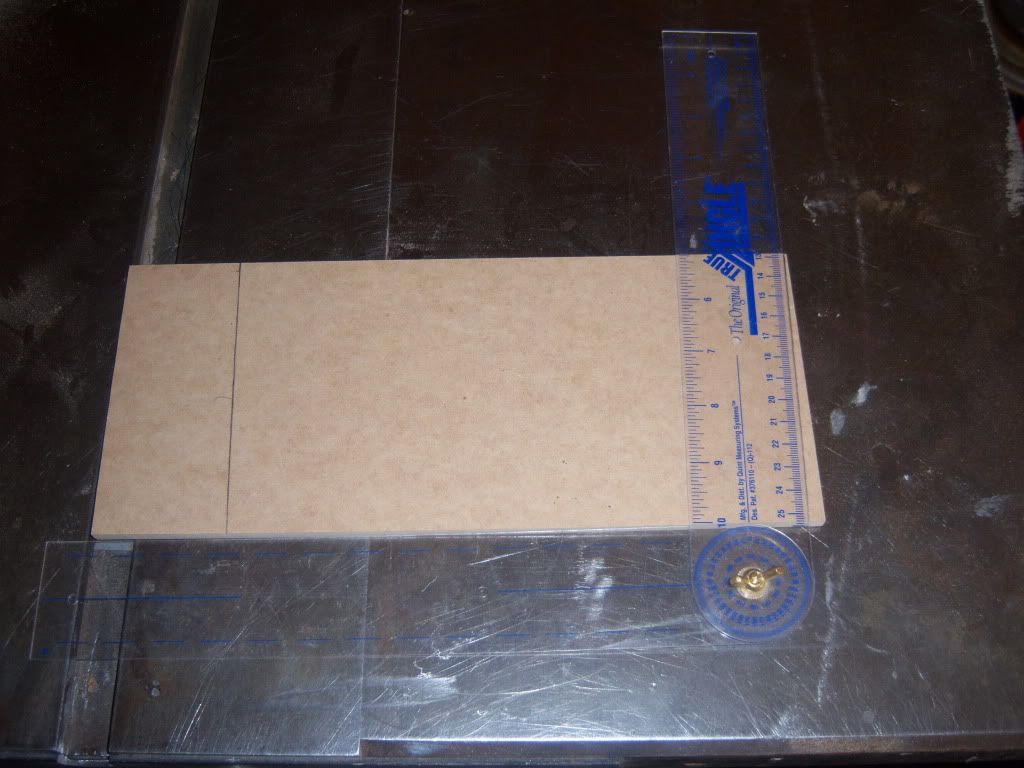
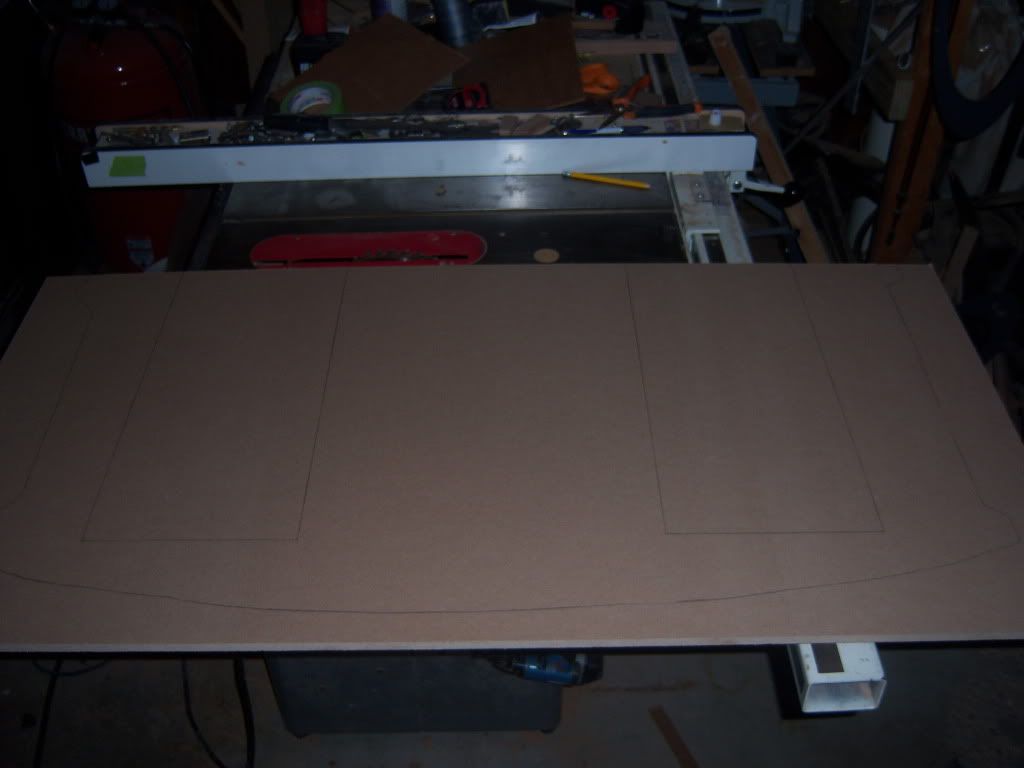
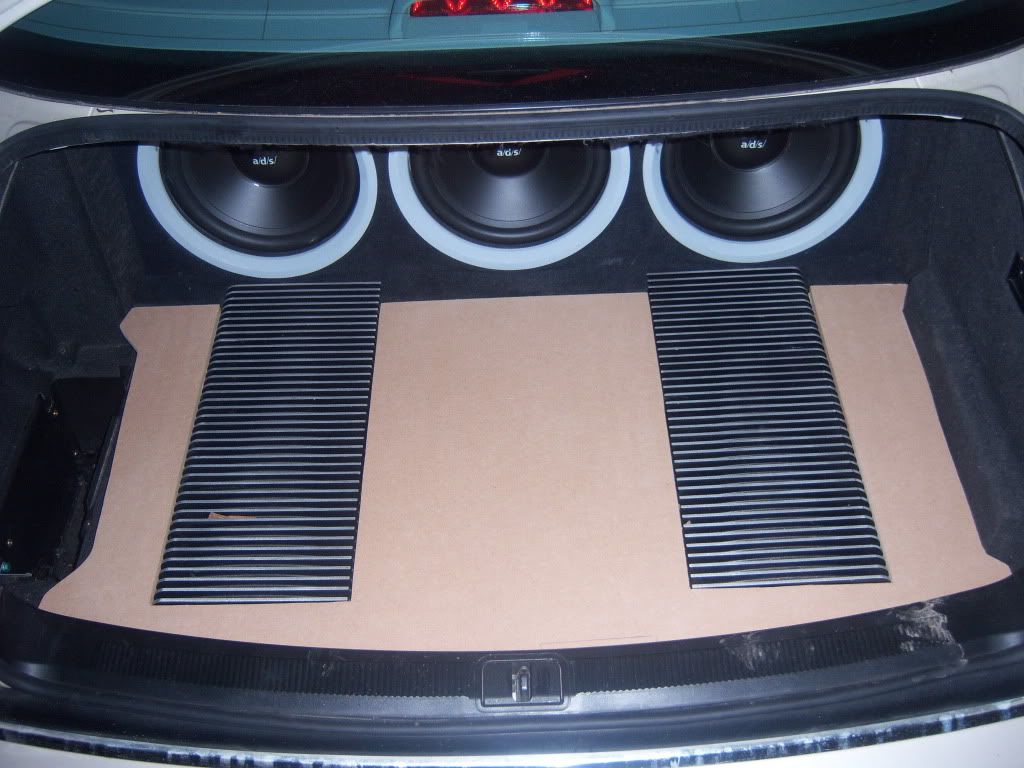
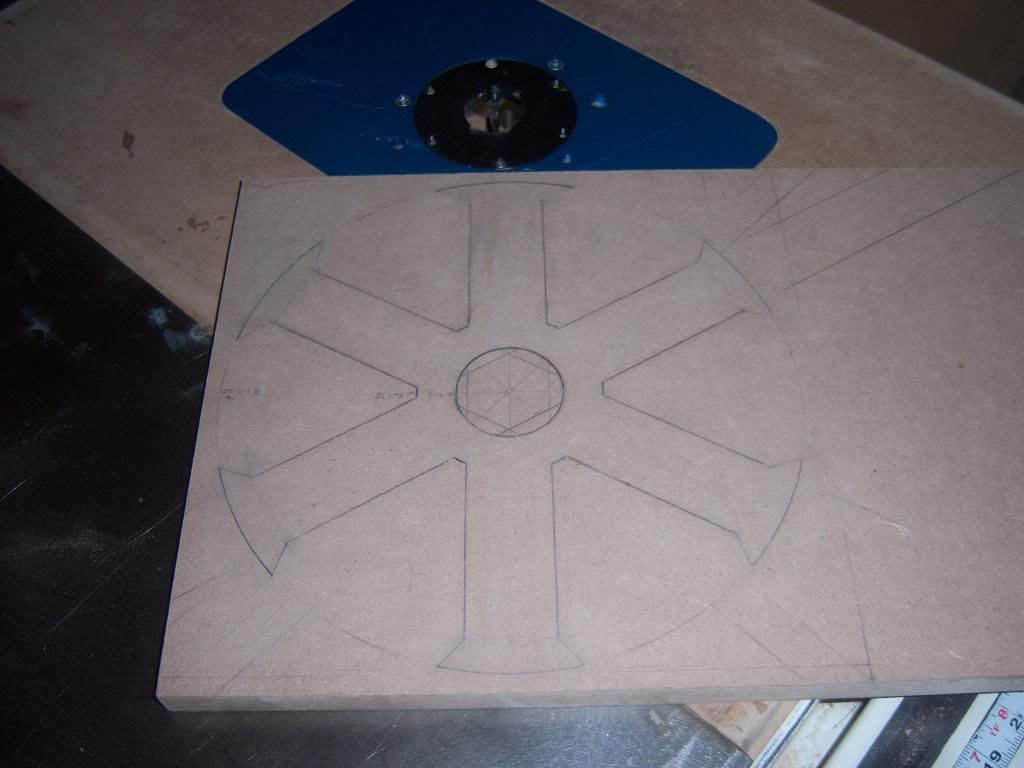
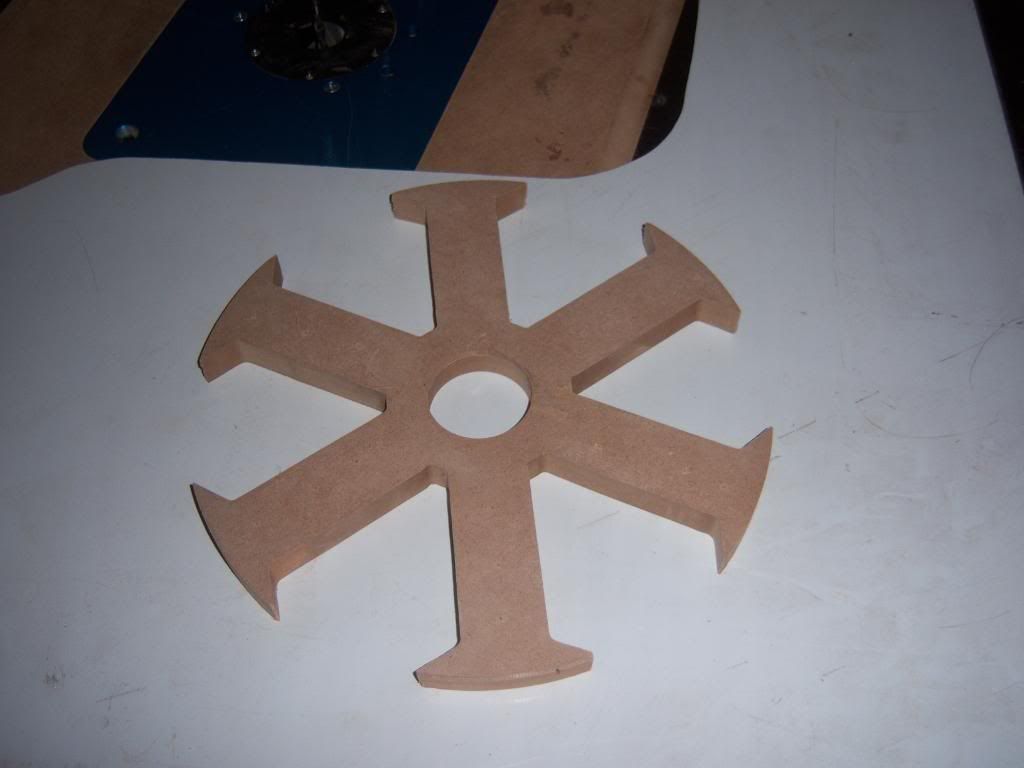
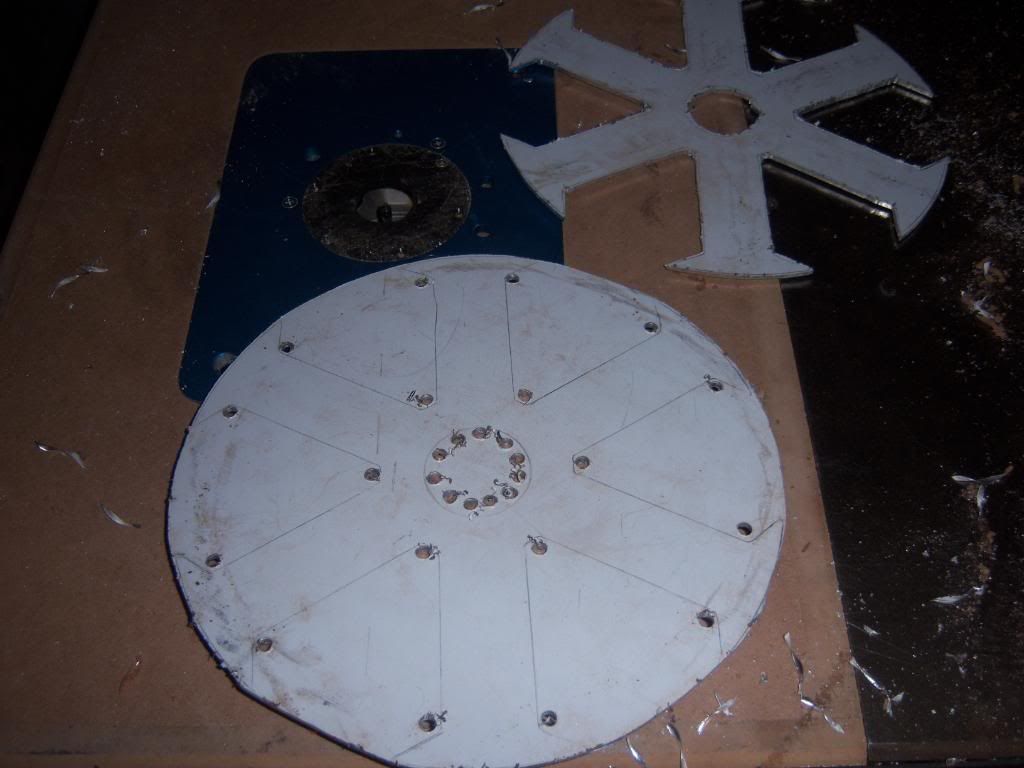
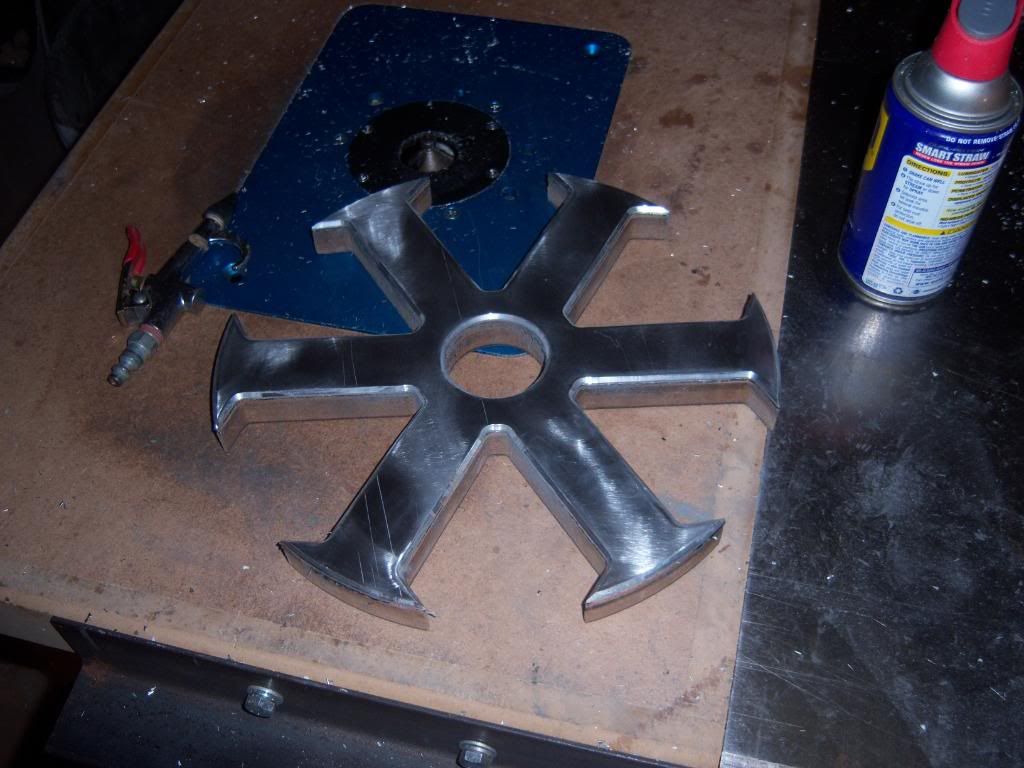
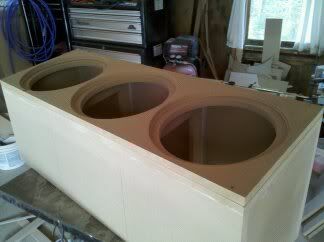
Making the sub box


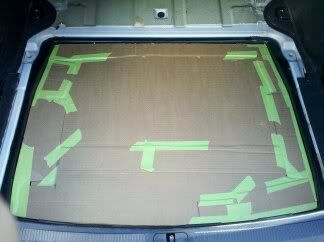
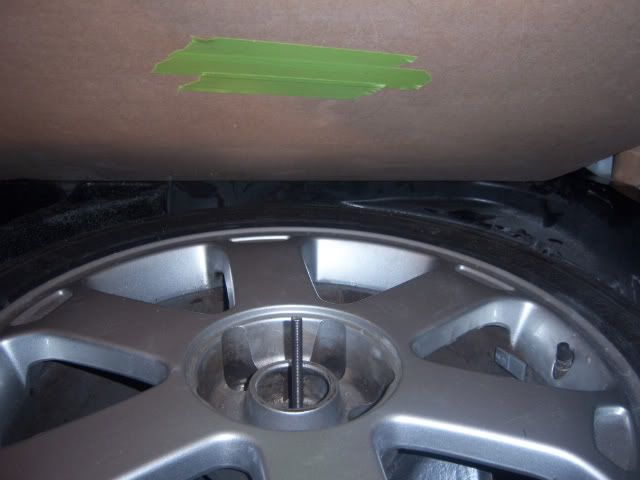
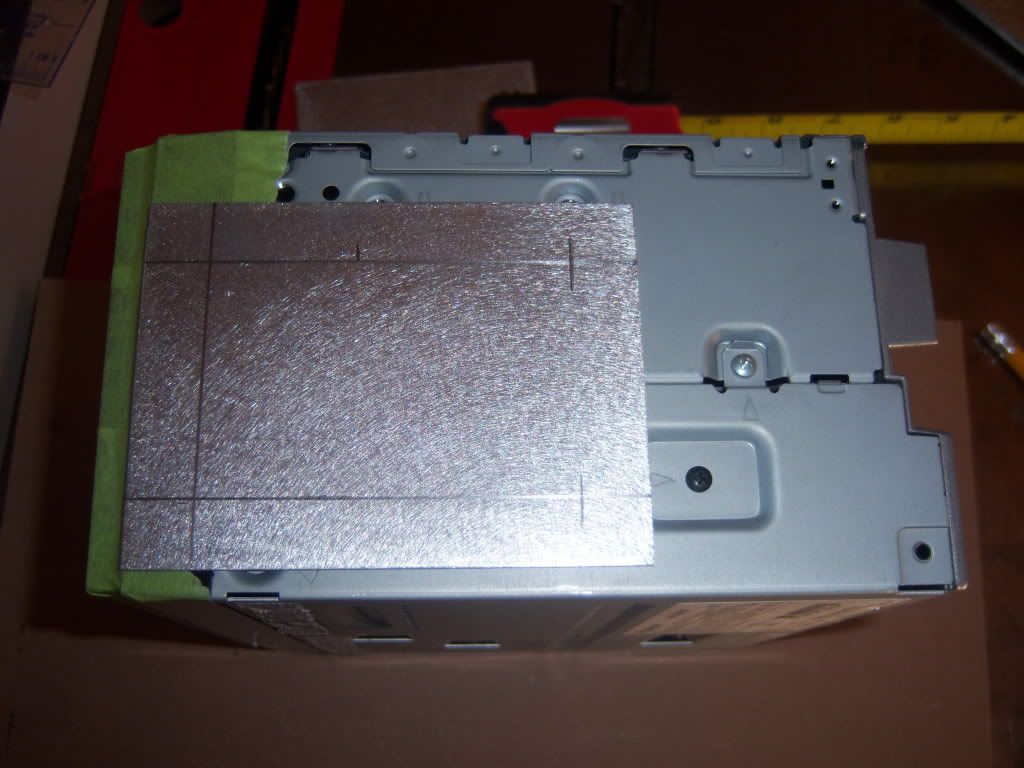
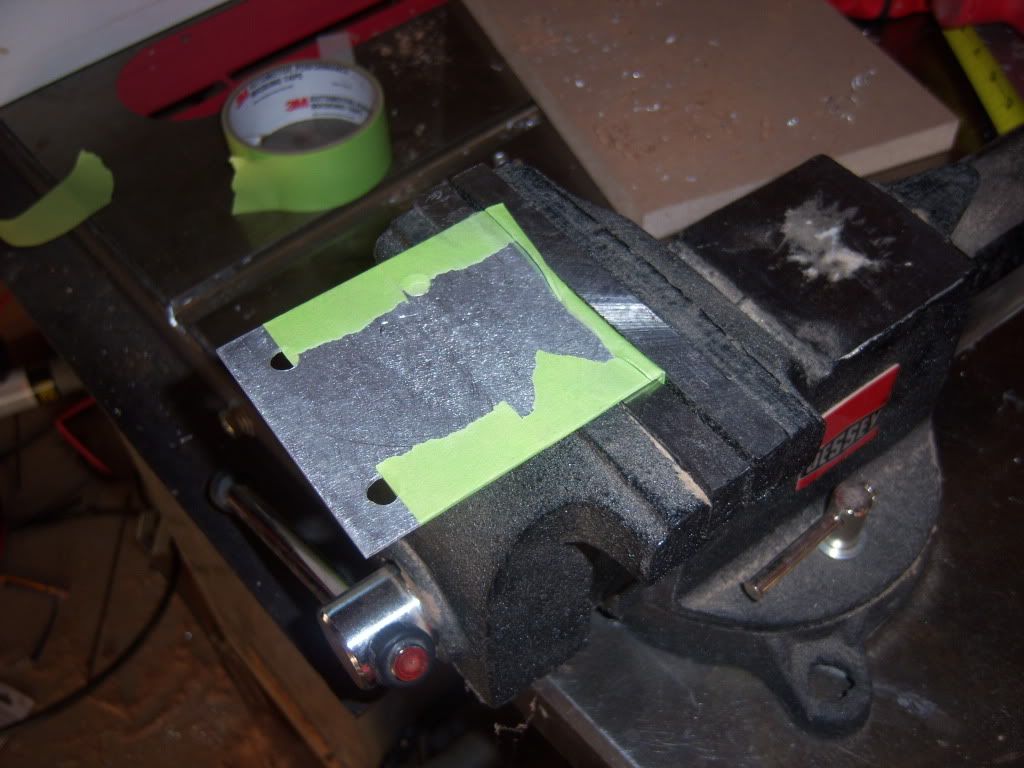
Getting some ideas
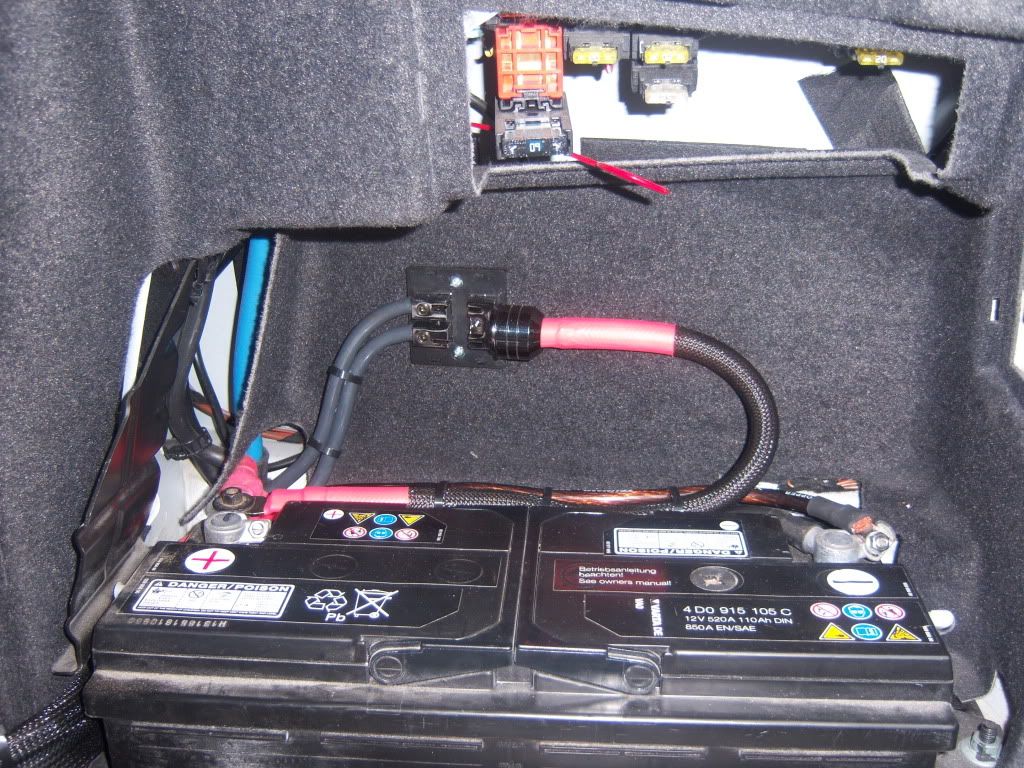
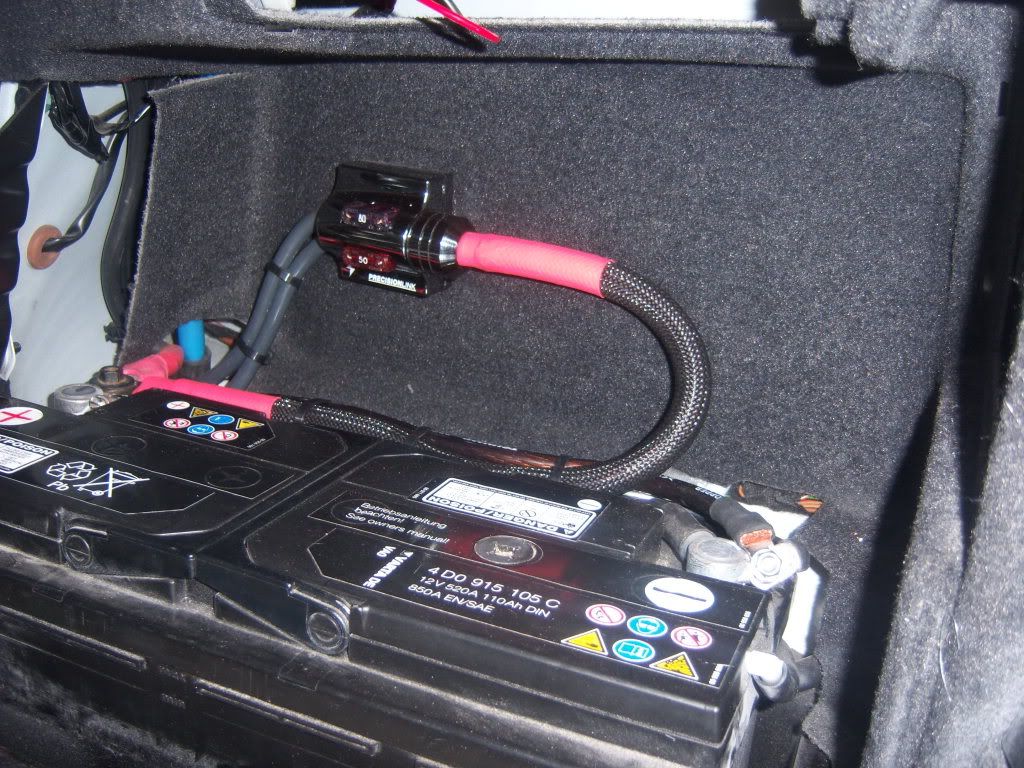
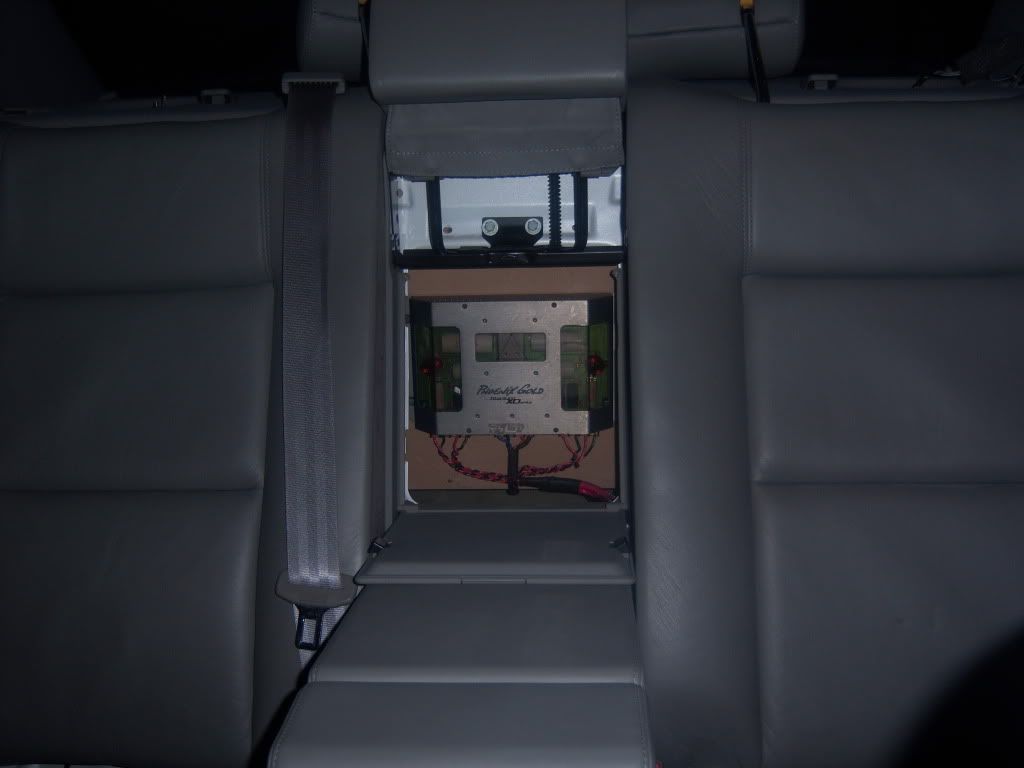
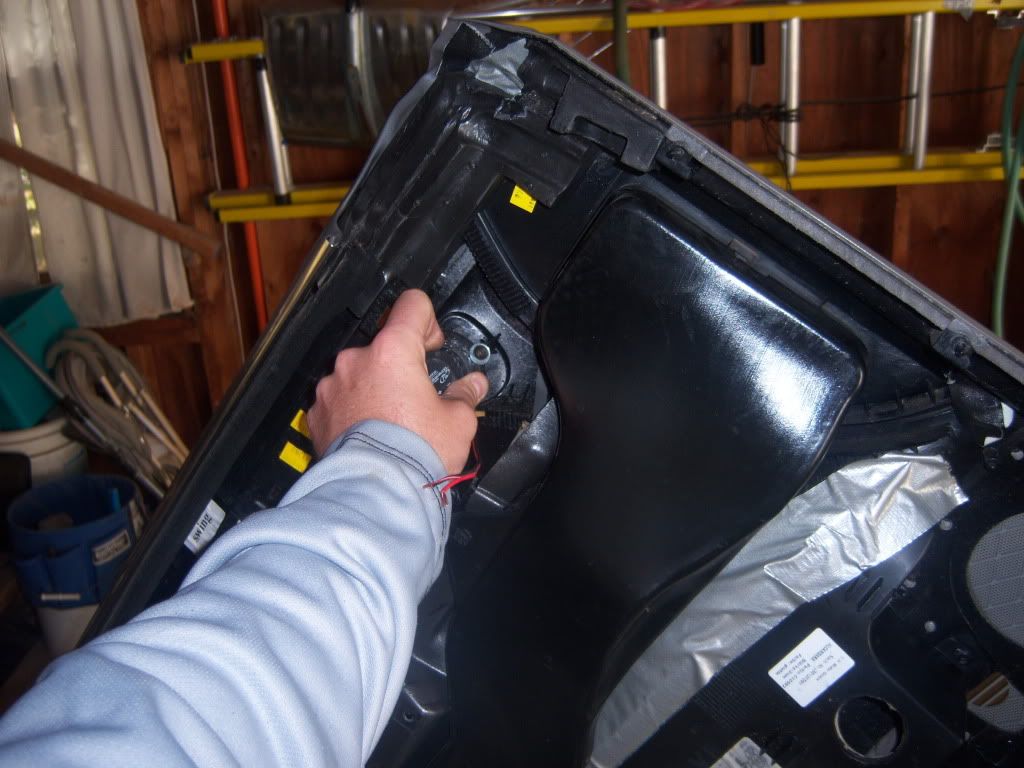
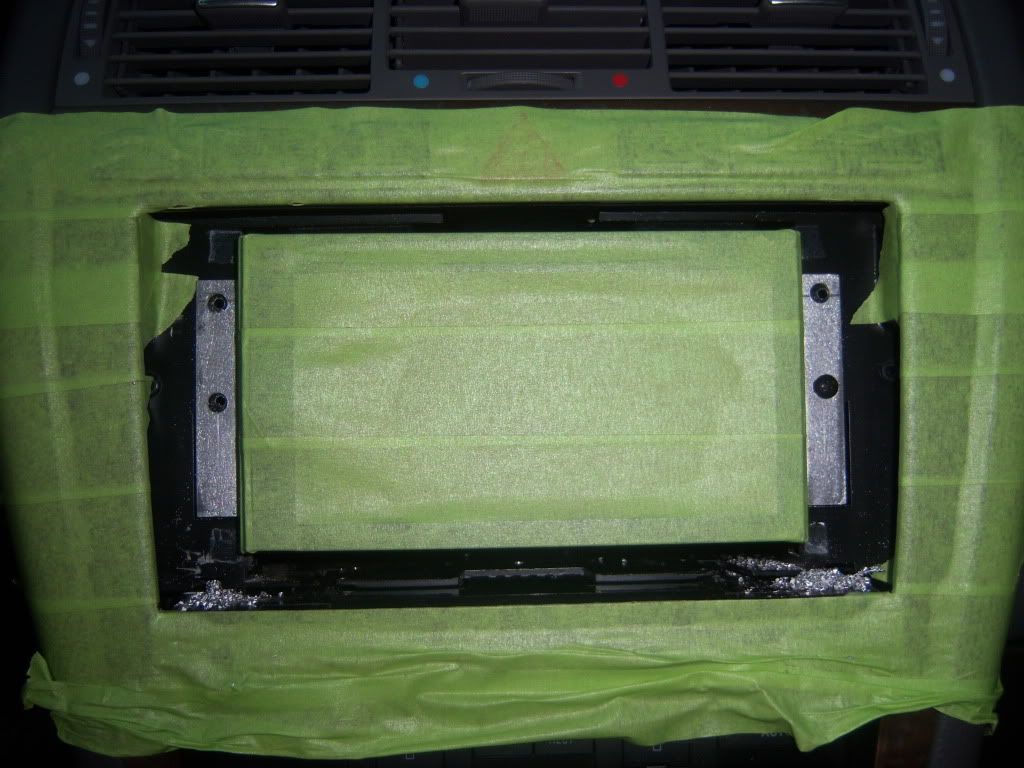
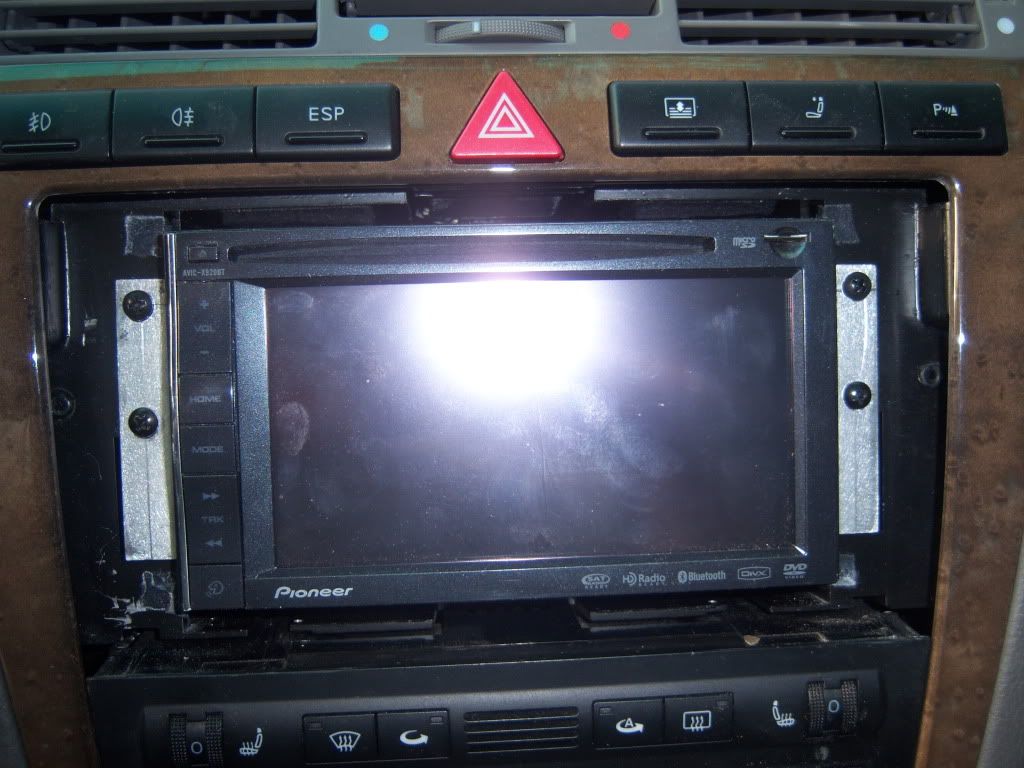
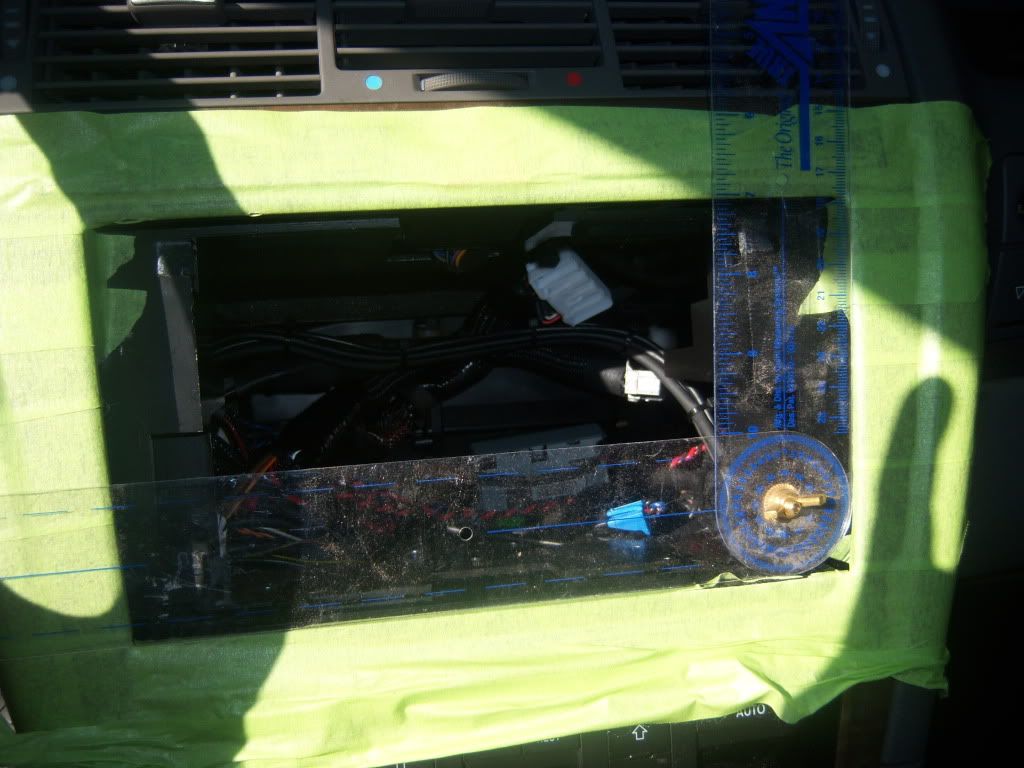
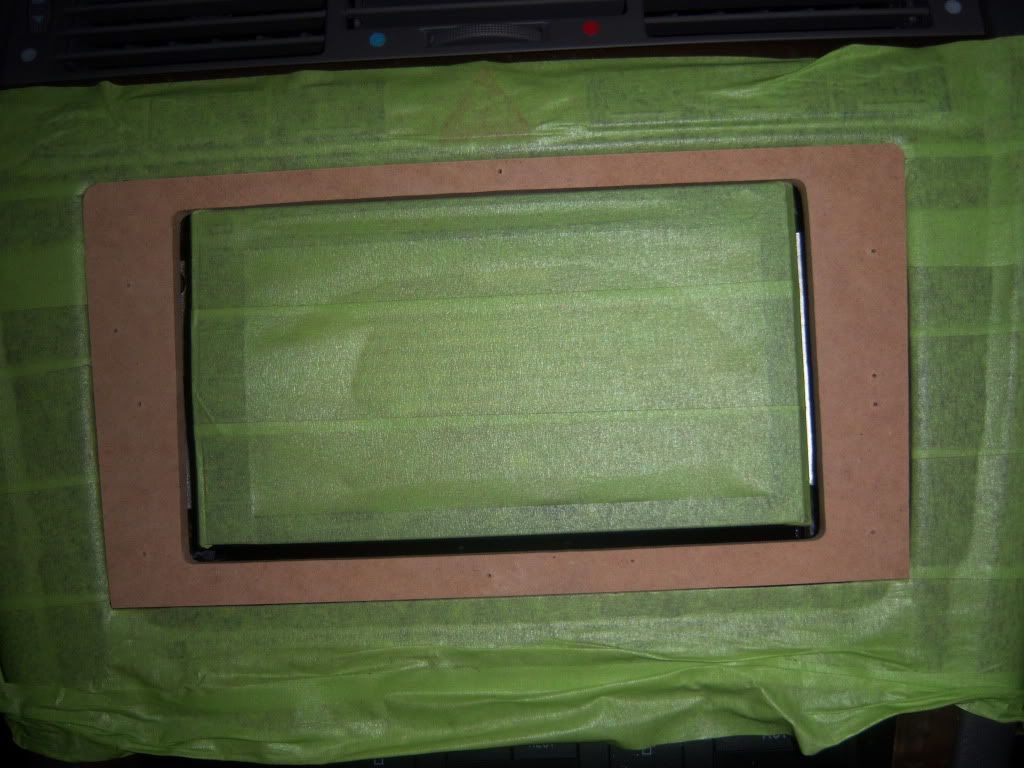
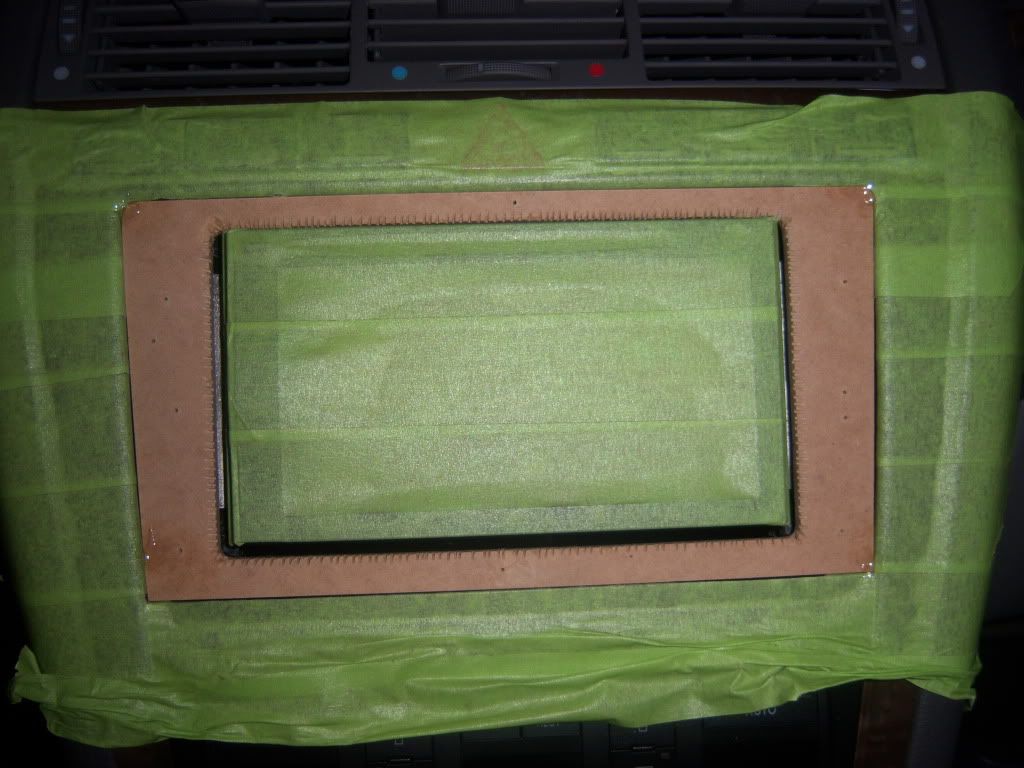
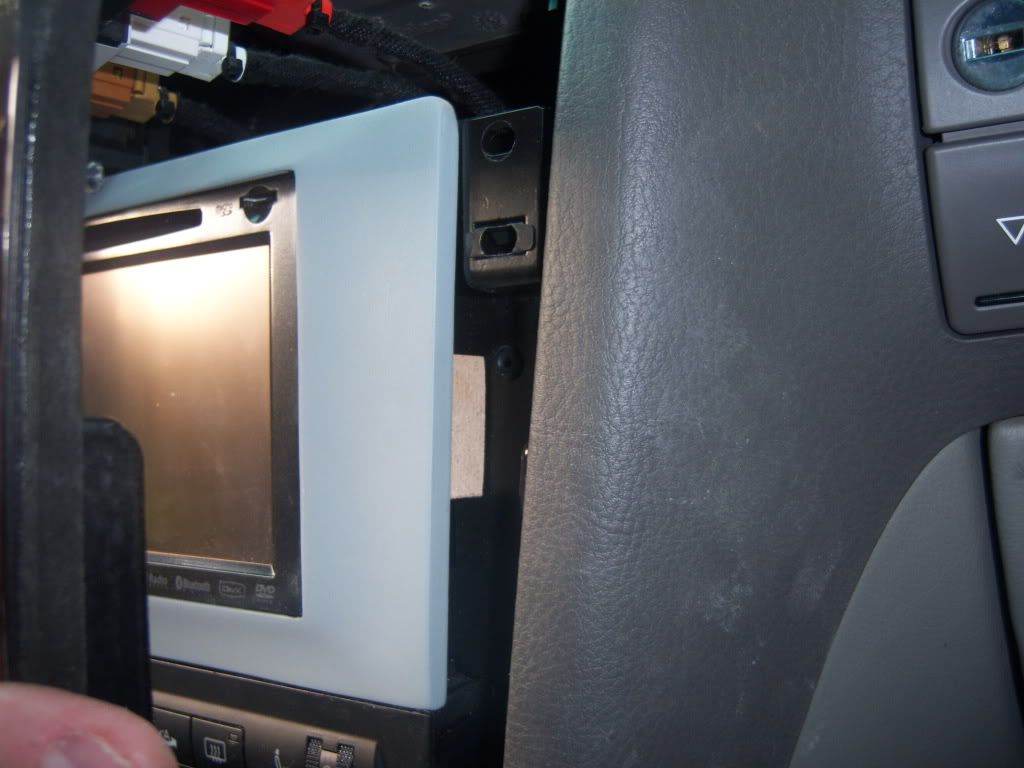
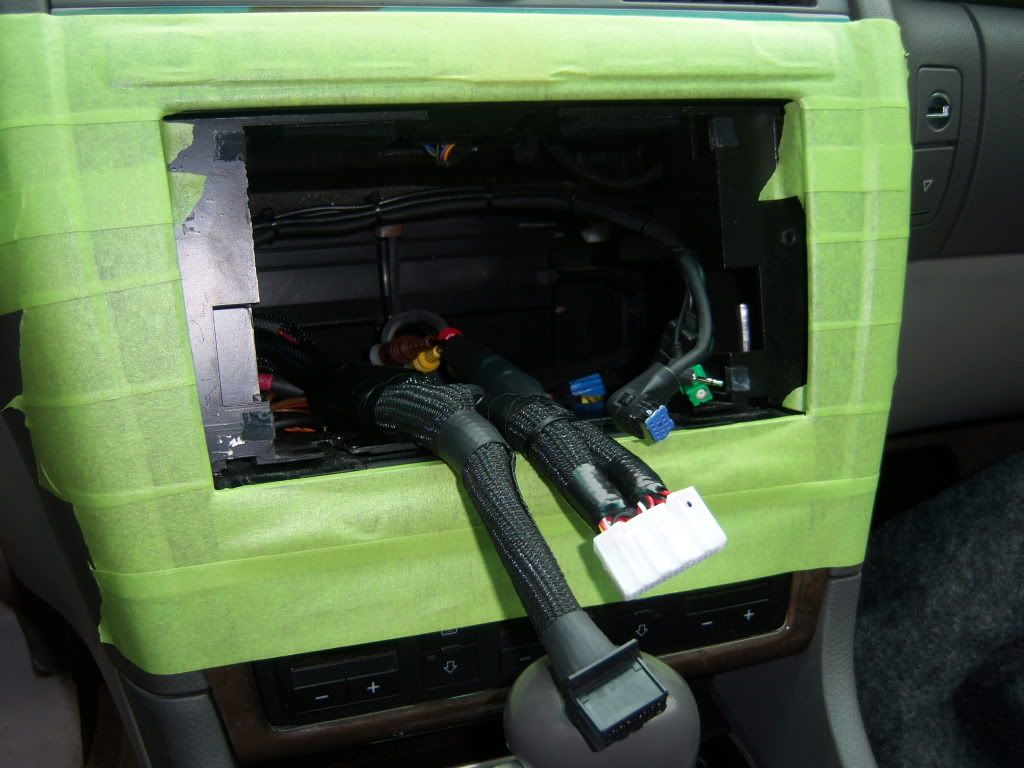
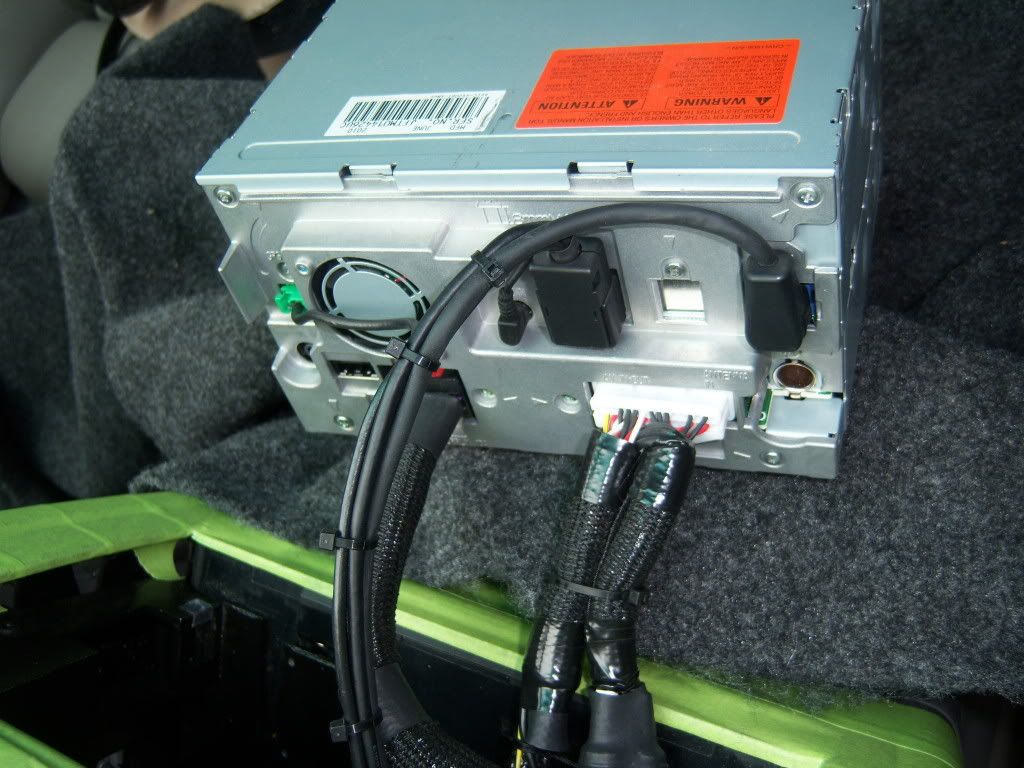
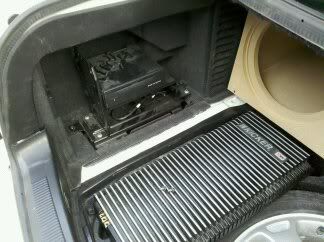
This is where the factory Nav/changer/amplifier reside. All of these were removed and this became a usable storage space
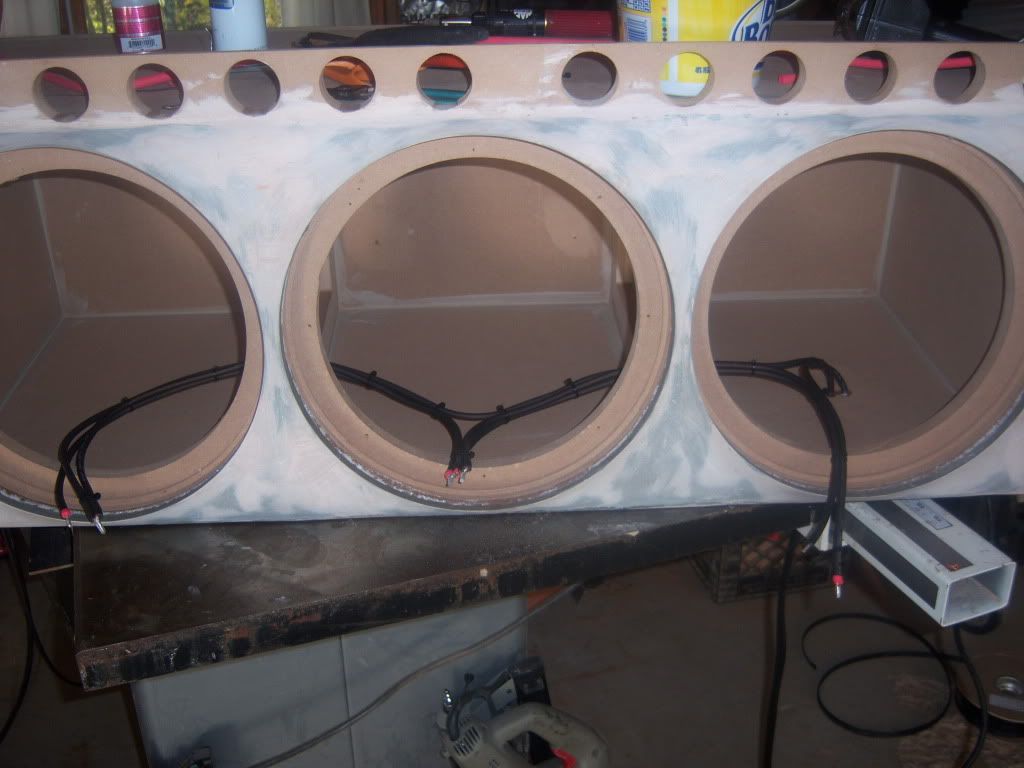
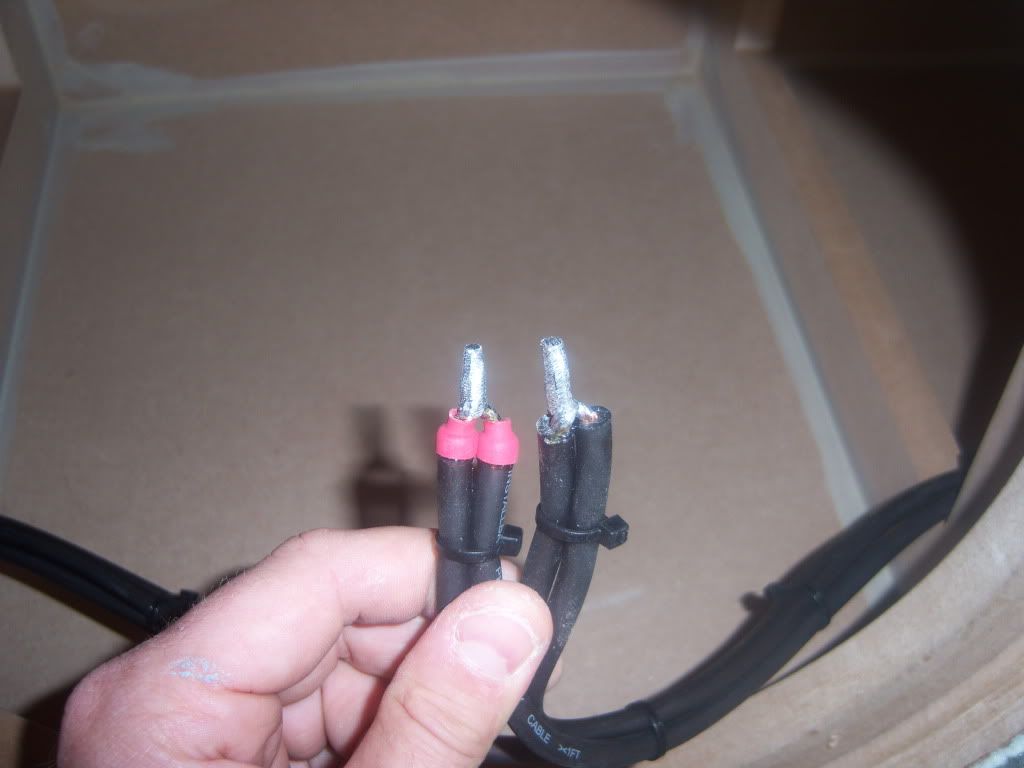
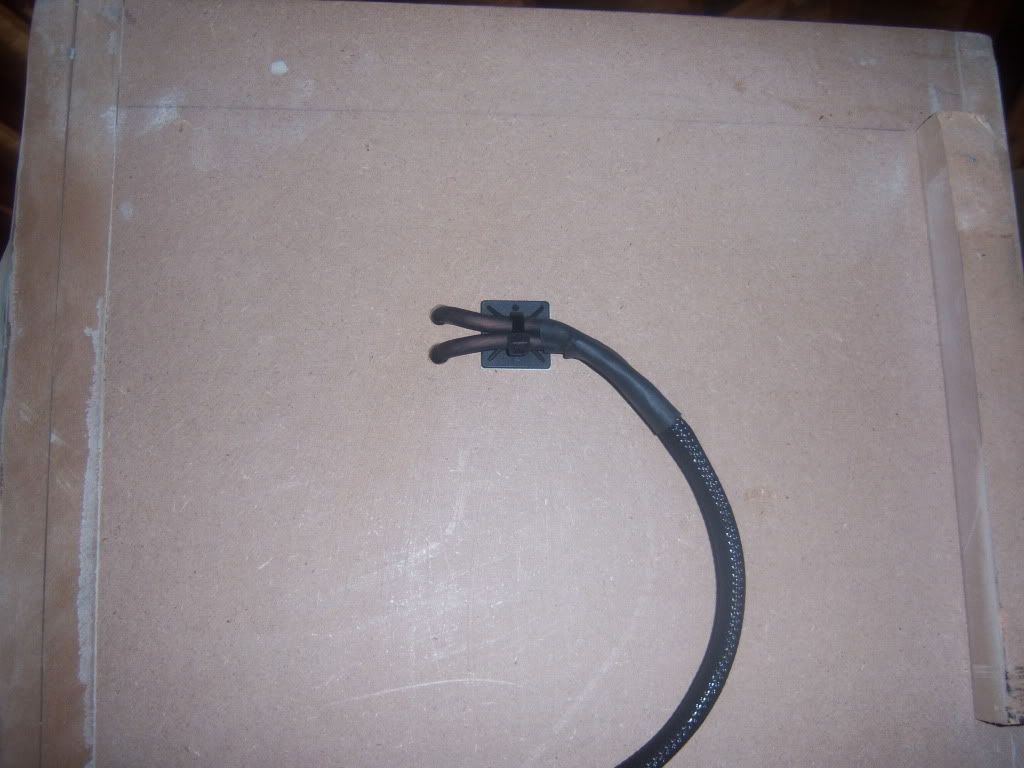
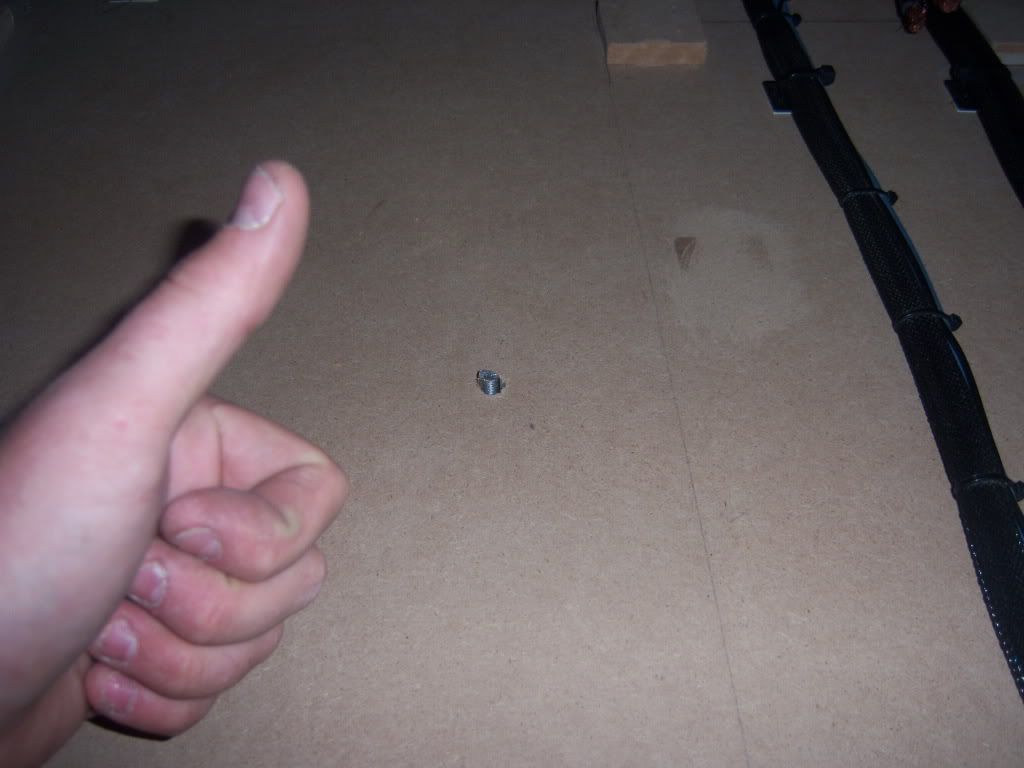
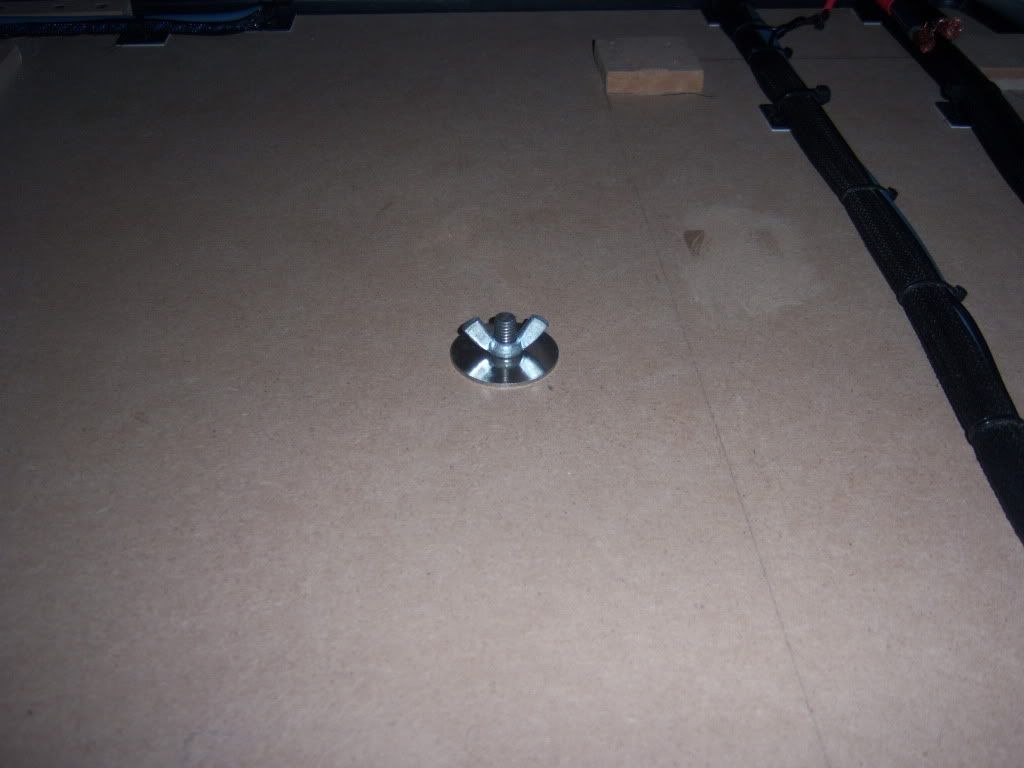
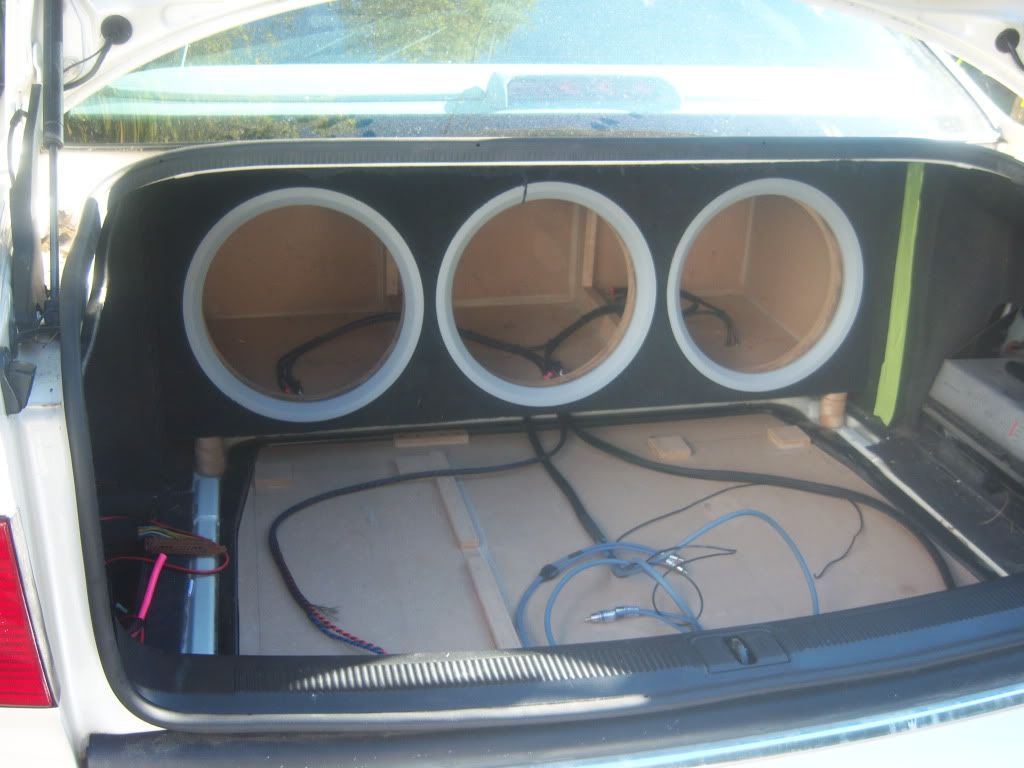
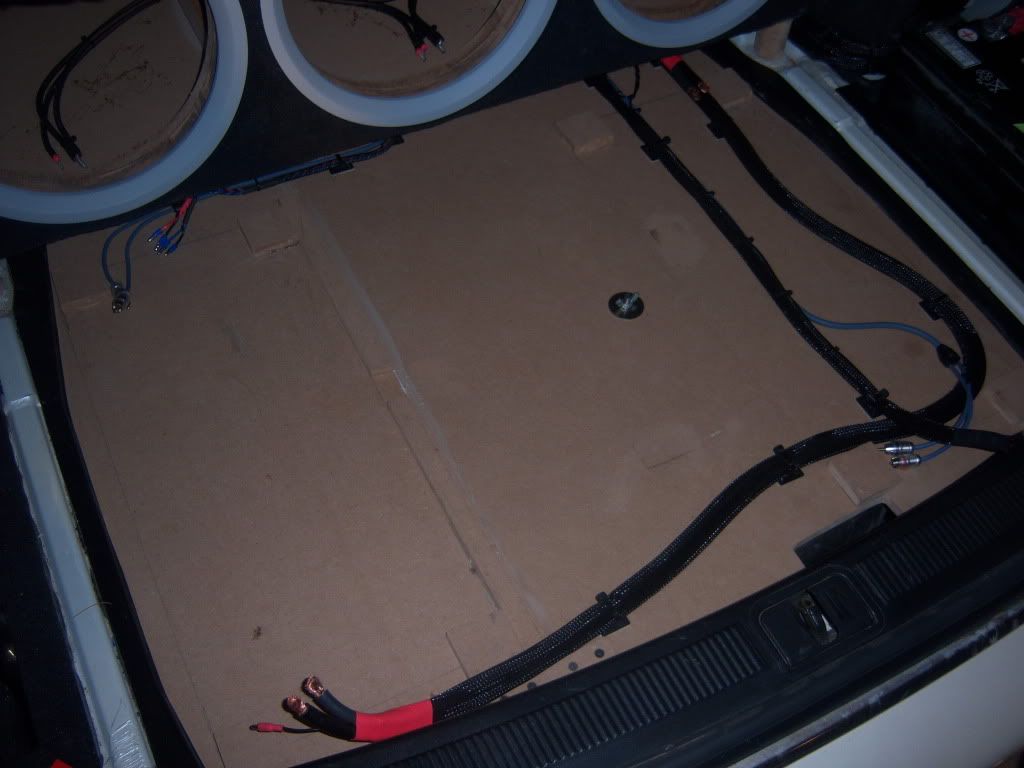
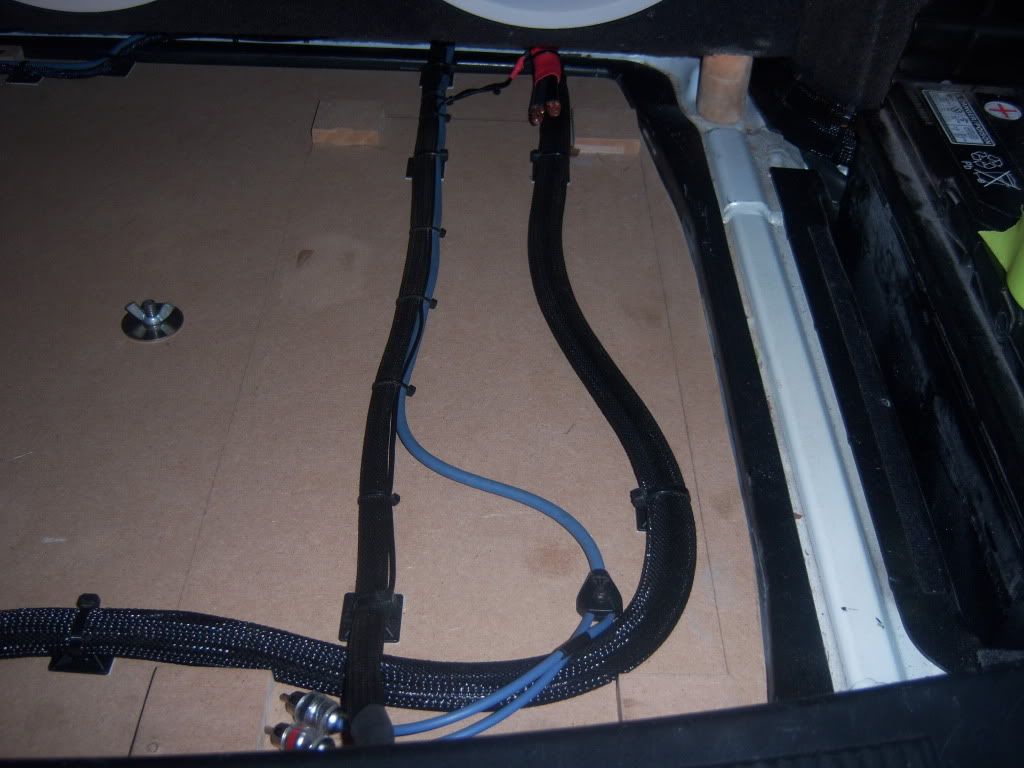
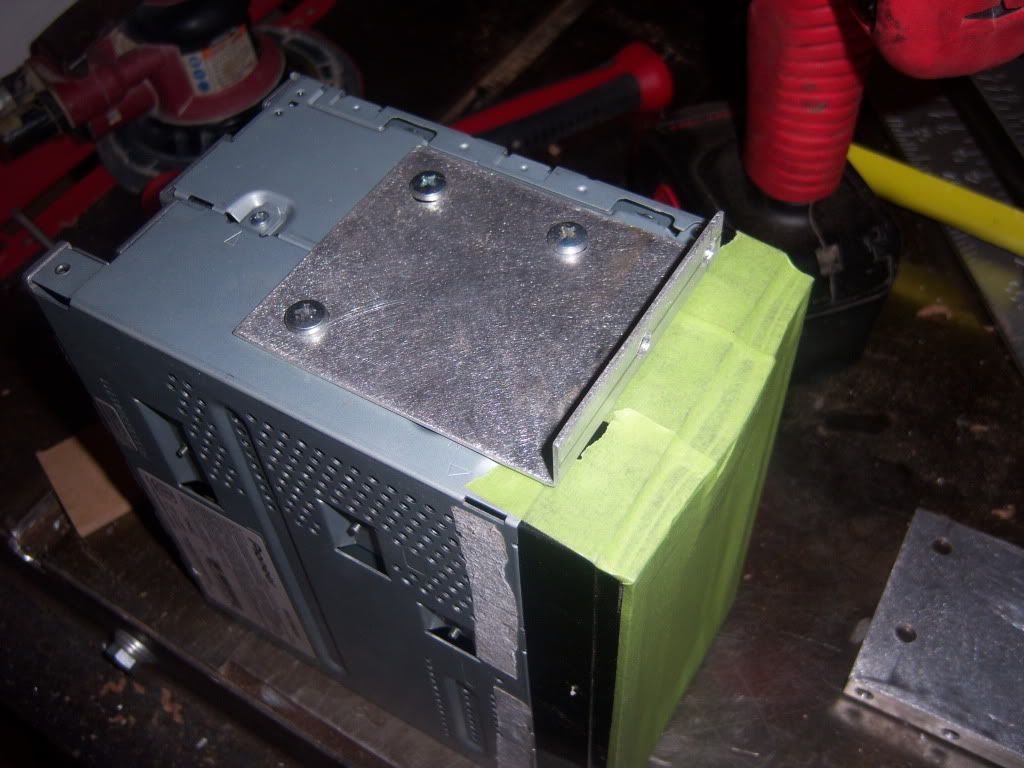
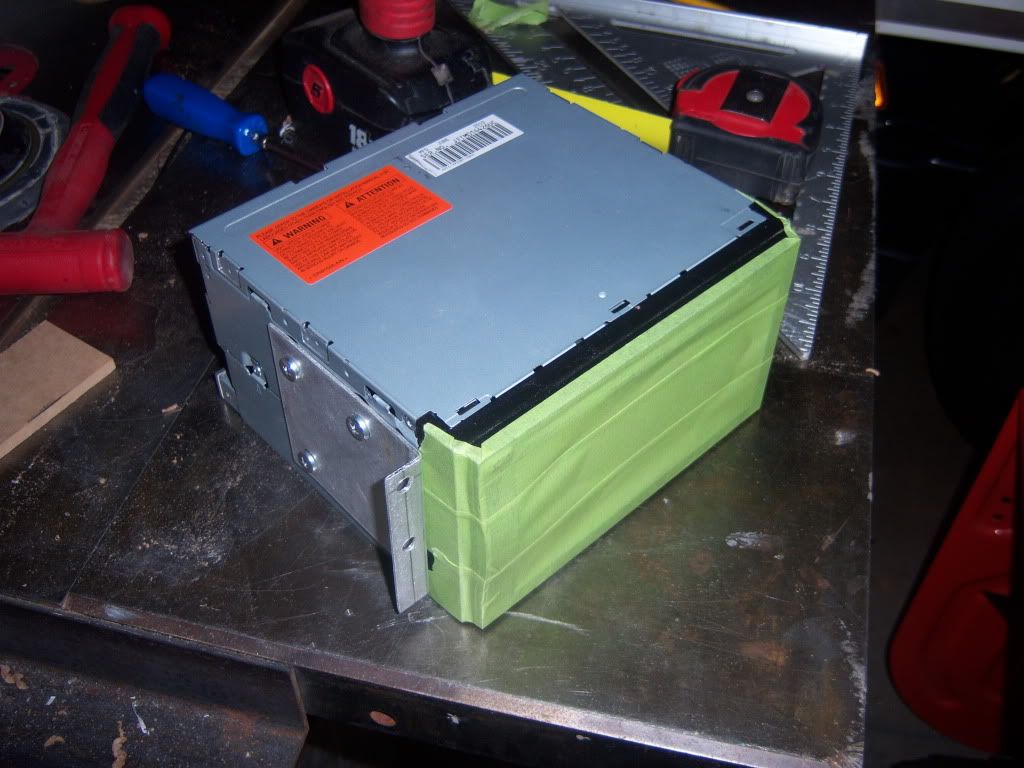
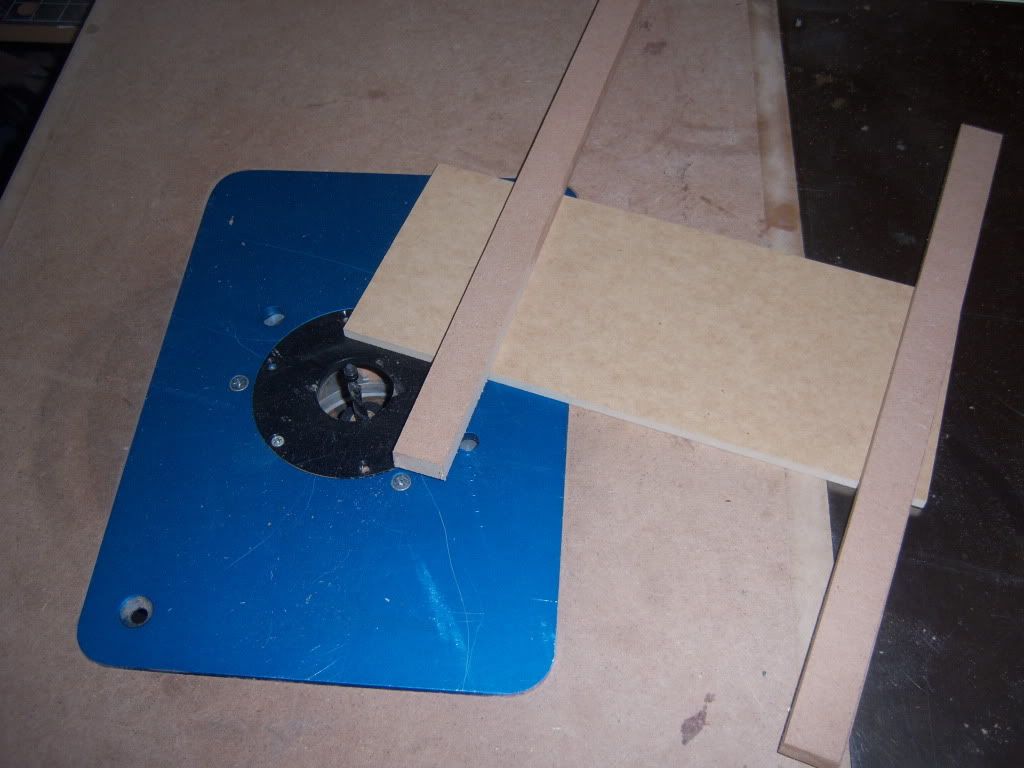
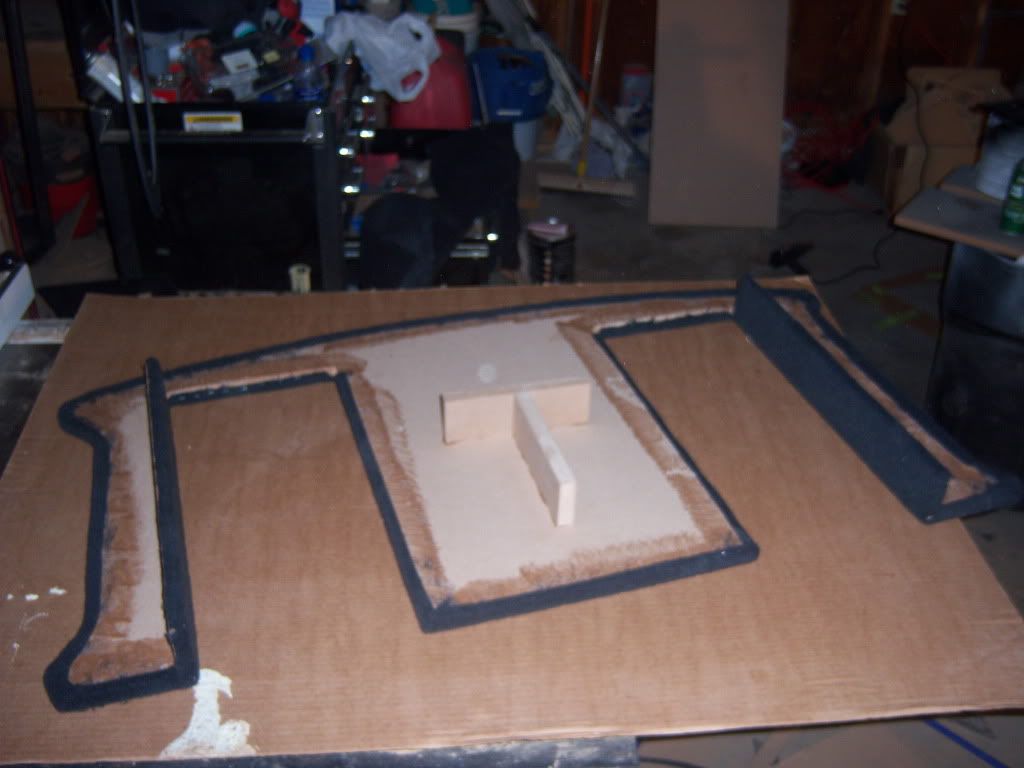
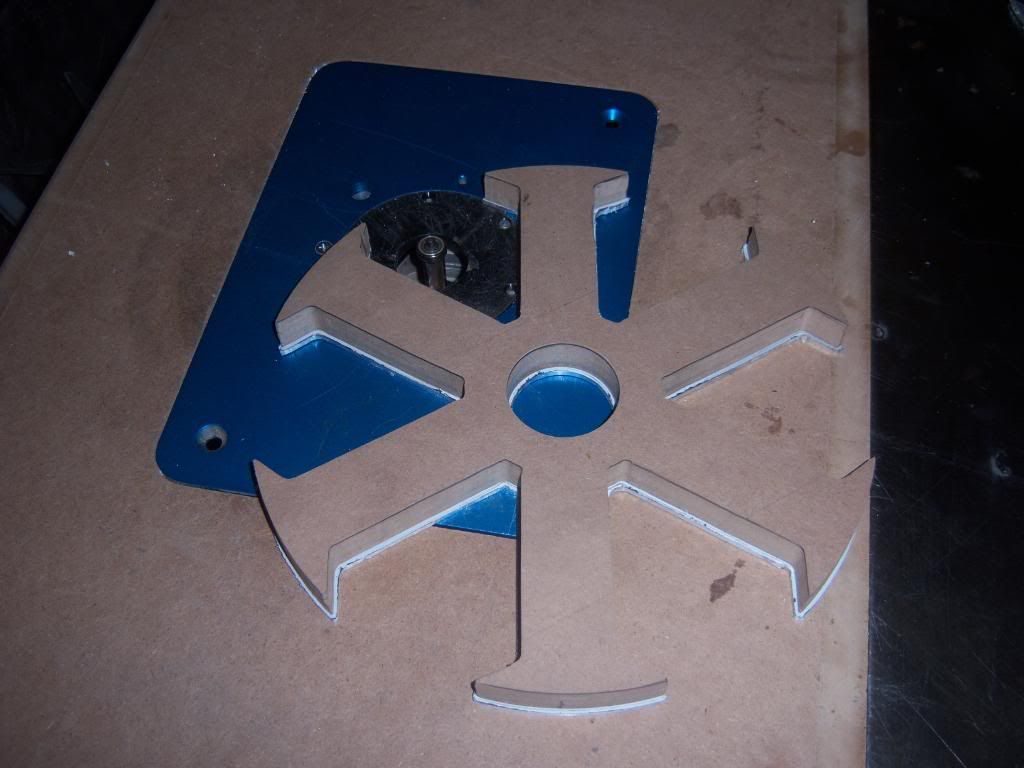
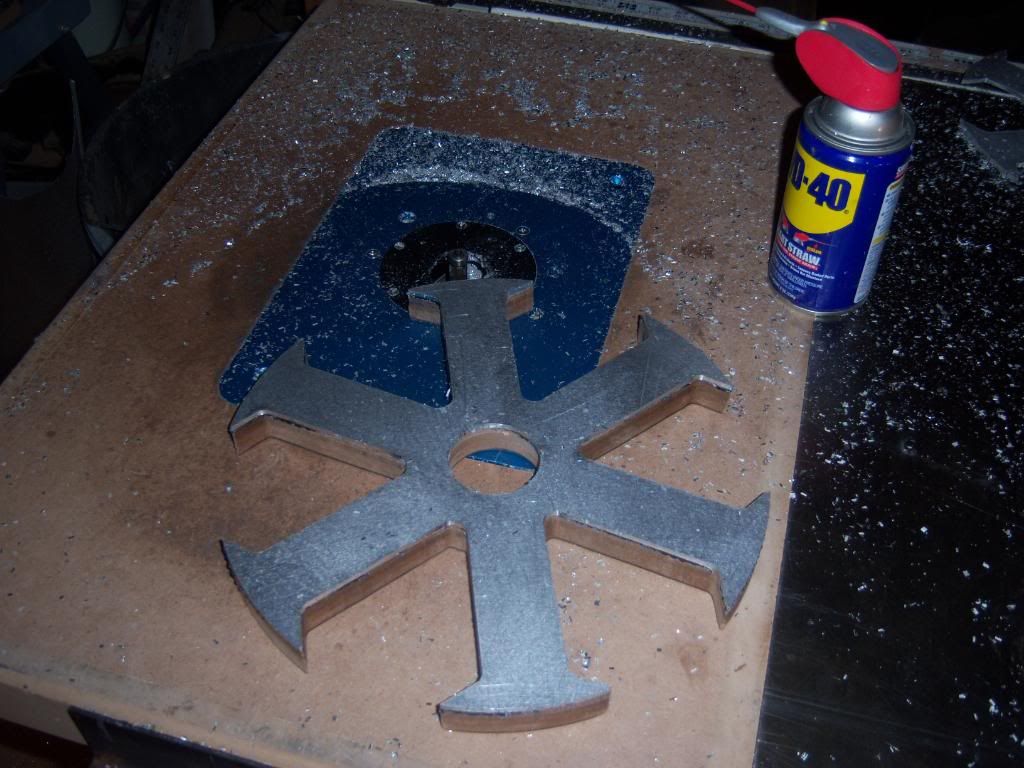
working some more on the box