The beginning's of my carputer install

Need help with your car stereo system? Have a technical question? Post here.
User avatar
Jacampb2
Mad Scientist
Posts: 1563
Joined: Sat Apr 19, 2008 11:57 pm
Location: Beaverton 48612

Re: The beginning's of my carputer install

Post by Jacampb2 »

More progress! I got off midnights this morning, slept a few hours and then went out to the shop and fired up the CNC and made my aluminum parts.

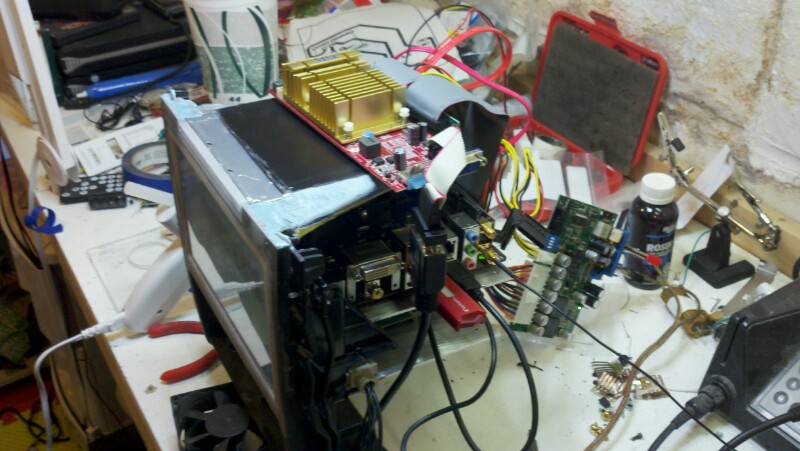
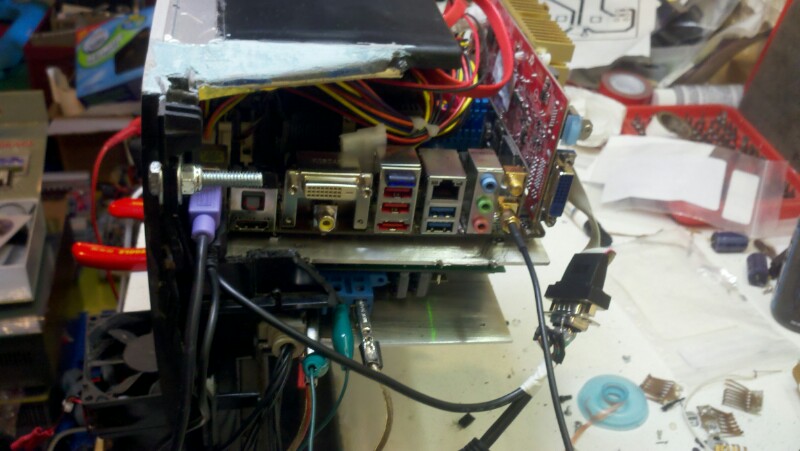
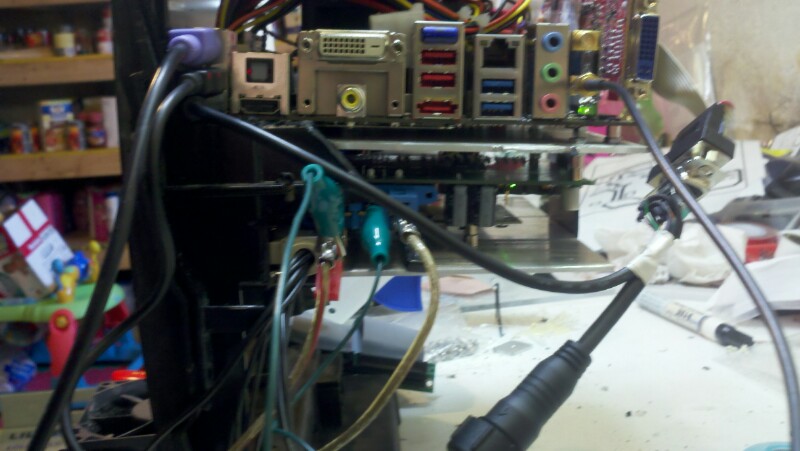
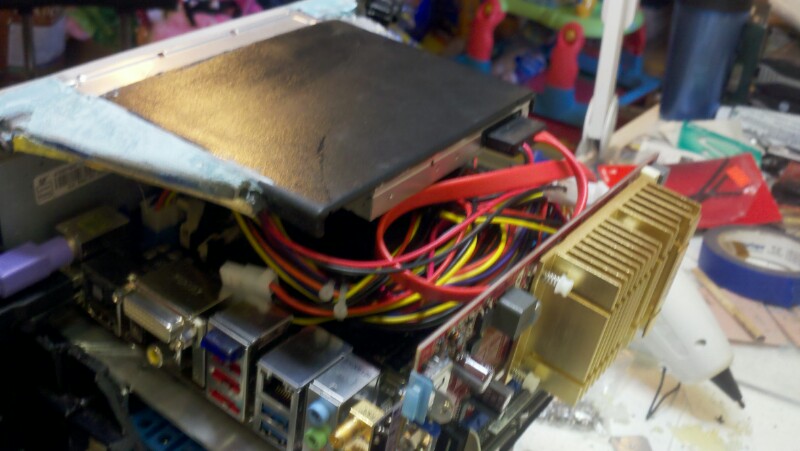
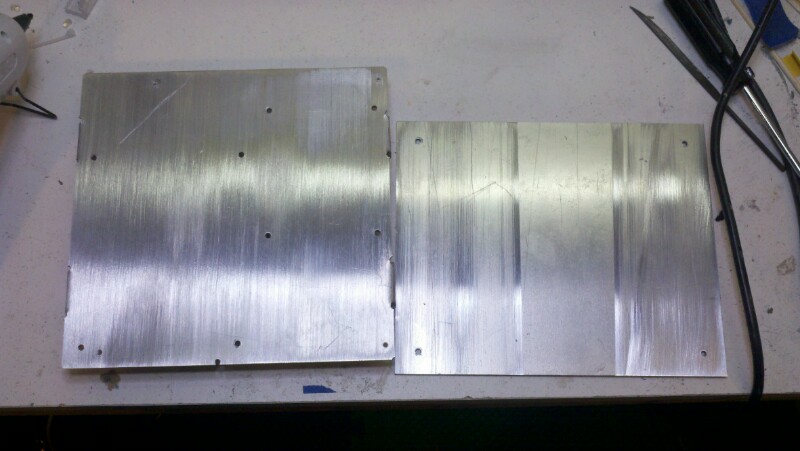
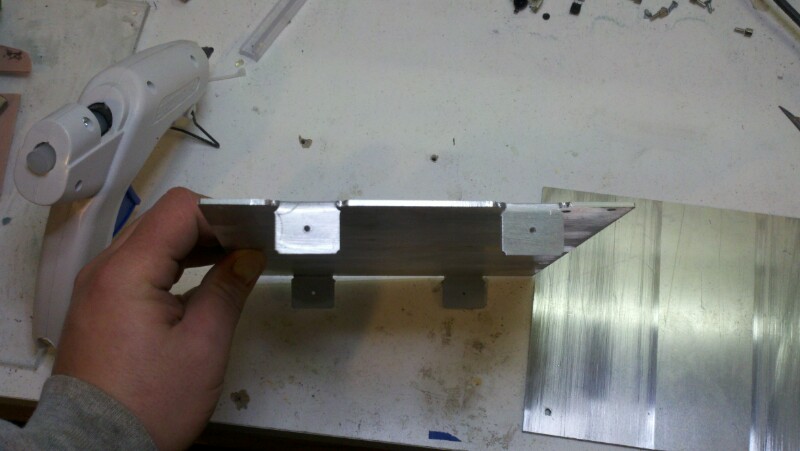
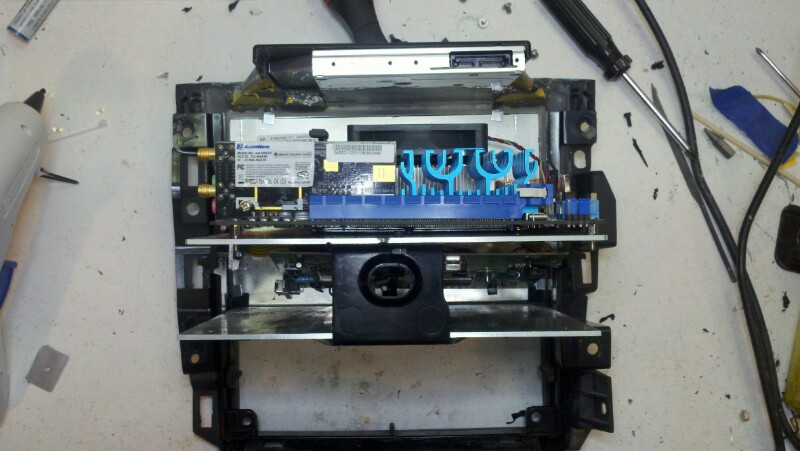
The aluminum pieces came out great, however, when it came time to mount them I ran into a few issues. I ended up cutting a lot more of the plastic out of the factory cage to mount the MOBO a bit lower. I didn't have to, but on one side a lot of the plastic had to go anyhow for the connectors, so I decided to really hack it up and get the MOBO the most cooling I can. Anyhow, this meant it would mount in a wider section of the cage than what I had measured, rather than re-cut the whole thing I made some design modifications and am pretty happy with the way it turned out. First off, I cut off the back two mounting tabs I machined because I was able to use the plastic center piece at the back for more support. To make up for the wider mounting width I mounted one side tight to the plastic, and used a standoff to make up the width difference on the other side.

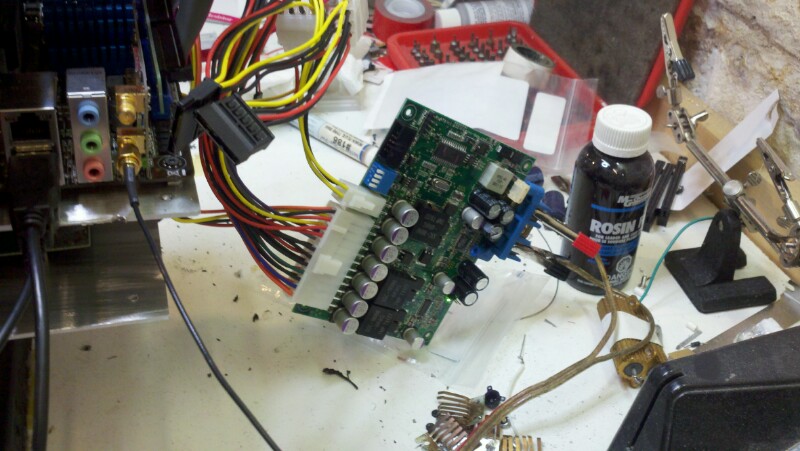
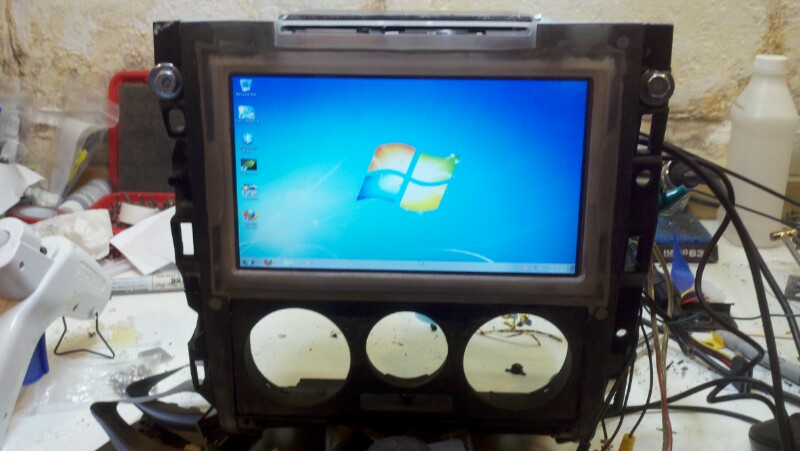
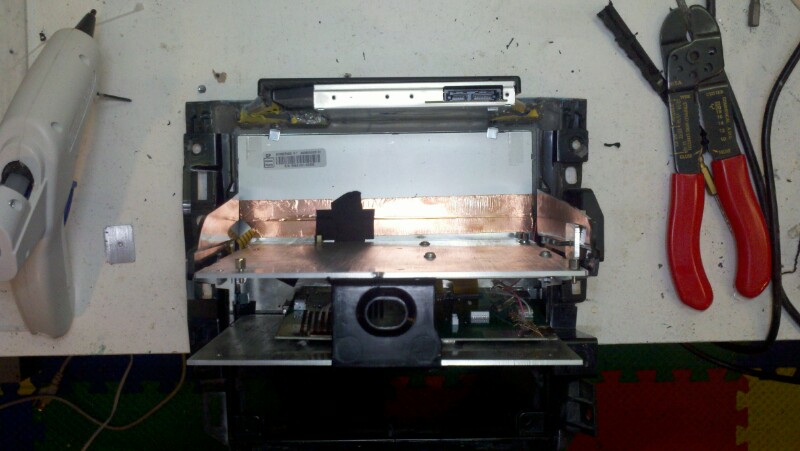
Anyhow, it is together. I have a few issues still. The HD and the M4 power supply mount under the MOBO. The HD screws I have are pan head type screw, and they were to tall in the position I mounted it. They interfered with the heat spreader under the MOBO. I'm going to have to pick up some countersunk M4 screws to mount flush under the MOBO. The power supply is not going to work out where I had planned it. It interfered with the plastic on the back of the cage, so I am going to have to re-drill those 4 mounting points further forward.

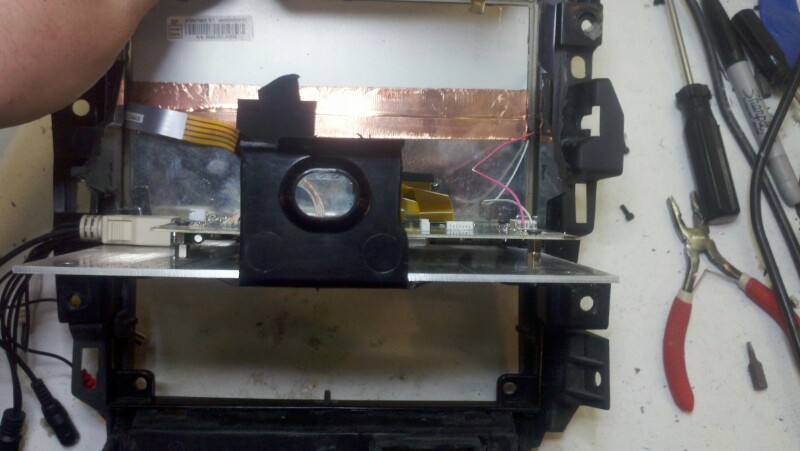
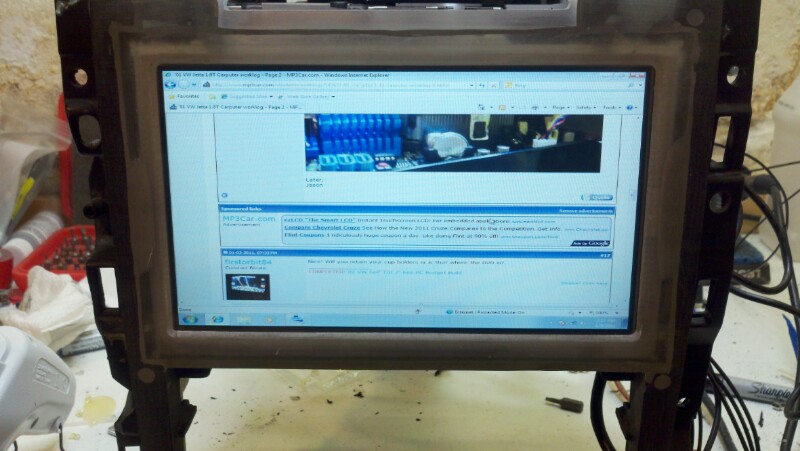
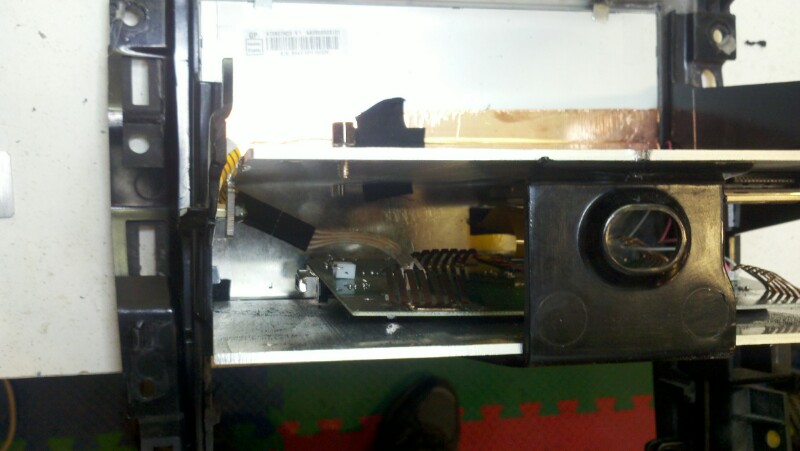
I still need to mount the lilliput video board. That is not a big deal, but it still needs nailed down. Test fitment looks like it is going to be tight between the DC-DC supply and the video board, but it should be doable.

Here are the pics:

Image

Image

Image

Image

Image

Later,
Jason
M: M100, M44 for a custom amp project
Zx: Zx500, Zx450, Black Zx350
ZxTi: 4 Zx600Ti's, 1 Zx400Ti
Ti: 5 800.1's & 900.7 for a custom amp project. 1 1200.1, 1 1000.2
Tantrum: 2 1200.1's, 1 600.4, 1 500.2
XS: XS6600
User avatar
Jacampb2
Mad Scientist
Posts: 1563
Joined: Sat Apr 19, 2008 11:57 pm
Location: Beaverton 48612

Re: The beginning's of my carputer install

Post by Jacampb2 »

Oh man, I feel like I am getting really close on this. I tied up a bunch of the loose ends I mentioned yesterday. I remounted the HD with the old screws, and just spaced hte MOBO standoffs up a hair. That was all that took and it fit perfect. I did the first test of the whole thing mounted up in the dash piece this afternoon. It all went well.

I have a bit more plastic I still need to remove on the connector side of the MOBO. I still have to work out the M4 mounting. I looked at moving it forward on the bottom of the MOBO mount, but I am not sure that is the way to go with it. It will work there, but it will be terribly tight. I still have not messed with the video card mounting, but I did install it with the flexible extender today just to make sure it worked without a hitch. I have a lot of cable reworking and routing to do, there is simply a crap ton of wiring to fit in here.

Anyhow, I powered it with the 12V supply and the M4 just to make sure it worked. First try nothing, cycled power and it fired right up-- no idea what was up with that, but hopefully it doesn't become an issue.

Next on my list is redoing the lilliput cable, it is like 8' long and I have absolutely no place to put it. I need all of 8 inches, so I will cut it down and solder on new VGA and USB connectors.

I am back to work tomorrow, but start my 7 day off stretch next friday, so I am hoping like heck that I might be able to wrap it up and get it installed. Wish me luck!

Here are the pics:

Image

Image

Image

Image

Image

Later,
Jason
M: M100, M44 for a custom amp project
Zx: Zx500, Zx450, Black Zx350
ZxTi: 4 Zx600Ti's, 1 Zx400Ti
Ti: 5 800.1's & 900.7 for a custom amp project. 1 1200.1, 1 1000.2
Tantrum: 2 1200.1's, 1 600.4, 1 500.2
XS: XS6600
User avatar
bretti_kivi
Shutterbug
Posts: 1595
Joined: Tue Aug 26, 2008 1:06 pm
Location: Päijät-Häme or Uusimaa

Re: The beginning's of my carputer install

Post by bretti_kivi »

looking very nice indeed.... I need to get my own of these done!

Bret
ttocs
the Floor Sweeping Hack with Golden Ears
Posts: 14797
Joined: Fri Dec 19, 2008 9:53 pm

Re: The beginning's of my carputer install

Post by ttocs »

man that is alot to remember to have plugged in....

Looking good, I always enjoy seeing that this has been updated..
what else can I say I am a grumpy asshole most of the time.
User avatar
stipud
Voltage Ohms
Posts: 14719
Joined: Sat Nov 26, 1983 4:00 am
Location: Burnaby, BC
Contact:

Re: The beginning's of my carputer install

Post by stipud »

Amazing work as always!
oldschoolfan
Posts: 897
Joined: Wed Nov 25, 2009 11:08 am
Location: Burb of Detroit

Re: The beginning's of my carputer install

Post by oldschoolfan »

Looks great! Must be exciting powering that thing up for the first time.
User avatar
Jacampb2
Mad Scientist
Posts: 1563
Joined: Sat Apr 19, 2008 11:57 pm
Location: Beaverton 48612

Re: The beginning's of my carputer install

Post by Jacampb2 »

Thanks guys! I am pretty excited that it is coming together. I have had it all up and running and up and running together at one point. This is just the first it has all been running while in DD opening. Needless to say it was nice to see it workout good so far.

As for plugging crap in-- it will only be bad the first time... The whole dash in the Jetta has to come apart to get this cage out, so there is no possibility of me not at least giving this thing a few weeks shake down before I button the dash back up. It really shouldn't be to bad. There likely won't be many more wires than with a normal HU.

Later,
Jason
M: M100, M44 for a custom amp project
Zx: Zx500, Zx450, Black Zx350
ZxTi: 4 Zx600Ti's, 1 Zx400Ti
Ti: 5 800.1's & 900.7 for a custom amp project. 1 1200.1, 1 1000.2
Tantrum: 2 1200.1's, 1 600.4, 1 500.2
XS: XS6600
User avatar
Jacampb2
Mad Scientist
Posts: 1563
Joined: Sat Apr 19, 2008 11:57 pm
Location: Beaverton 48612

Re: The beginning's of my carputer install

Post by Jacampb2 »

A bit more progress. I got the M4 supply mounted. Just had to go a bit further forward than the original plan. I butchered a bit more plastic and have decent access to it. I spent some time routing cables and trying to clean things up a bit. I think I am making progress. I cut up the lilliput cable and shortened it to a few inches. I still need to pick up a hood for my VGA connector, I thought I had one-- guess not. Right now all the cables with the exception of the mouse and keyboard are pretty well contained in the footprint of the DD.

I still don't know what to do about the damned video card. I don't have much room left to squeeze it in anywhere. I might have room on the very bottom, back behind the heater controls, I have to check. I also may be able to fit it directly in the PCI-e slot if I can just find a thinner heat sink for it. So, anyone know where to get a low profile heat sink that fits a 43mmx43mm mounting square? This heat sink is almost an inch tall, I think if I can get something fan cooled and half it's height that it will fit right where it already is. I have some small peltiers I might be able to fit too... Hmmm....

Here are the pics:

Image

Image

Image

Image

Later,
Jason
M: M100, M44 for a custom amp project
Zx: Zx500, Zx450, Black Zx350
ZxTi: 4 Zx600Ti's, 1 Zx400Ti
Ti: 5 800.1's & 900.7 for a custom amp project. 1 1200.1, 1 1000.2
Tantrum: 2 1200.1's, 1 600.4, 1 500.2
XS: XS6600
ttocs
the Floor Sweeping Hack with Golden Ears
Posts: 14797
Joined: Fri Dec 19, 2008 9:53 pm

Re: The beginning's of my carputer install

Post by ttocs »

it just keeps going and going and going....

Jeep going man almost there! I feel your pain though trying to get everything plugged in and then mounting it all. I had a bunch of stuff I added to my dash and when I pull the deck out there are 5-6 cables that I have to remember to hook up and it is a pia, nothing like what you have though...
what else can I say I am a grumpy asshole most of the time.
Post Reply